Best Lighting Setups for Maternity Photography
Every maternity portrait holds a powerful story, and capturing that beautifully in a studio setting takes more than just a good camera. It takes understanding light on a level so intimate it feels like painting with it. In maternity studio photography, the way you use lighting setup is the difference between creating a nice portrait and creating a memory that feels alive.
In this ultimate guide, we’ll dive straight into the artistry and precision behind great studio portrait lighting for maternity sessions. Whether you’re adjusting your studio lights for the subtlety of a cheek highlight or shaping dramatic shadow around the side of your subject, lighting techniques shape everything. I’ll walk you through the setups, the tiny adjustments, and some tricks that bring maternity portraits to life in the studio.
Importance of Expert Studio Lighting in Maternity Portraits
In maternity portrait photography, the role of studio light isn’t just technical. It’s emotional. It tells the viewer how to feel about the subject. A soft butterfly lighting setup can make the expecting mother look angelic and glowing. A sharp rim light can carve out strength and boldness in the shape of her body.
When I think back to my first shoots, I remember struggling when I used a “safe” flat lighting setup, the images were pleasant but forgettable. There was no narrative woven into the highlights and shadows. It wasn’t until I started consciously choosing every light source for emotional impact that my maternity photography began to truly move people.
Remember, photography lighting isn’t a checklist. It’s a language. You are illuminating more than just a bump, you are illuminating the entire transformation she’s experiencing. Lighting equipment becomes your translator between her story and your camera.
How Lighting Dictates Mood, Depth, and Subject Form
Think of a maternity portrait like a sculpture. Lighting is what chisels out the three-dimensional form. Without intentional lighting techniques, your image flattens and loses emotional impact. Every shadow and highlight you create gives dimension to the belly, the face, and even small details like the fingers resting on her bump.
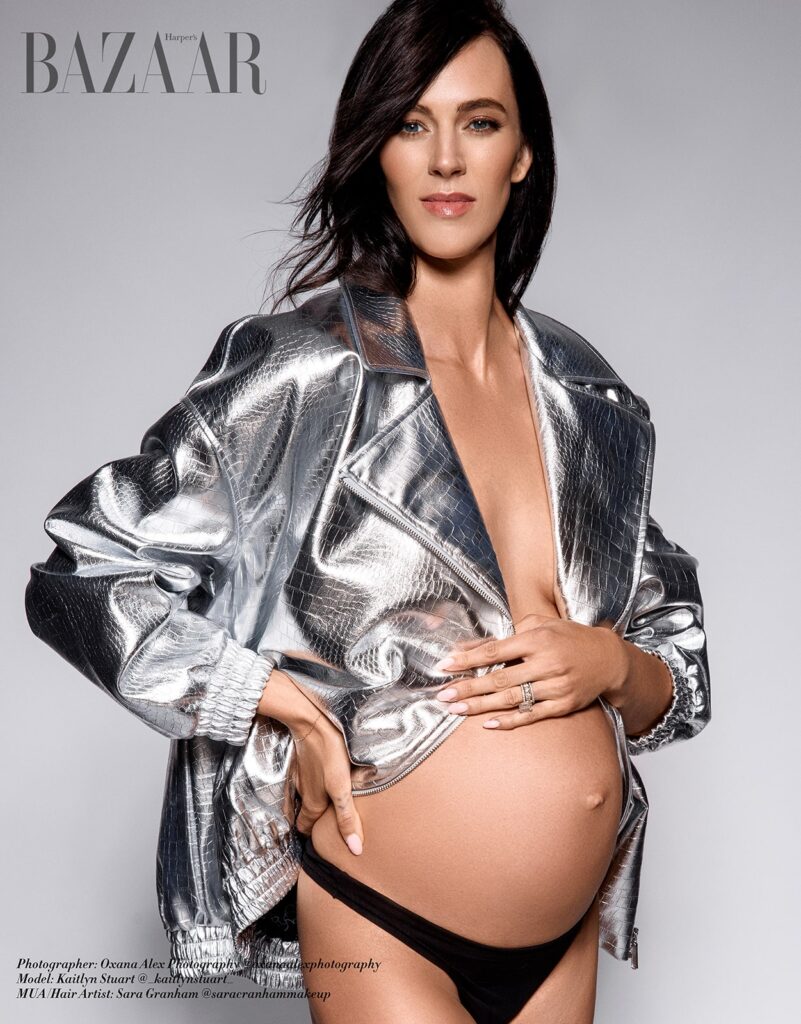
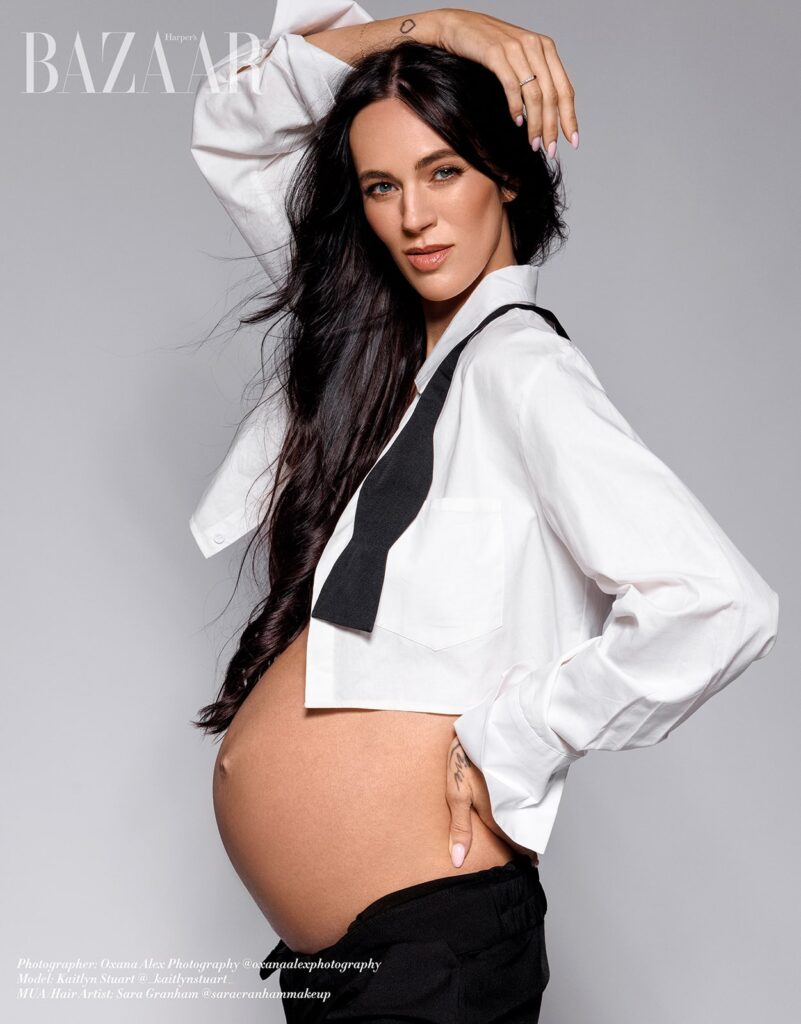
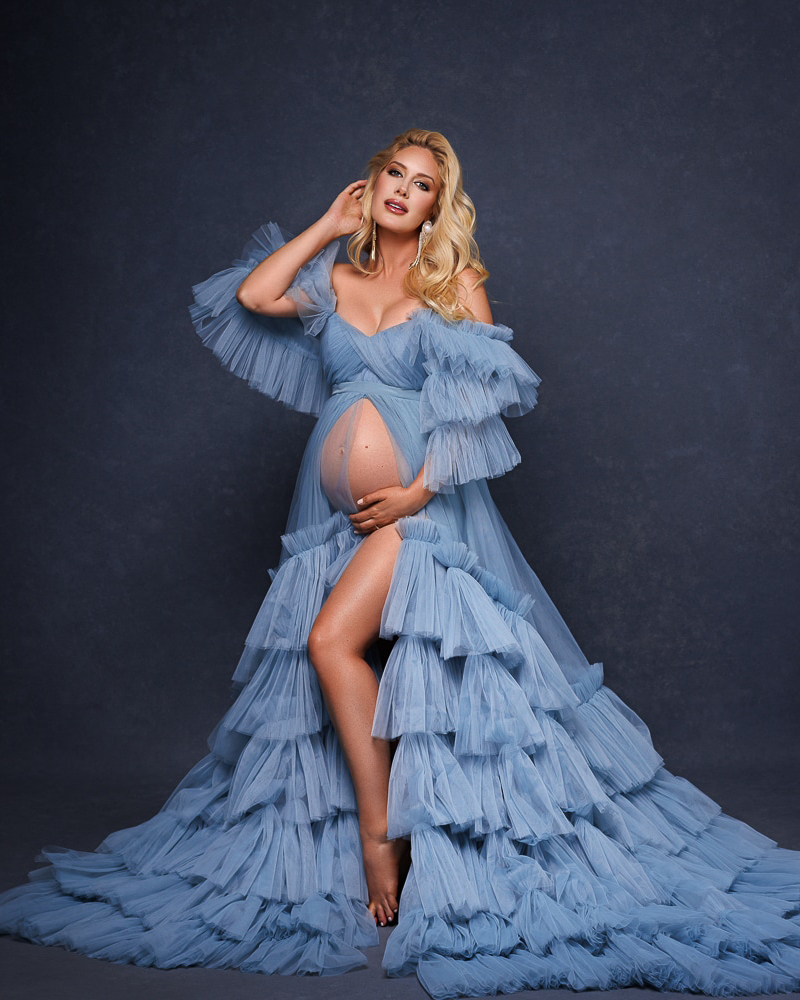
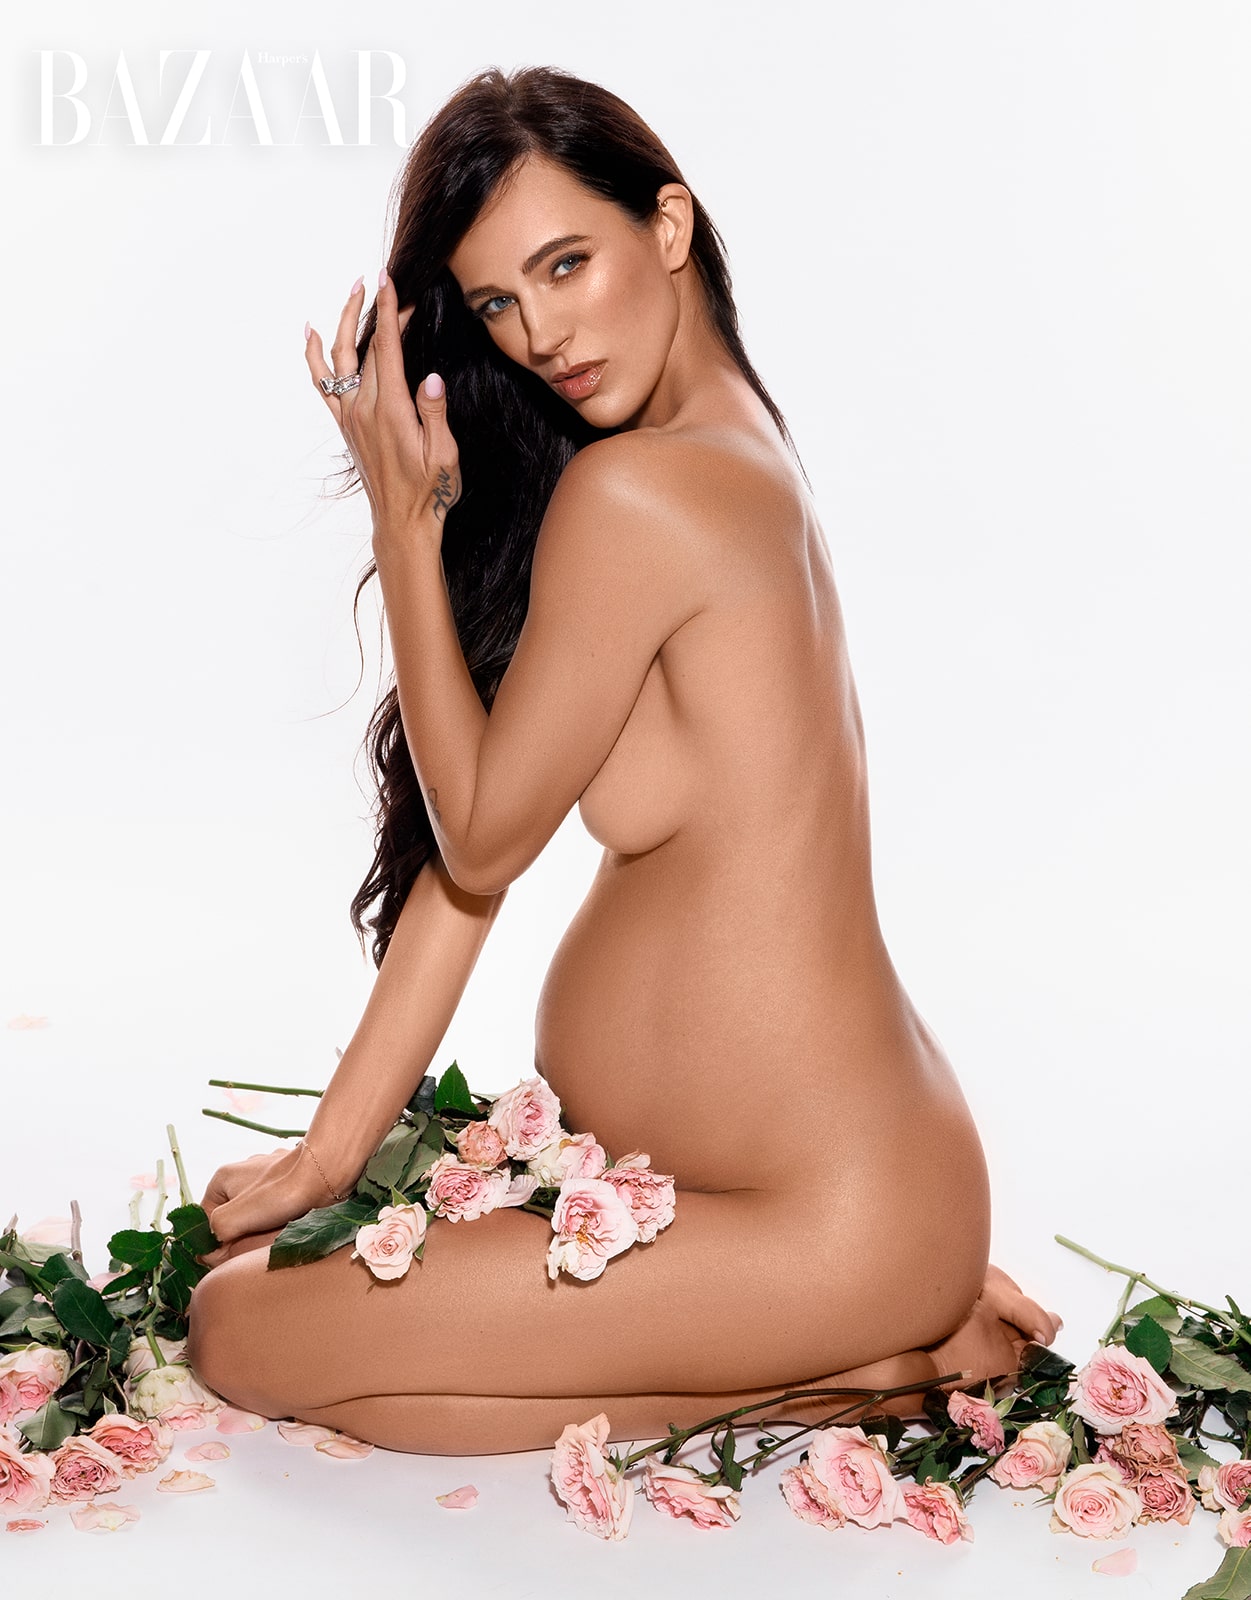
For instance, a 45 degree main light setup off the camera axis creates soft modeling on the face, while still revealing the full roundness of the belly. A higher, narrower beam from a deep octa will pull out the clavicles and upper chest, giving that stunning “goddess” posture that women love in their maternity fashion portraits.
Natural Light vs Studio Light for Controlled Maternity Photography
Natural light is beautiful when outdoors, filled with character and unpredictable charm. But inside a maternity studio, predictability and control are everything. Studio lighting offers a level of precision that natural light simply cannot match. Every bounce, every shadow, every subtle highlight can be designed intentionally, without fear of clouds rolling in or light temperatures shifting unexpectedly mid-shoot.
Inconsistent natural light can mess up skin tones, exposure levels, and the overall mood of a session. There have been many cases where photographers initially planned to use window light only to find themselves battling the clock and the weather, scrambling to save the flow of the shoot. Clients notice these interruptions. It breaks their confidence. In contrast, studio portrait lighting gives full command of the environment. No guessing, no reacting. Only creating.
When shooting maternity portraits under controlled studio light, the belly maintains its soft glow consistently from pose to pose. A beautifully crafted triangle of highlight under the cheekbone or the rim lighting wrapping around the belly’s curve stays exactly as intended. Studio light transforms the unpredictable into the intentional, allowing maternity photographers to shape not just the photograph, but the entire experience for the client.
See top reasons to consider an in studio pregnancy photoshoot here.
Highlight Placement to Flatter Belly and Face Symmetry
In maternity portrait photography, highlight placement guides the viewer’s eye and shapes the perception of the subject’s form. It is a deliberate act, not an accidental byproduct of where the light falls.
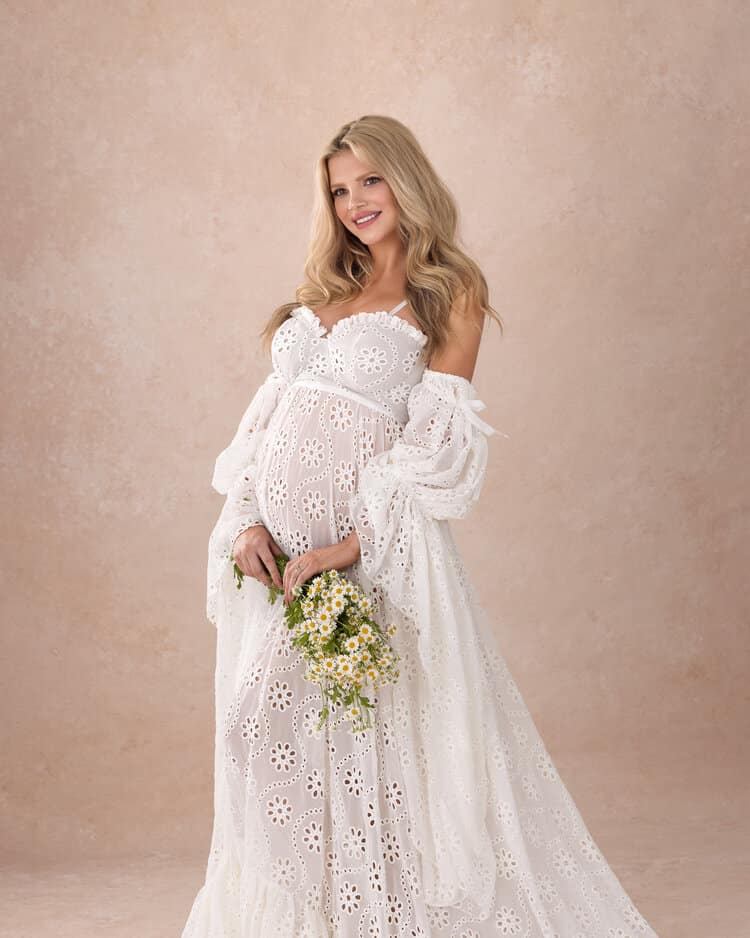
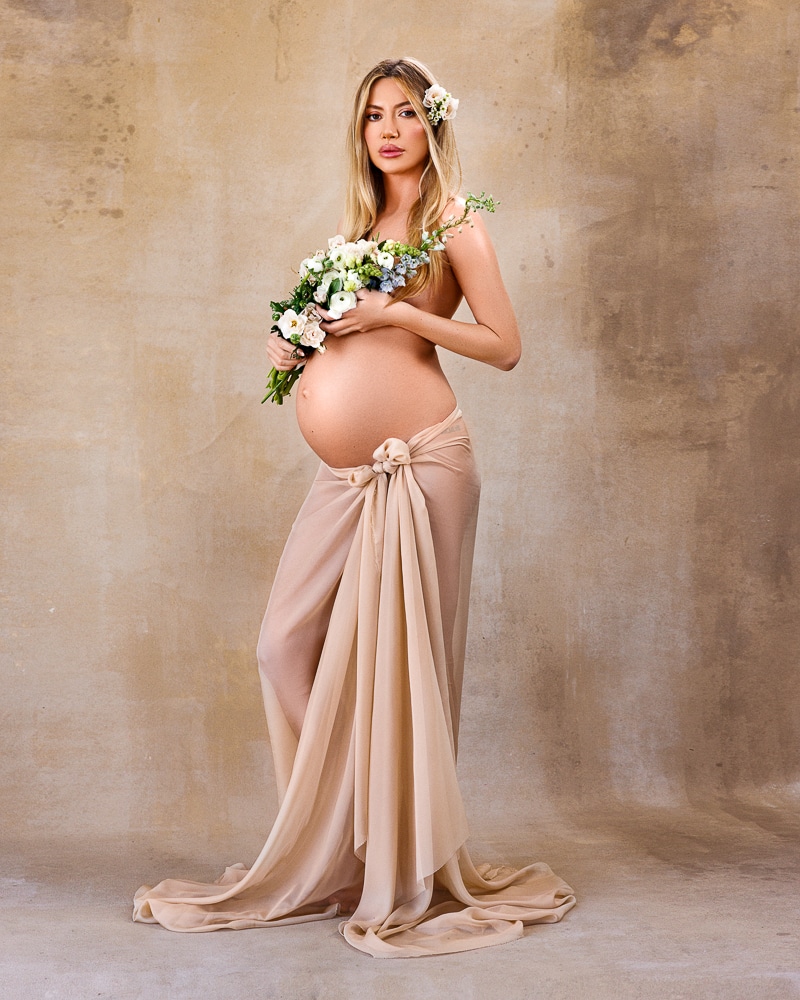
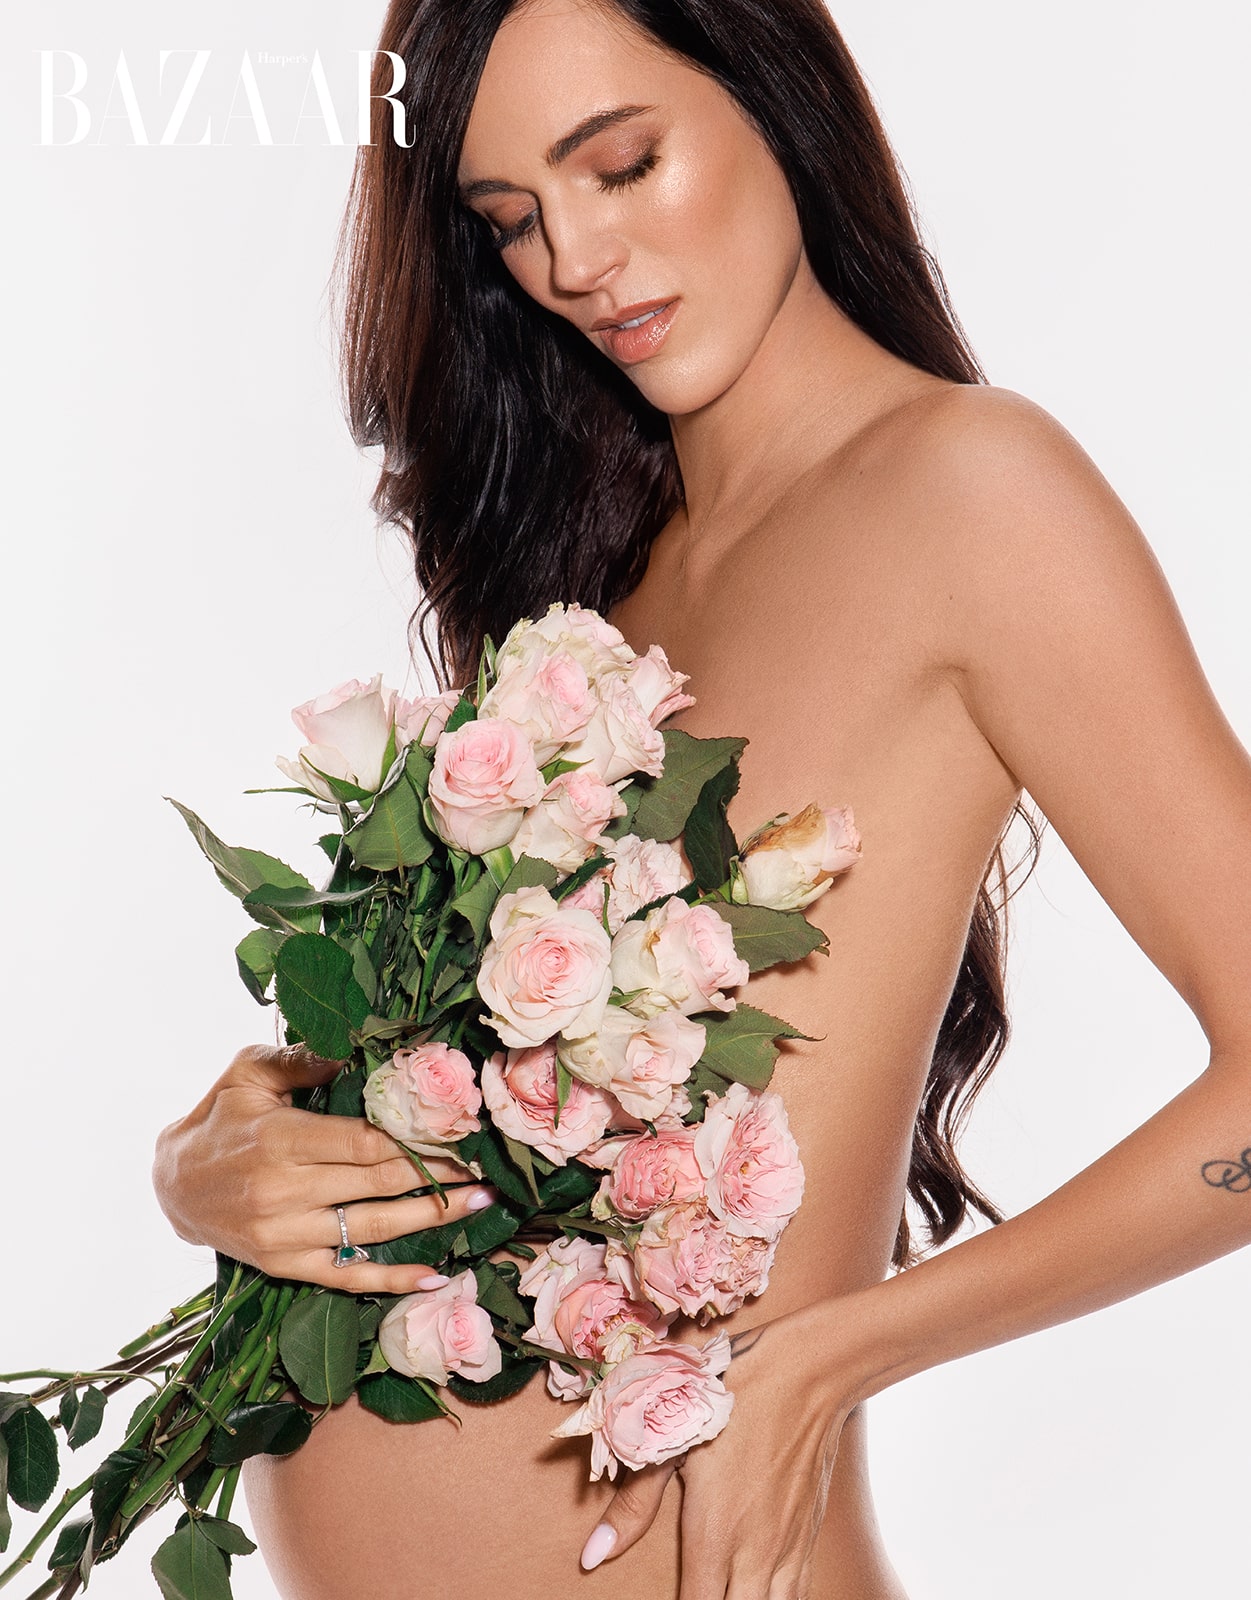
Placing highlights across the upper curve of the belly draws immediate attention to the life-giving center of the portrait. Flowing that light gently upward to the chest, neck, and finally illuminating the face allows the composition to feel unified and natural. The transitions must feel as if light is naturally emanating from the subject herself.
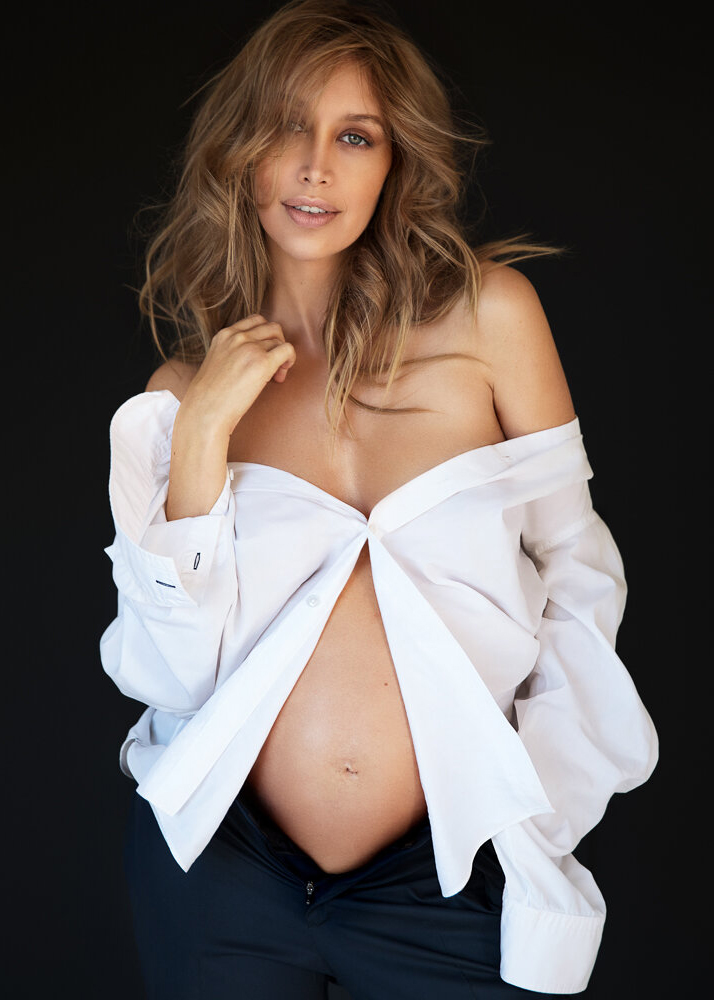
A butterfly lighting setup, with the main light directly above and slightly forward of the camera, can create a beautiful symmetrical glow over the face, while a carefully positioned fill softens the transitions across the body. For a moodier portrait, Rembrandt lighting can be employed, using a triangle of light on the cheek to subtly lead the viewer’s gaze from her expressive eyes down to her hands cradling her belly. No part of the highlight placement should feel random. The photographer becomes a director of the viewer’s journey across the image through careful, purposeful light decisions.
Using Shadows to Slim and Contour the Body Elegantly
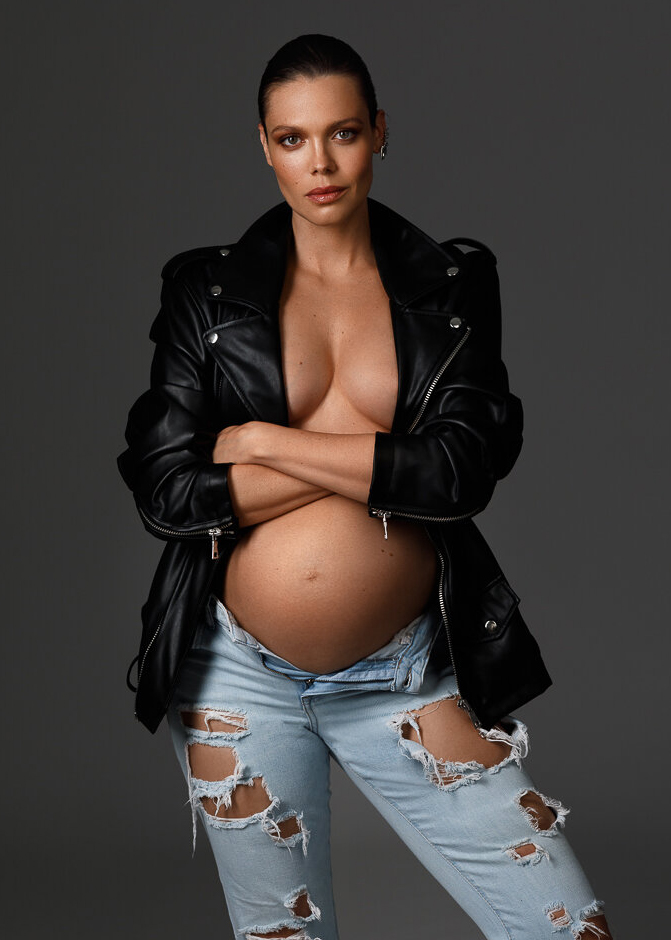
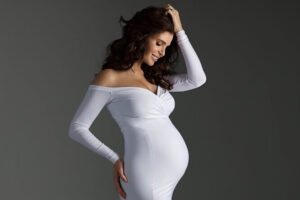
Rather than fearing shadow, photographers should embrace its ability to carve shape, define curves, and emphasize strength in the maternal form. Positioning the main light at a 45-degree angle to the subject and slightly above eye level naturally creates soft shadow on the opposite side of the subject’s body. This gentle darkness adds dimension, slims the torso, and defines the rounded beauty of the belly without distorting its shape.
The key is maintaining soft, graduated shadows rather than hard lines. A slight rotation of the subject’s body away from the light, coupled with a modest camera repositioning, can enhance this contour effect even further. The side facing the light reveals the form, the opposite side wraps into mystery, depth, and emotion.
Lighting Equipment for Maternity Studio Shoots
A complete setup typically includes one powerful main light for key illumination, a secondary light for background separation or subtle rim lighting, a range of modifiers to soften or focus the beams, and sturdy stands to keep everything steady. Backup equipment like cables and batteries ensures the session continues smoothly, even if unexpected technical issues arise.
Safety in the studio becomes even more critical when working with expecting mothers. Light stands must be properly weighed down with sandbags, cords should be taped securely to the floor, and boom arms holding overhead lights must be triple-checked to prevent accidents.
Types of Studio Lights: Monolights, Power Packs
Understanding the type of studio light you are using is crucial for consistency and control.
Monolights, which have built-in power supplies, offer flexibility and ease of movement around the studio. This can be particularly helpful when adjusting light angles quickly between poses without disturbing the flow of the shoot.
Power packs, on the other hand, offer faster recycling times and greater output consistency, particularly valuable in high-end fashion portrait sessions. However, they require careful studio organization to avoid tripping over cables and cords, a consideration that becomes doubly important in maternity sessions where the subject’s mobility may be limited.
Choosing between these types depends on the studio environment, the style of maternity portraits being created, and how much flexibility or precision is needed for the lighting setup.
Flash vs Constant Light for Maternity Sessions
Flash provides more control over exposure, allows the photographer to work at lower ISO settings for cleaner files, and can overpower ambient light easily when needed. It also creates crisp, defined edges in the lighting setup, which is essential when sculpting the form of the body beautifully.
Constant lights, while providing a continuous visual preview of the lighting effect, often run hot and can be uncomfortable during longer sessions. They also require faster lenses or higher ISO settings, which can compromise image quality when aiming for editorial-level results.
If you have a controlled studio setting, I’d go with flash lighting.
Essential Light Modifiers
Every modifier changes the way light behaves, from how it wraps around curves to how it defines edges or softens skin textures. Mastering your lighting equipment transforms an ordinary maternity shoot into an experience that looks rich, dimensional, and timeless.
Deep Octa, Parabolic Umbrella, Softbox: When and Why
The deep octa is often considered the crown jewel for maternity studio lighting when seeking to create punchy yet soft illumination. Unlike standard umbrellas, the deep octa produces a more focused and directionally controlled beam. This focus is what allows photographers to emphasize the beautiful curve of the belly while ensuring that the light falloff at the edges remains soft and pleasing. The greater depth of the modifier enhances the contrast without making the shadows harsh, giving the belly a radiant, polished appearance. It is the perfect balance of control and softness, ideal for maternity portraits where form needs to be defined without losing emotional warmth.
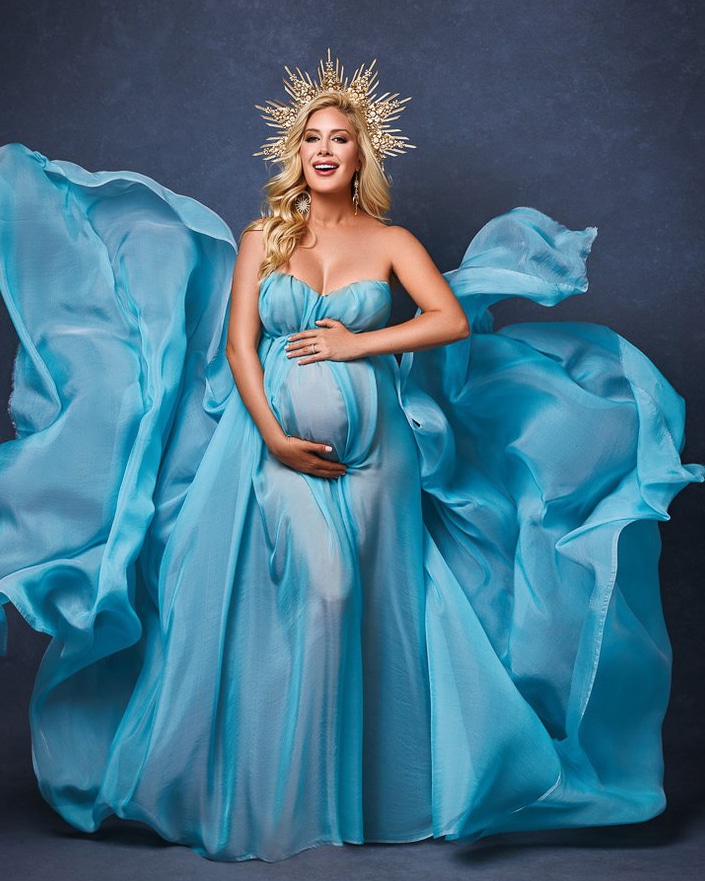
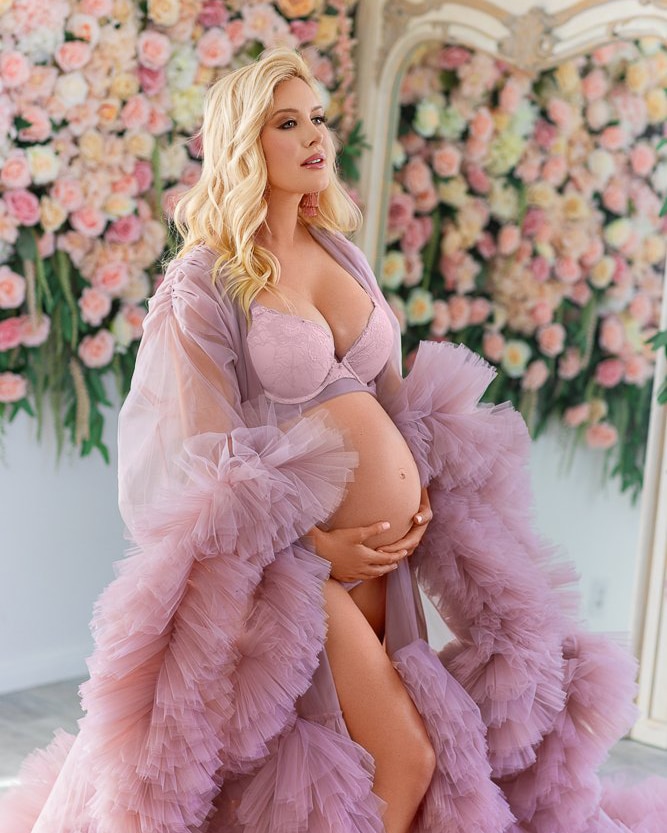
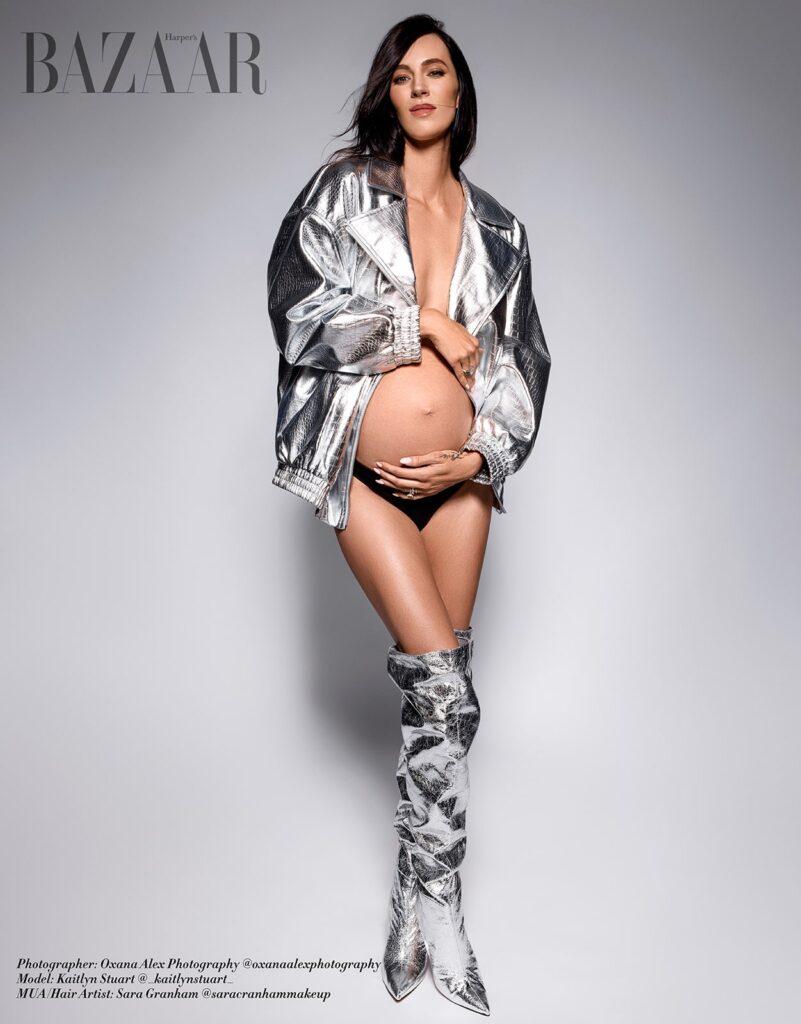
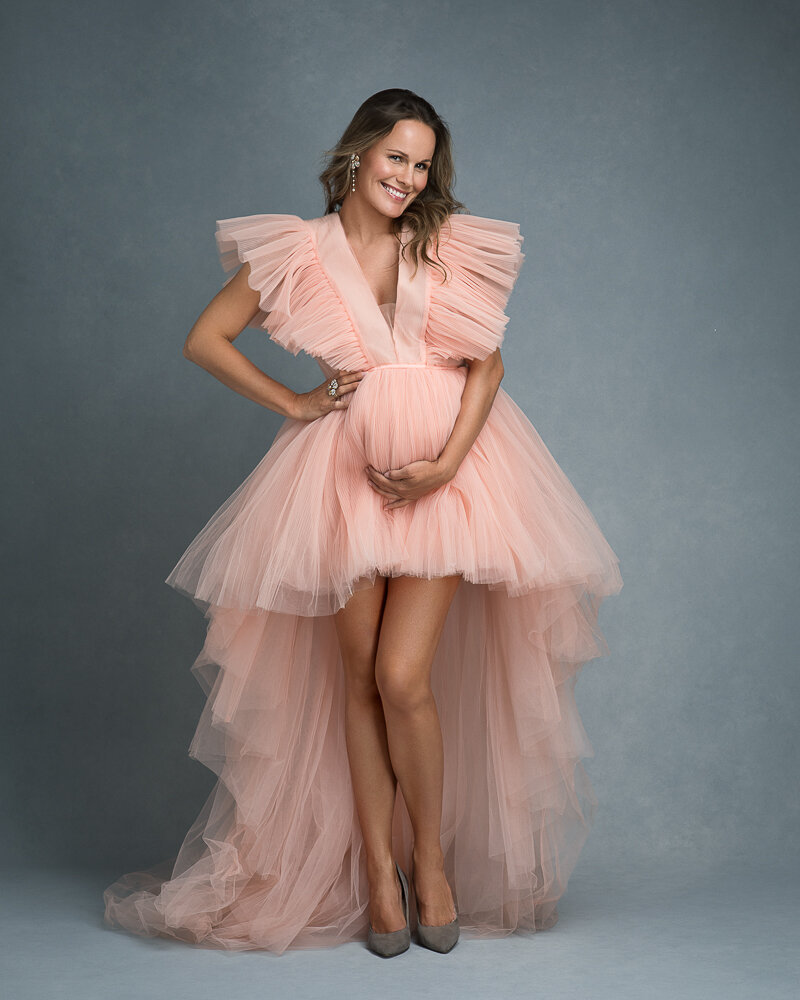
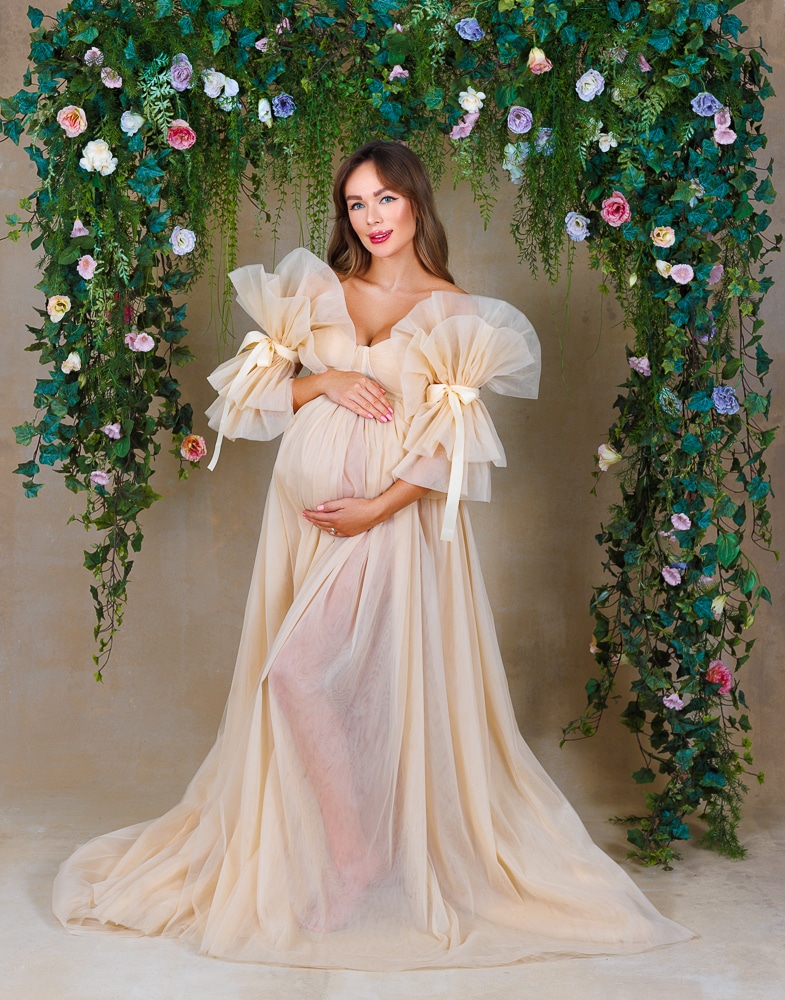
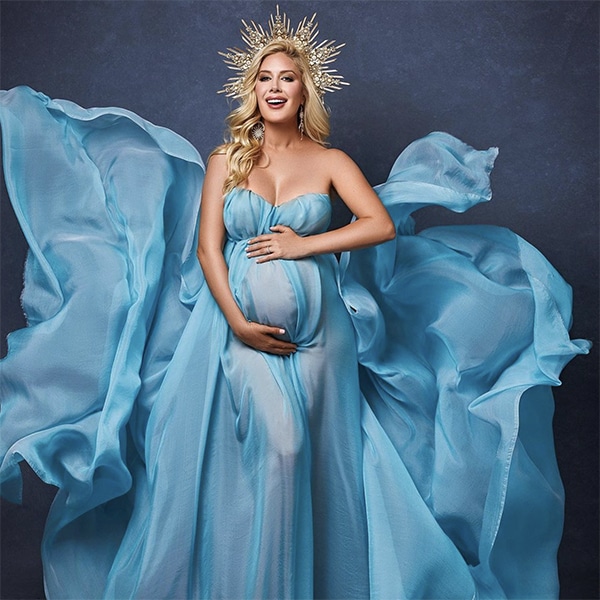
The parabolic umbrella offers a very different but equally powerful tool for maternity portrait photography. Designed for quick setups and wide, glamorous light spread, the parabolic umbrella is indispensable when shooting full-length fashion-inspired maternity portraits. This light modifier floods the entire figure with a luxurious, soft brightness, perfect for shoots where dress styling, hair, and accessories are important visual elements alongside the belly. The parabolic umbrella produces a natural yet luminous look that flatters a wide variety of poses and wardrobe choices.
The softbox remains the workhorse of studio portrait photography and an absolute essential for maternity sessions. Its predictably even illumination and gentle light wrap make it ideal for capturing every curve of the body without flattening the form. For maternity work, larger softboxes, typically those at least three feet wide, are particularly well suited. The larger the source, the softer and more gradual the light falloff becomes, creating that coveted maternal glow without erasing the sculptural shadows that give the portrait depth.
Diffusion Fabrics, Grids, Barn Doors
Further refining the light involves accessories that shape and modify the quality of the illumination even more precisely. Adding an extra layer of diffusion flattens specular highlights and stretches shadow transitions even more delicately.
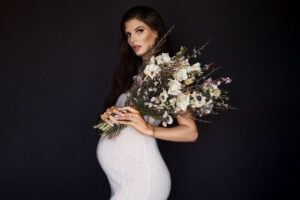
Grids serve an entirely different purpose. These honeycomb attachments allow pregnancy photographers to control the spill of light with surgical precision. When photographing maternity portraits, a grid can help spotlight just the belly or isolate the face without allowing the light to flood the background unintentionally. Grids are especially powerful when working in low-key lighting setups or creating dramatic black and white maternity portraits where highlight placement needs to be tight and controlled.
Barn doors provide hard-edged shaping control, allowing the photographer to block off light in specific directions. While not as commonly used for front-lighting maternity subjects, barn doors are extremely useful when applying hair lights or rim lights. They ensure that the additional light adds polish and separation without spilling undesirably onto the background or interfering with the careful key light setup.
Reflectors: White, Silver, Gold... What to Pick
Reflectors are among the simplest pieces of lighting equipment yet remain absolutely essential for maternity photography. They are low on the tech scale, but in the hands of an expert photographer, they become powerful light sculptors that control the softness, contrast, and mood of a portrait.
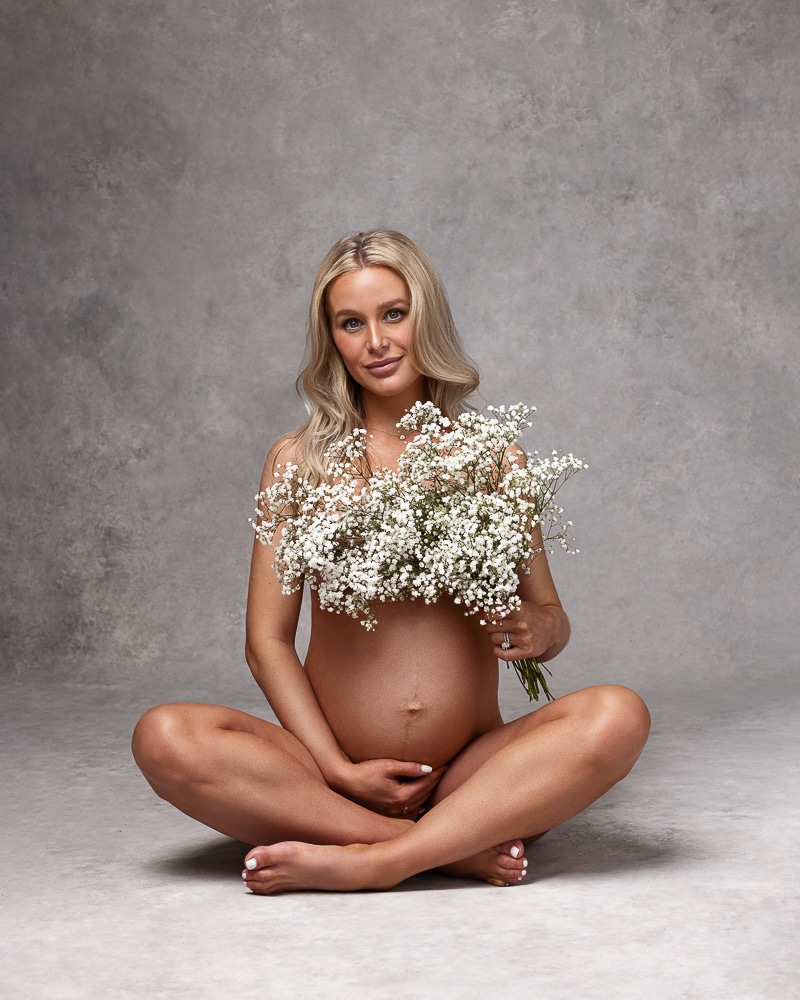
The white reflector is often the first choice for maternity sessions. It delivers a soft, neutral fill that lifts shadows gently without altering skin tone or adding excessive contrast. Placing a white reflector underneath the belly or at a slight angle opposite the key light provides just enough bounced illumination to soften the natural shadow falloff, preserving dimension without flattening the image.
Silver reflectors create a more intense, higher-contrast fill. They are useful when photographing maternity clients who want a sharper, more defined editorial look. However, silver must be used carefully because it can introduce unwanted specular highlights, particularly across the belly where the skin may be tighter and more reflective. When used at an appropriate distance and angle, silver reflectors can give the portrait a polished vibrancy that feels energetic and alive.
Gold reflectors warm the light significantly and can enhance the natural glow of the skin, particularly for clients with deeper or olive skin tones. However, overuse of gold reflectors can make the portrait feel dated or artificial, so it’s best used sparingly, often blended with white bounce to maintain natural color fidelity.
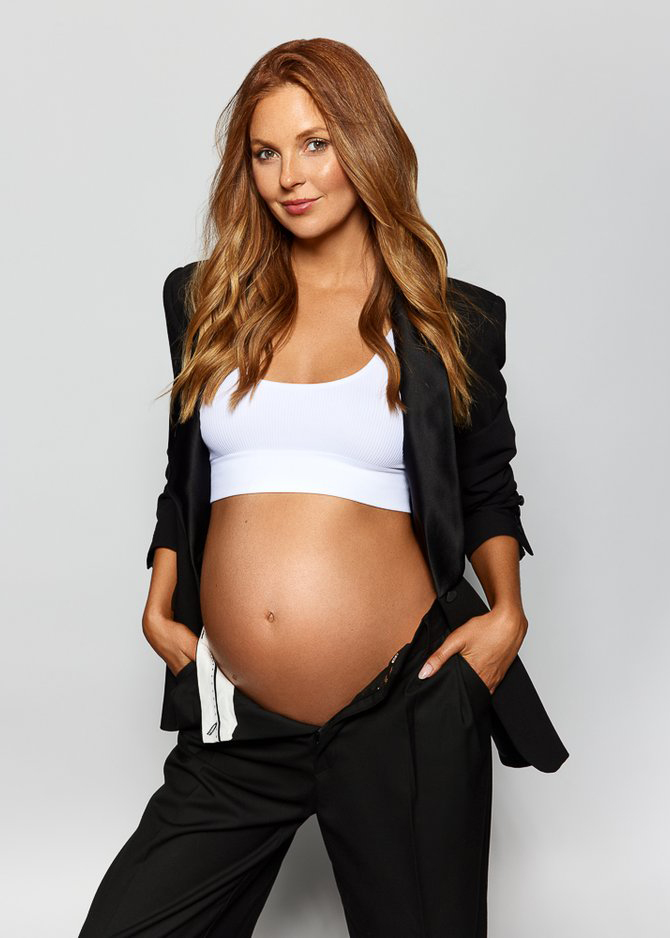
In practical terms, positioning a white reflector slightly below the subject’s belly is one of the most consistently effective techniques in studio maternity photography. This setup bounces the main light upward subtly, fills in any shadowy areas under the bump, and illuminates the subject’s face and hands gently, keeping the sculptural integrity of the light intact while adding softness where needed.
See 10 expert tips on how to get ready for a maternity photoshoot here.

Lighting Stands, Boom Arms, Sandbags for Safety with Pregnant Clients
Every piece of lighting equipment in a maternity studio should be secured not just for professionalism, but for the safety and comfort of the expecting mother. Heavy-duty light stands ensure that studio lights remain stable even when modifiers like deep octas or large softboxes create top-heavy setups. The additional use of boom arms, especially for overhead setups like butterfly lighting, requires meticulous counterbalancing to avoid any chance of tipping.
Sandbags are non-negotiable. Every light stand and boom arm must be weighed down properly, regardless of how sturdy it seems. Pregnant clients have a shifted center of gravity, and a simple stumble could turn into a serious accident. Gaffer tape should be used generously to secure cables and reduce trip hazards. Walking the studio floor before every shoot to check stability is a routine that should never be skipped.
Also, see camera angles and backdrop ideas for best maternity pictures here.
Mastering Lighting Ratios for Maternity Portraits
Lighting ratios are one of the most powerful tools a photographer can use to control the mood of the photos. A 2:1 ratio, where the key light is one stop brighter than the fill light, creates a soft and flattering effect. This style is ideal for glamour maternity photography, where the emphasis is on glowing skin and gentle transitions between highlights and shadows. A 3:1 ratio adds more dimension and a touch of drama, perfect for studio portraits that aim to show strength and depth.
When the ratio deepens to 5:1, the result becomes even more dramatic, introducing deep, sculptural shadows that emphasize form and emotion.
To measure these lighting ratios accurately, handheld meters become an essential part of the photographer’s equipment. Simply metering the key light and then the fill light allows complete control over the exposure values. Small differences, even half a stop, dramatically change the feeling of the final image. Without a meter, it becomes a guessing game, and precise studio portrait lighting should never rely on guesswork.
Lighting ratios are also a subtle way to direct attention and shape the body. Softer ratios reveal more of the subject’s form with minimal drama, while stronger ratios sculpt curves, narrow the waist visually, and deepen the presence of the belly. This technique helps photographers either highlight or soften features depending on the client’s needs and posing goals.
A practical exercise that refines lighting control is setting up three simple variations in one shoot. First, create a 2:1 ratio by metering the key and fill lights one stop apart. Then adjust for a 3:1 ratio, creating a bit more shadow definition, and finally experiment with a 5:1 ratio to explore deep, dramatic shadow play. This will train your eyes to see differences.
See more lighting and posing tips for maternity photographers here.
Classic Portrait Lighting Techniques Refined for Maternity
Classic portrait lighting patterns have been used for decades because they flatter the human face and form beautifully.
Butterfly Lighting for Elegant Symmetry
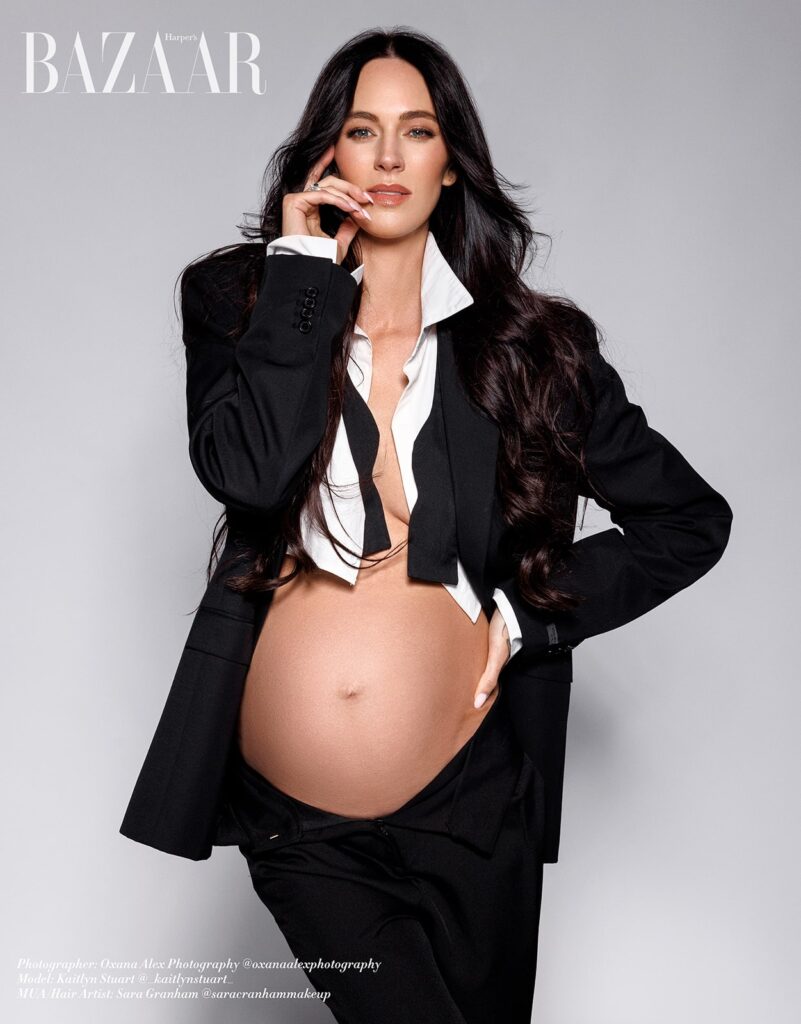
Butterfly lighting is a staple in maternity portrait photography when aiming to create graceful symmetry and a soft, angelic glow. Setting up this lighting pattern requires placing the main light directly above and slightly in front of the camera, creating a small, flattering shadow directly under the nose that resembles a butterfly. The symmetrical shadowing enhances the structure of the cheekbones and gives the subject an immediate sense of glamour, ideal for maternity fashion portraits.
The height of the main light is critical. Positioning the studio light slightly above the subject’s eye level creates the perfect downward angle for flattering necklines and defining the upper body without creating harsh shadows under the eyes. If the light source is placed too high, it can create unflattering, deep-set eye sockets. Too low, and the butterfly shadow disappears, losing the desired elegant effect.
Rembrandt Lighting for Dramatic, Heroic Maternity Portraits
Rembrandt lighting introduces a bold, emotional layer to pregnancy photography, perfectly suited for mothers who want portraits that feel strong and timeless. Achieving Rembrandt lighting requires positioning the key light at a 45-degree angle to the subject and slightly above their eye level. The hallmark is the illuminated triangle of light on the cheek opposite the light source, surrounded by soft shadow that gives the image depth and drama.
Balancing darkness without losing emotional connection is crucial. Too much shadow can turn a portrait cold and distant. Gentle fill light must be used sparingly, just enough to lift the deepest shadows while preserving the strength of the form. Rembrandt lighting in studio portrait photography turns a maternity portrait into a statement, focusing not only on beauty but also on the power and courage of the journey.
Exact placement of the camera relative to the light and subject is important. Standing too close to the key light will flatten the triangle and dilute the effect. Moving too far will create unnecessary profile lighting. A deliberate balance between the camera, the subject, and the light source preserves the signature look that Rembrandt lighting demands.
Split Lighting to Sculpt and Slim
Split lighting offers a striking, edgy look in maternity studio portrait photography, cutting the face and body into light and shadow directly down the center. The key light is placed at 90 degrees to the subject, illuminating only one side while leaving the opposite side in shadow. This creates a bold line of division that can add a modern, editorial mood to maternity portraits.
For maternity sessions, split lighting is especially effective at sculpting the figure and slimming the body. The careful shadow placement along the side of the subject deepens the curve of the belly and emphasizes the silhouette. When shooting with split lighting, it’s important to avoid allowing the shadows to turn harsh or too deep. A subtle, careful fill on the shadow side, placed at a lower intensity, can maintain depth while preventing the shadow areas from appearing disconnected or flat.
Loop Lighting for Softly Defined Maternal Glow
Loop lighting provides a perfect blend of form and softness for maternity portraits. The key light is placed slightly to the side and slightly above the subject’s eye line, creating a small, loop-shaped shadow under the nose that gently falls toward the side of the face. This pattern maintains flattering cheekbone highlights while giving the face dimension and warmth.
A creative variation involves adjusting the position of the main light just a little further to the side, moving the lighting into a “mini-Rembrandt” setup. This slight modification adds a touch more drama without fully committing to the stronger mood that a true Rembrandt portrait creates. The transition between loop and mini-Rembrandt setups provides flexibility, allowing you to tailor each shot to the client’s desired tone and emotional feel.
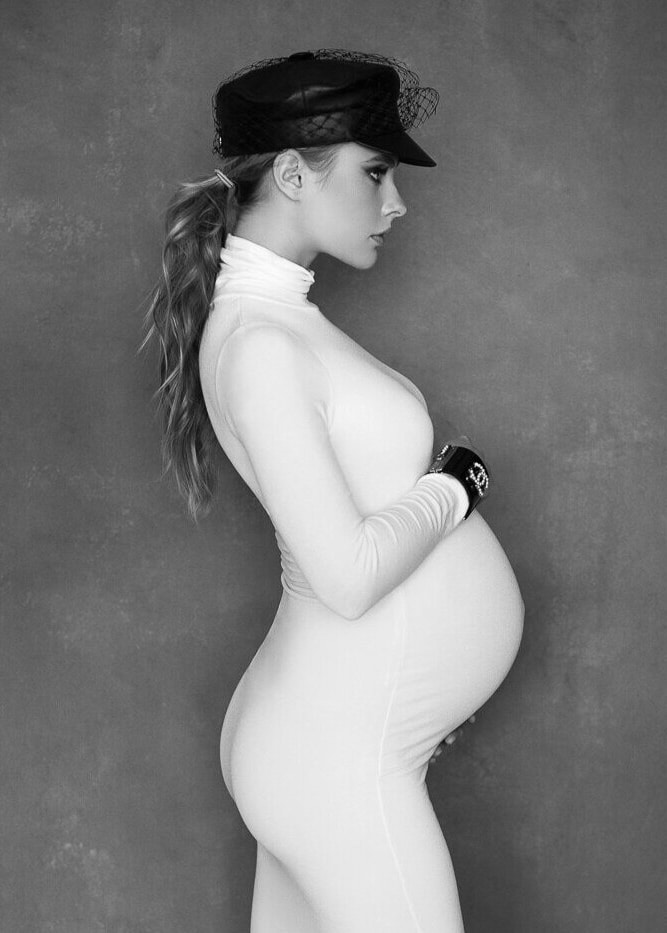
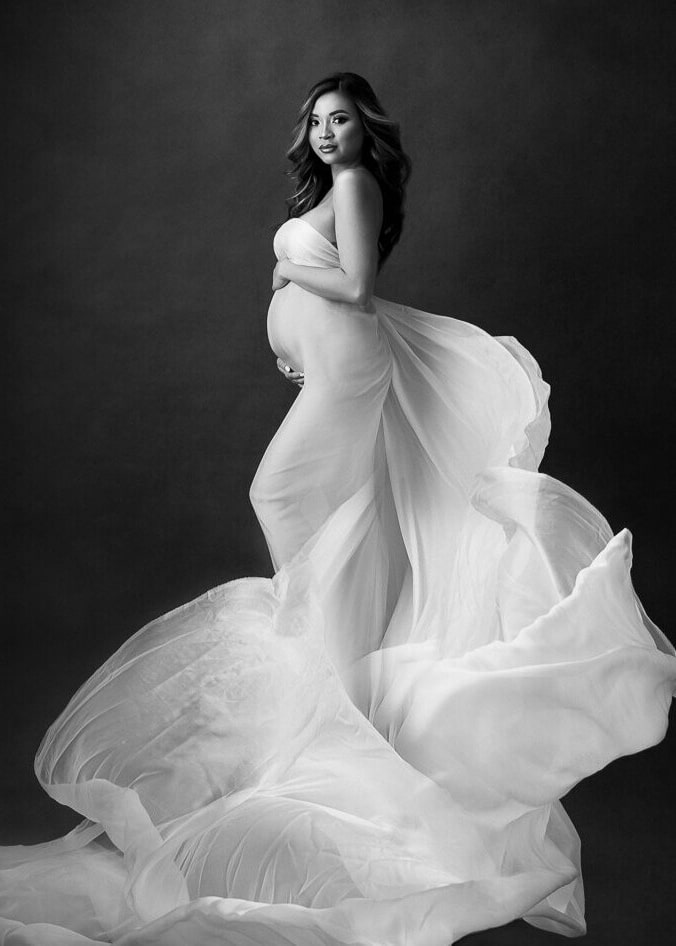
Lighting Techniques for Black and White Maternity Photography
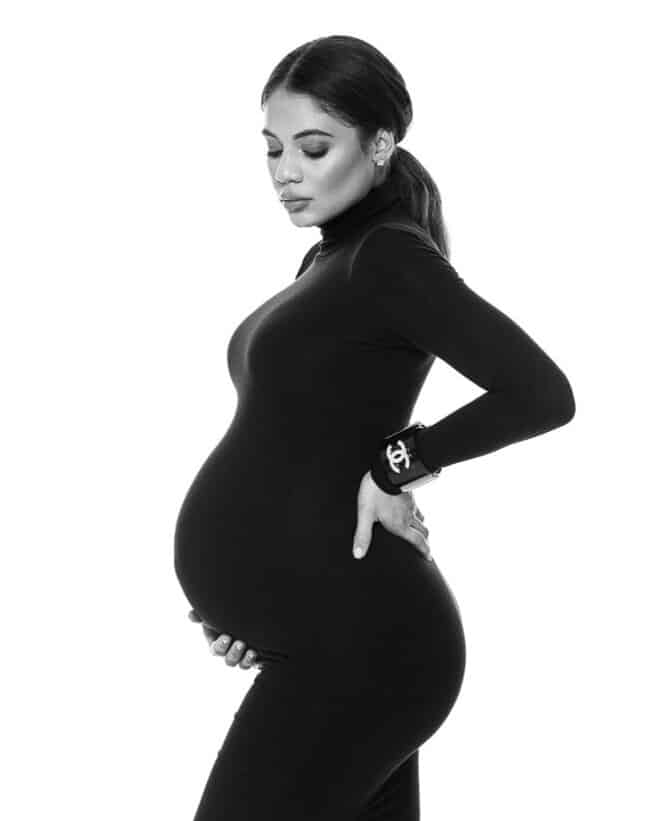
Shooting maternity portraits in black and white demands a different approach to lighting. Without color to guide the viewer’s emotions, the portrait must rely entirely on form, texture, light, and shadow. In studio maternity photography, the lighting setup becomes the heart of the image, carving depth and emotion through tonal contrasts alone.
Studio light that enhances textural details plays a crucial role when creating monochrome maternity portraits. Softboxes or parabolic umbrellas positioned carefully can reveal the gentle tension of the belly’s skin, the softness of a hand resting across it, or the strength in a mother’s posture. A slightly harder light source, placed at a calculated distance, adds a crispness to textures without exaggerating imperfections. The balance must be exact to celebrate the maternal form without introducing distraction.
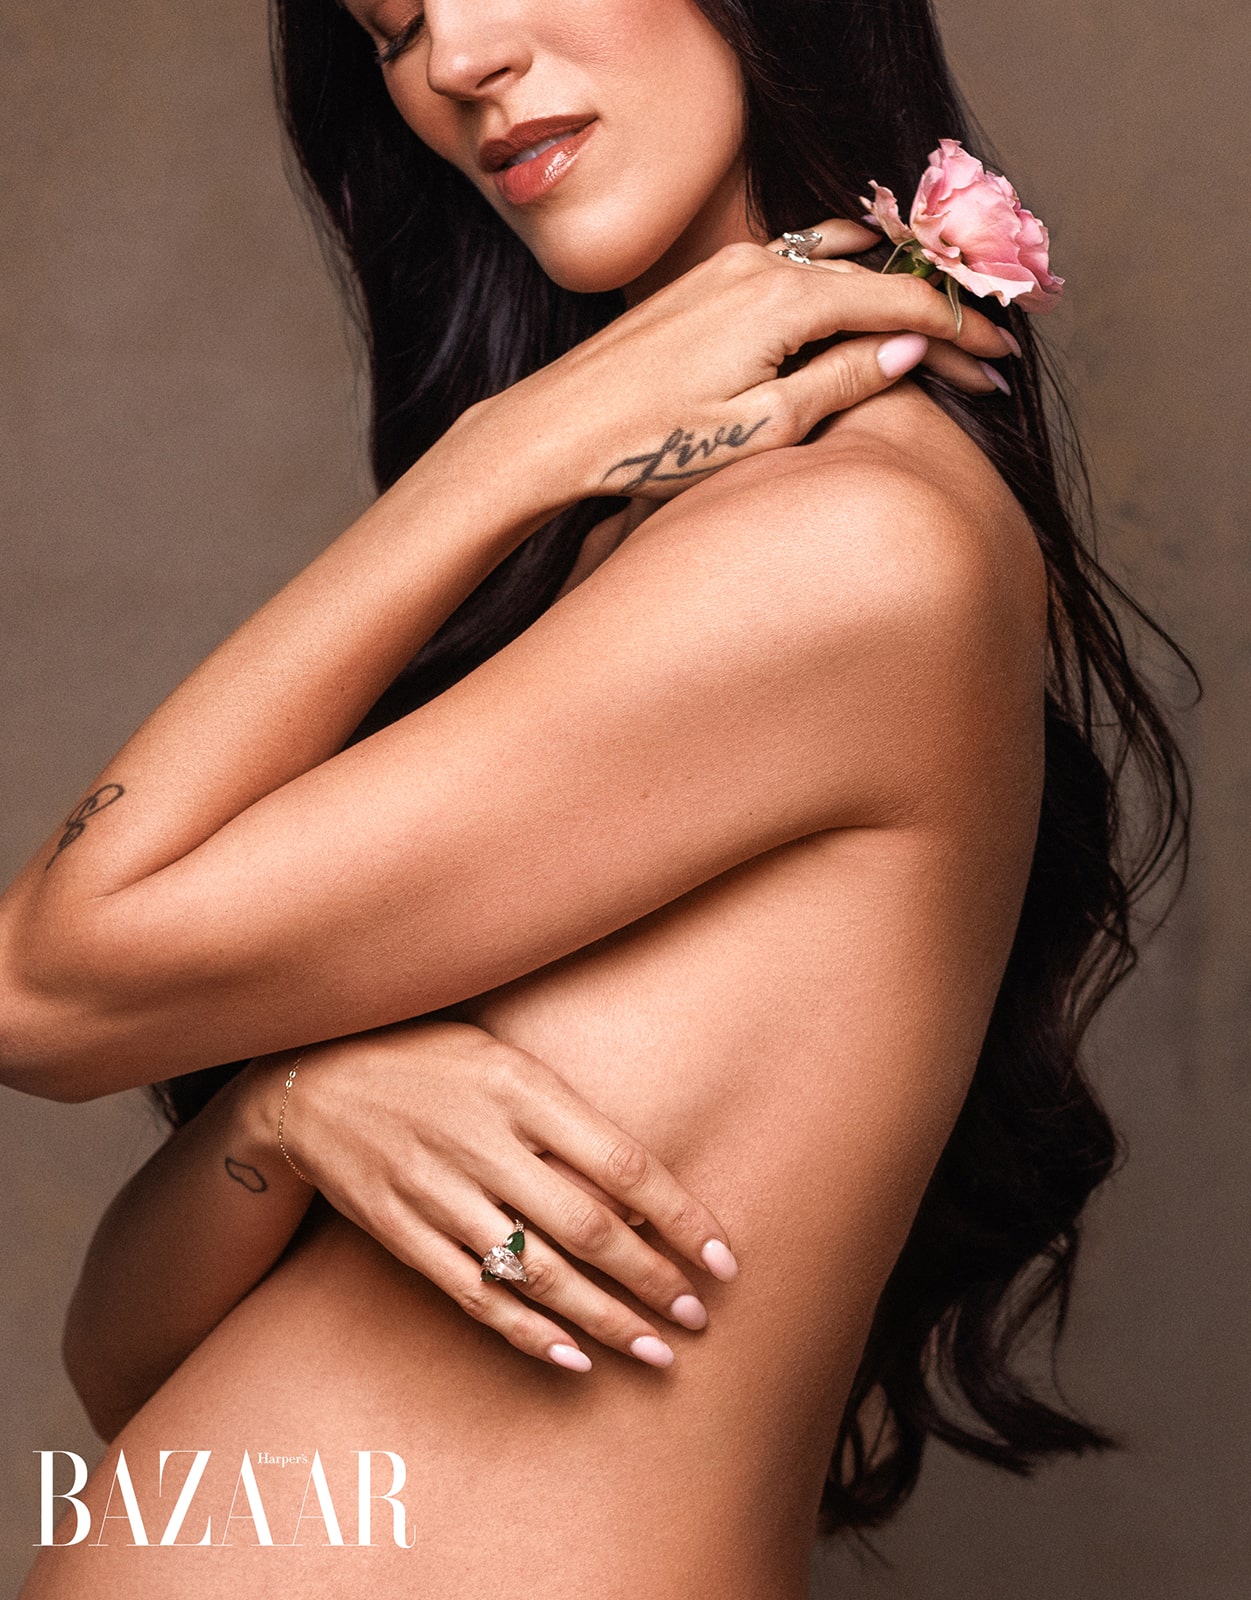
Deep shadows become a signature element in black and white maternity portrait photography. High-contrast rim lighting, where a light source grazes the side of the subject’s body, creates separation between the figure and the background. This technique emphasizes the elegant curvature of the belly and arms, turning them into flowing sculptures of light and shadow. Rim lights must be controlled with grids or barn doors to avoid washing out the form and to maintain the integrity of the silhouette.
Shallow depth of field, often crucial in color portraiture for separating the subject from the background, matters less when working in monochrome. In black and white photography, contrast and lighting techniques carry that weight instead. A deep, shadowy background can be just as effective at isolating the subject as a blurred one. Focus shifts from creamy bokeh to precision in tonal transitions, allowing the photographer to work at a variety of f-stops without sacrificing the emotional pull of the final image.
Creative Lighting Techniques: Beyond Traditional Maternity Portraits
Expanding creative horizons in maternity portraiture means pushing beyond the classic setups and embracing lighting techniques that introduce a sense of artistry, fashion, and surprise into the final images.
Using gels (even just on one light) to create colored highlights on the side of your subject brings a unique, editorial twist to maternity photography. Gels placed over a second light can cast hues like magenta, teal, or warm amber across the edges of the body, transforming a traditional portrait into a fashion-forward visual. The placement of the gelled light source should kiss the side of the subject, enhancing curves and form without overwhelming the natural skin tones. Proper exposure balancing between the main light and the gelled light ensures that the color accent remains subtle, not cartoonish.
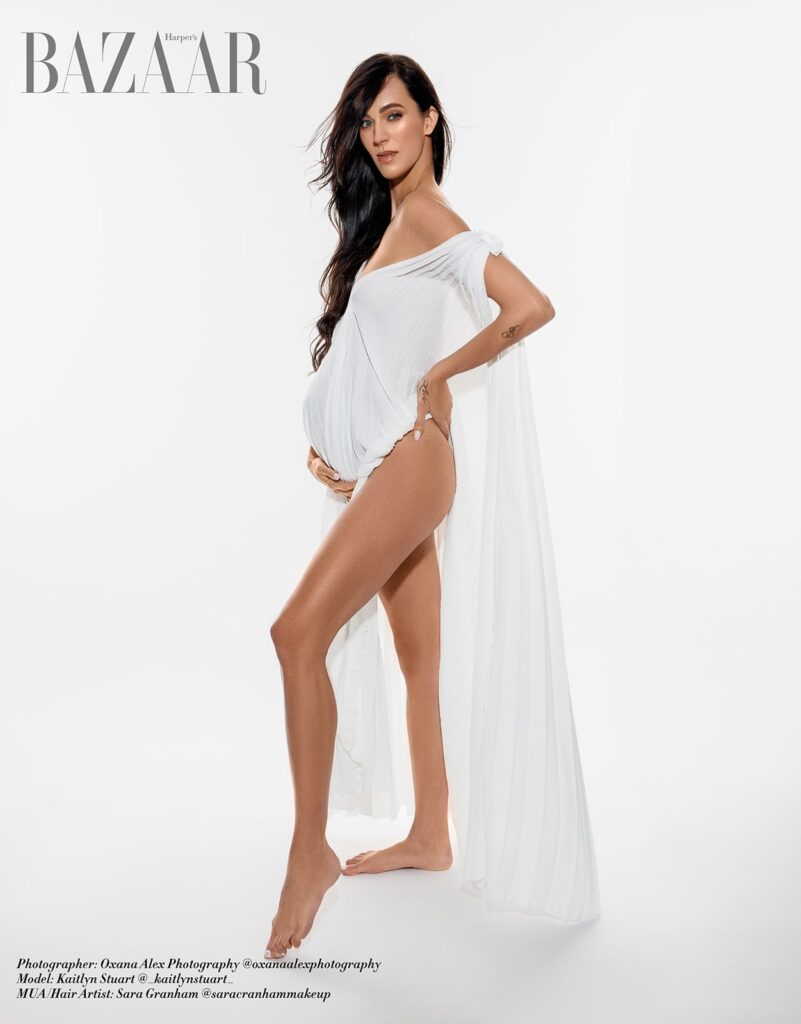
Fashion portrait-inspired lighting setups elevate the glamour in maternity sessions. Building a setup that includes a focused key light, polished fill light, and carefully managed hair or rim lights replicates the sophistication of magazine editorials. Positioning a deep octa high and slightly to the front, combined with controlled negative fill on either side, frames the subject’s form with clean, sculptural light. This method gives maternity clients the feeling of stepping into a Vogue shoot, celebrating their strength and beauty in a way that transcends traditional portrait norms.
Additionally, shooting with bare bulbs introduces a raw, shadowy drama into studio maternity portraits. A bare flash head, unmodified, creates strong, directional shadows with crisp, defined edges. This technique demands precise placement, usually close to the subject but angled carefully to avoid unflattering hotspots.
Controlled flare techniques are are also great, they add a dreamy, ethereal quality that resonates particularly well in studio setups that aim for softer emotional tones. Positioning a second light source to barely edge into the frame creates intentional flare, diffusing part of the image and bathing the subject in a subtle, glowing halo. This must be handled delicately, too much flare can flatten the portrait.


Photographic Troubleshooting: Lighting Mistakes and Solutions
Studio maternity photography demands precision. Even small errors in lighting setup can create issues that weaken the final portrait. Recognizing these mistakes early and correcting them quickly is one of the traits that separates good photographers from masters of their craft.
One of the most common mistakes is creating flat or muddy lighting, this is a big one, especially if you are a commercial photographer or one that doesn’t have much experience with artificial light. When the key light and fill light are too close in power, the portrait loses its sense of shape. Without enough lighting ratio between highlight and shadow, the maternity portrait looks lifeless and unflattering. The way to overcome flat lighting is by controlling the ratio carefully, maintaining at least a one to two-stop difference between the main light and any fill or bounce. Pulling the fill further away, feathering the main light, or slightly increasing contrast through negative fill brings the portrait back to life and restores the depth that studio portrait lighting should deliver.
Another frequent issue is overexposed belly highlights. Pregnancy stretches the skin, which naturally catches more light, and if the key light placement is too aggressive or the modifier is too hard, the belly can become a glaring hotspot. Fixing this requires subtle adjustments, feather the key light away from the belly, diffuse the light further with additional fabric, or slightly decrease the main light’s power. Using a larger light source placed closer to the subject also softens the exposure, ensuring that the belly retains its gentle glow without losing texture or detail.
Unwanted shadows, particularly under the arms or just below the belly, can distract from the clean, elegant lines that maternity portrait photography demands. Shadows in these areas are often the result of placing the main light too high or using a fill light that does not reach low enough. Carefully adjusting the height of the key light and re-aiming it more horizontally can clear the shadows naturally. Introducing a low-placed reflector or subtle secondary bounce also smooths out shadowy pockets without introducing flatness, maintaining the sculptural beauty of the light.
Troubleshooting lighting issues in maternity studio sessions requires an eye for nuance and a commitment to protecting the emotional impact of the portrait. It’s not enough to create light that works technically, the light must breathe life into the story being captured.
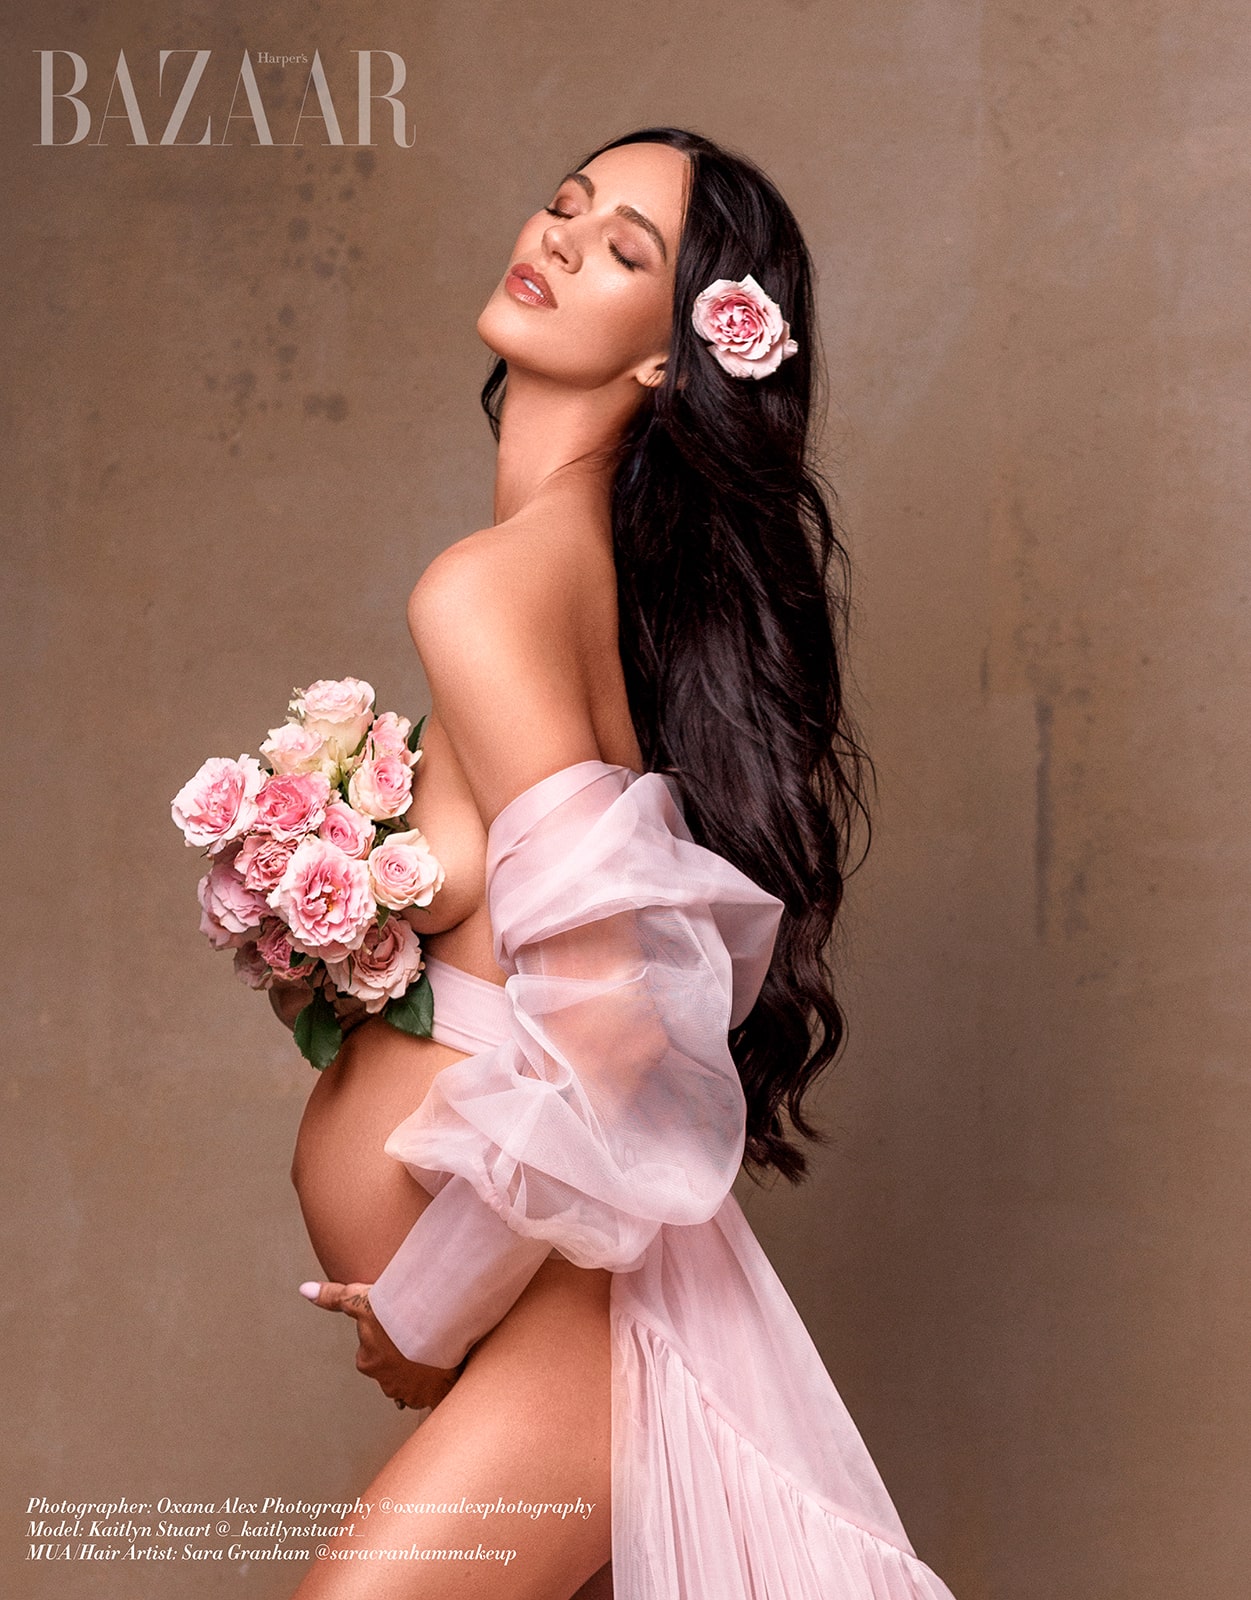
Oxana Alex – Fashion Photographer in Los Angeles
At Oxana Alex Photography, we are open for booking in studio fashion and maternity photography sessions. Our studio is located at 2100 Sawtelle Blvd UNIT 307 Los Angeles, CA 90025, USA. You can see our photoshoot pricing here & our photography reviews here.
Conclusion
Mastering light is what makes or breaks maternity portrait photography. Cameras, lenses, posing, and editing all matter, but without control over the light, the images will never rise above the ordinary. Light sculpts the body, defines the mood, tells the story, and creates the emotional pull that gives maternity portraits their timeless power.
Building real excellence in maternity studio photography comes from experimentation. It’s forged by constantly adjusting lighting ratios, tweaking setups, refining techniques, and trying different pieces of lighting equipment until the results speak with authority. No two maternity sessions are exactly alike, and that’s what makes mastering light such a thrilling, lifelong craft. There is always a new nuance to discover, a better angle, a cleaner bounce, a richer shadow, a softer glow.
And at the heart of all this technical mastery lies something even more important, the experience you create for your client. Technical excellence in studio portrait lighting must always serve client comfort, emotional connection, and storytelling. A great portrait is never just perfectly lit. It feels real, it feels powerful, and it feels true to the moment.
Maternity portrait photography in the studio is an artform. It demands a deep knowledge of light behavior, sharp technical skills, and a commitment to creating an experience that honors the subject fully. When light is mastered, and the client feels seen, the portraits created become stunning treasures that grow more meaningful with time.
How do I schedule my session?
You can schedule your session by emailing [email protected] or by texting our studio at (310) 854-9695.

