Mastering Light: A Guide to Different Types of Lighting in Photography
Become a master of photography lighting techniques and you will master photography.
Photography is all about capturing the right moment with the perfect lighting. It helps convey emotions, set the mood, create depth and can make or break the quality of an image.
Whether you’re shooting portraits, landscapes, or still-life subjects, understanding the different types of lighting in photography and how to use them is essential And in this article, we’ll explore the various light sources and how to use them to enhance your photographs.
What is Natural Lighting?
Natural lighting, also known as daylighting, is the use of natural light to illuminate indoor spaces [1]. It can be achieved through windows, skylights, and other exterior glazing. Natural light varies throughout the day depending on the position of the sun[2].
Natural light sources sources include the harsh midday sun or the softer, more muted lighting on a cloudy or foggy day.
What is Artificial Lighting?
Artificial lighting is a type of photographic lighting used in photography that is not derived from natural light sources. It is created using various types of electric lights, such as studio lights, continuous lights, strobe lights, and other types of artificial lighting equipment.
The use of artificial lighting allows for greater control over the lighting conditions and can help achieve specific lighting effects. This type of lighting is often used in indoor or studio photography, where natural light sources may not be available or may not provide sufficient illumination.
Different types of natural and artificial lighting produce different effects, from soft and diffused lighting to harsh and dramatic lighting. The position of the lights, the power and direction of the light, and the use of light modifiers such as reflectors and diffusers all play a role in creating the desired lighting effect.
Types of Lighting in Photography
There are many types of lighting in photography and to create different lighting setups, you need to use many different types of lighting techniques. Here are some:
Front Lighting (or Flat Light)
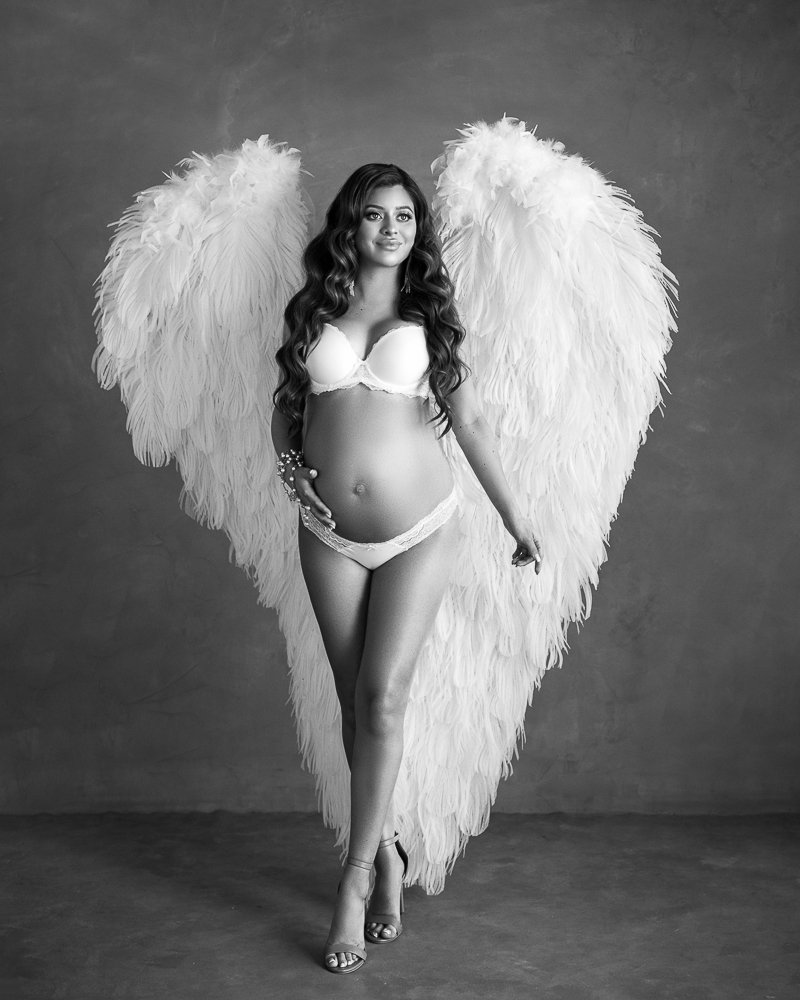
Front lighting, also known as flat lighting, is a type of lighting where the subject is illuminated from the front, creating an even and balanced exposure. This lighting technique is commonly used in portrait photography and product photography to create a clean and simple image.
An example of front lighting would be a studio headshot with a model sitting in front of a large softbox. The softbox provides a large, diffused lighting source that creates an even exposure on the subject’s face, eliminating harsh shadows and providing a clean and simple image. This type of lighting is often used for commercial headshots, as it produces a clean and professional look.
Broad Lighting in Photography
Broad lighting is a technique where the side of the face that is facing the camera is well lit, creating a broad area of light on that side of the face.
To achieve broad lighting, a photographer can use a soft light source, such natural photography light such as a softbox or umbrella, placed to one side of the subject’s face. The light should be positioned so that it is pointing towards the side of the face that is furthest from the camera. This will create a broad area of light on the side of the face that is facing the camera.
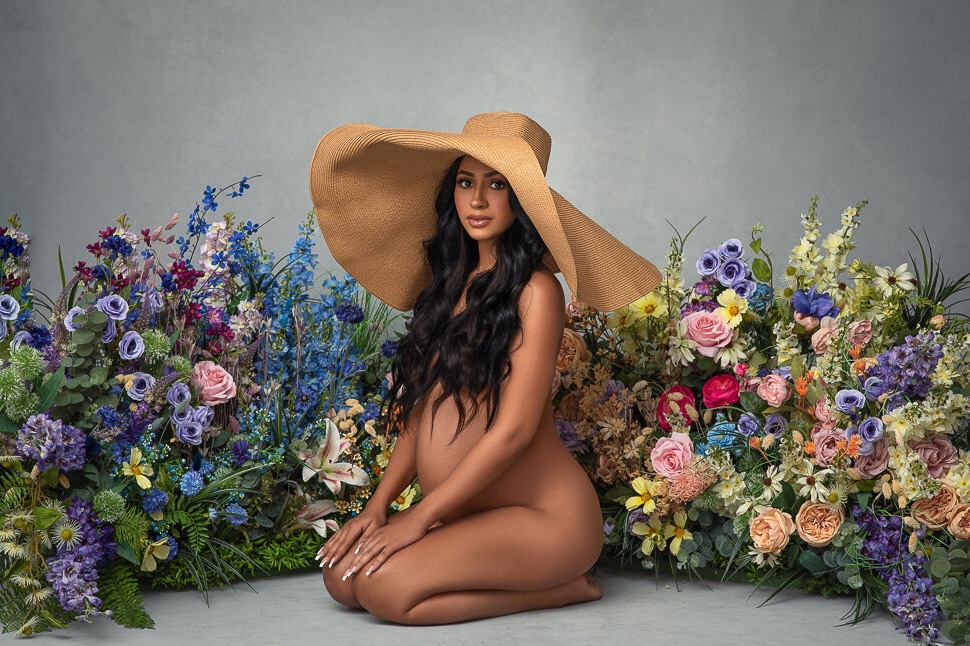
Soft Lighting in Photography
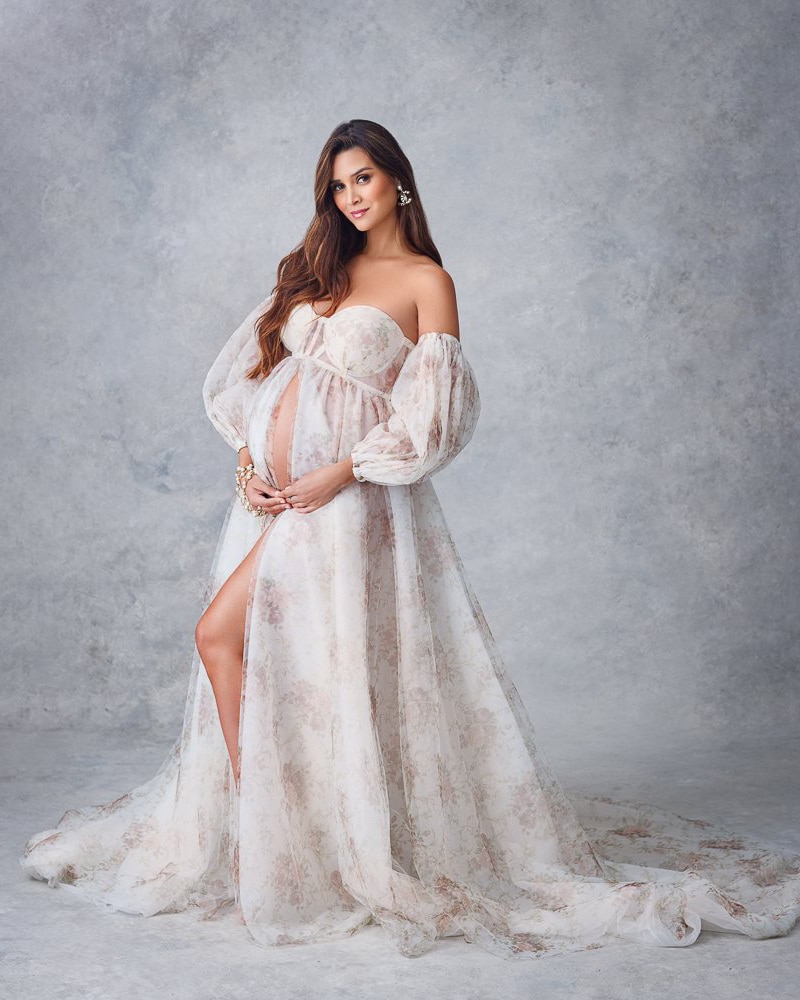
Soft lighting refers to a type of lighting that produces a gentle, diffused light that softens shadows and creates a flattering, smooth effect on the subject’s features. It’s often used in portrait photography, as it helps to minimize blemishes and imperfections on the subject’s skin.
The best light source to achieve soft lighting is natural light, such as the light that comes through a window or is filtered through a sheer curtain. A softbox and light diffuser can also be used with artificial lights to diffuse light and create soft lighting.
To achieve soft lighting, the light source should be positioned at a 45-degree angle from the subject, and the light should be diffused to minimize harsh shadows and create a soft or diffused light effect.
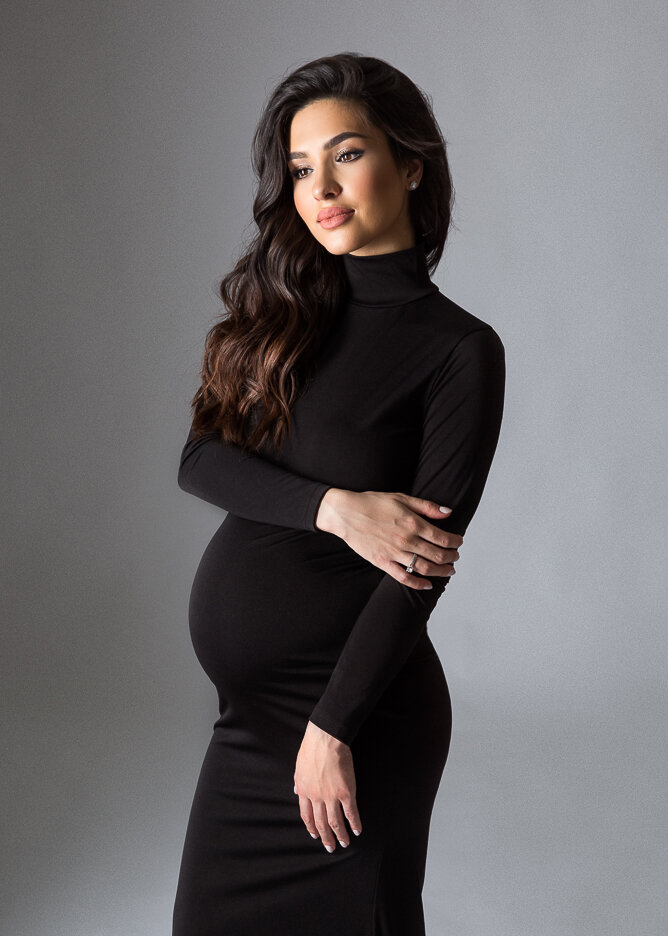
Short Lighting in Photography
Short lighting is a photography lighting technique where the key light illuminates the side of the subject’s face that is farthest from the camera. This type of lighting can help to create a more dramatic and sculpted look, as it emphasizes the shadows on the subject’s face.
To achieve short lighting, the photographer should position the light source (such as a studio strobe or a softbox) at a 45-degree angle to the subject, and then move it slightly behind the subject’s head so that it illuminates the side of the face that is farthest from the camera. The light should be set at a height that is slightly above the subject’s head, and the power of the light can be adjusted to achieve the desired level of contrast.
An example of short lighting in photography might be a portrait of a person with a strong, facial structure. By using short lighting, the photographer can emphasize the shadows on the subject’s face, creating a more dramatic and striking image. This technique can be used in a variety of genres, from portrait photography to fashion photography to still life photography.
Loop Lighting
Loop lighting is a type of portrait lighting that is achieved by placing the light source at a 30-45 degree angle to the side of the subject and slightly above their eye level. This creates a small loop-shaped shadow on the cheek opposite the light source, hence the name “loop lighting”. It is a flattering lighting technique that can be used to create depth and dimension in the subject’s face.
The best light source to use for loop lighting is a softbox or a diffused umbrella. These light modifiers help to create a soft and even light that can be positioned to achieve the desired effect. A studio strobe or a continuous light source can also be used, depending on the photographer’s preference.
Here’s an example of loop lighting in action: A photographer is taking a portrait of a model in a studio setting. They position artificial light in a softbox to the right of the model, be eye level, angled slightly downwards and towards their face. The model turns their face slightly towards the light source, creating a loop-shaped shadow on the left cheek. The rest of the face is evenly lit, with no harsh shadows. The resulting portrait has a soft and flattering look, with depth and dimension in the model’s features.
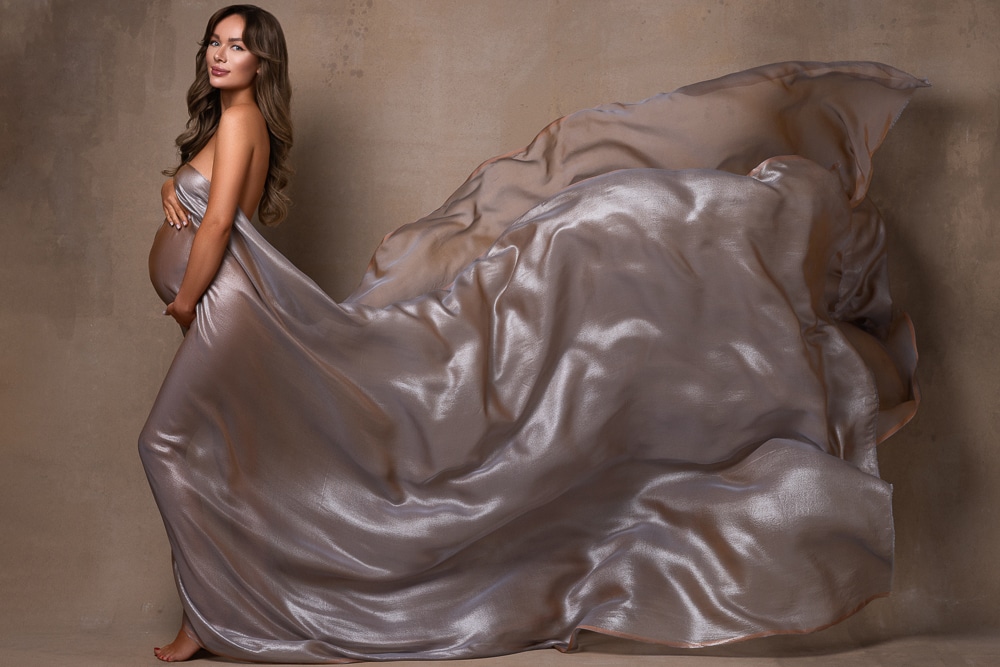
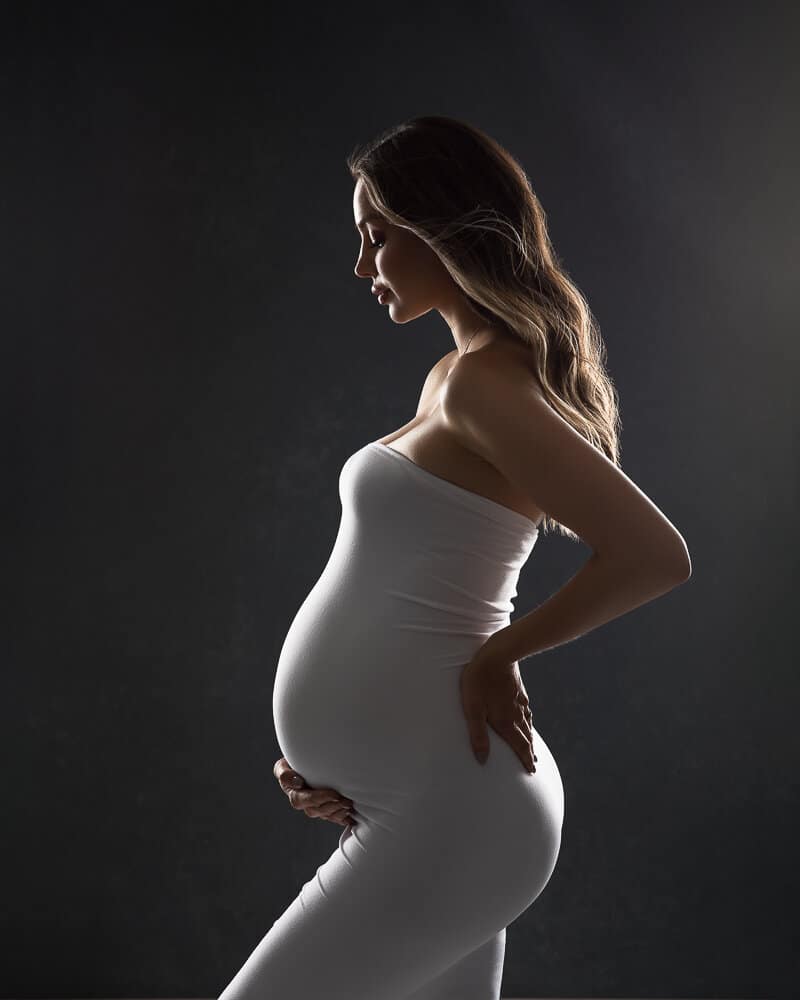
Backlighting
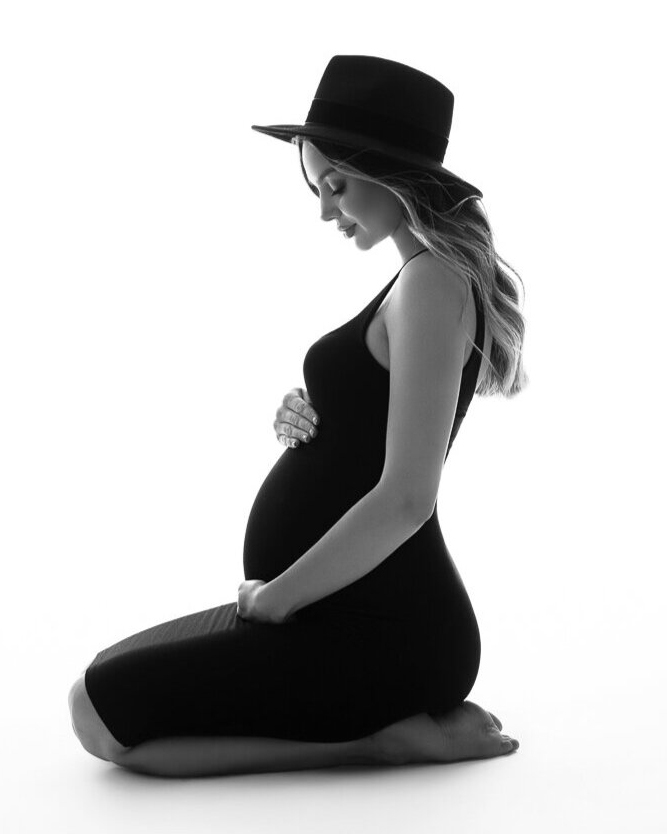
Backlighting is a photography lighting technique where the light source is placed behind the subject, facing the camera. This results in the subject being silhouetted or having a halo effect around them. Backlighting can create a dramatic and moody effect in photos and is commonly used in portrait, landscape, and nature photography.
The best light source to achieve backlighting is the sun during sunrise or sunset (golden hour). This is because during these times, the sun is positioned low in the sky, which makes it easier to position the subject between the camera and where light hits the sun.
To achieve backlighting, place the subject between the camera and the light source, making sure that the light source is positioned directly behind the subject. It’s important to note that the subject’s face may be in shadow due to the light source being behind them. To avoid this, you can use a reflector to bounce light onto the subject’s face or use a fill light flash.
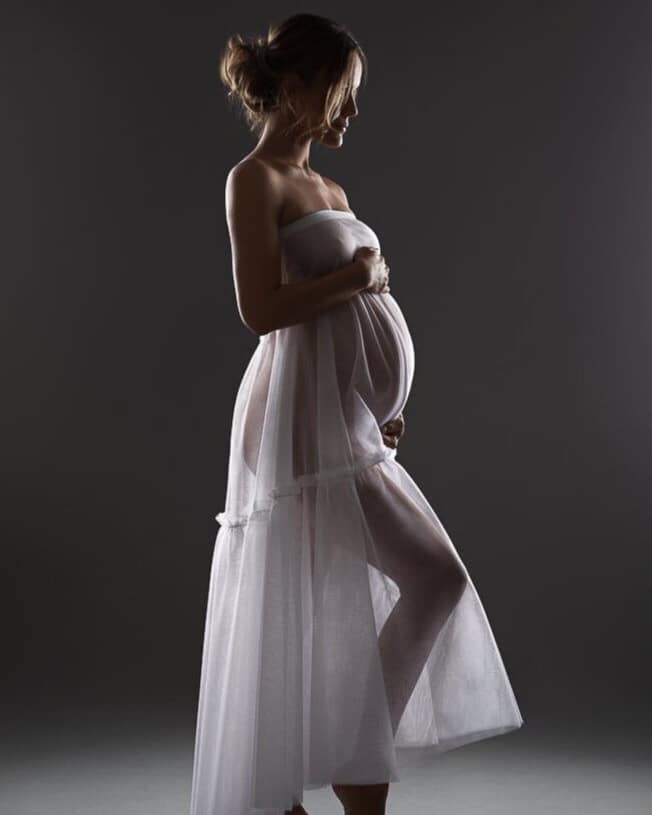
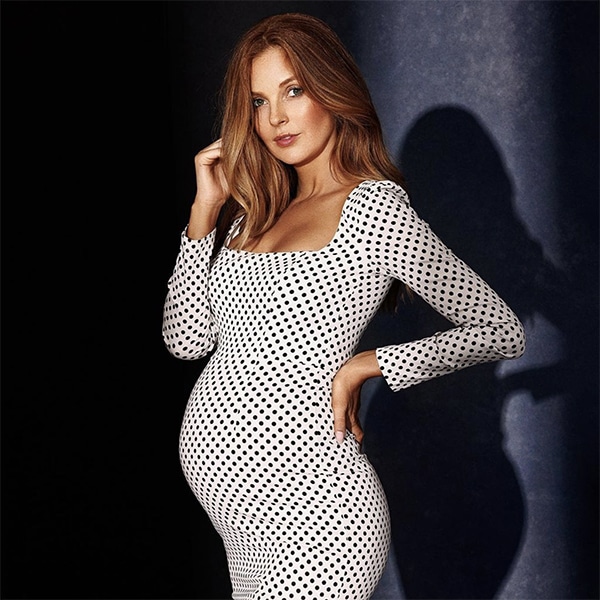
Split Lighting
Split lighting is a dramatic lighting technique used in photography, where half of the subject’s face is in shadow while the other half is well-lit.
To achieve this effect, a single light source, such as a studio light or a natural light source, is placed at a 90-degree angle to the subject, lighting only one side of the face while the other side is in shadow. The key is to position the light correctly so that it creates a clear line of demarcation between the lit and unlit sides of the subject’s face. This technique can be achieved using either hard or soft light, depending on the desired effect.
For example, if you want a more dramatic and edgy look, you can use hard light, which creates sharp shadows and crisp lines. On the other hand, if you want a softer and more natural look, you can use soft light, which produces more subtle shadows and smoother lines.
An example of split lighting method would be a portrait of a person with one side of their face lit by the sun while the other side is in shadow, creating a clear line of contrast between the two halves of their face. Another example could be a still life photograph of a fruit bowl with one half of the bowl lit by a studio light, creating a stark contrast between the brightly lit fruit and the shadowy background.
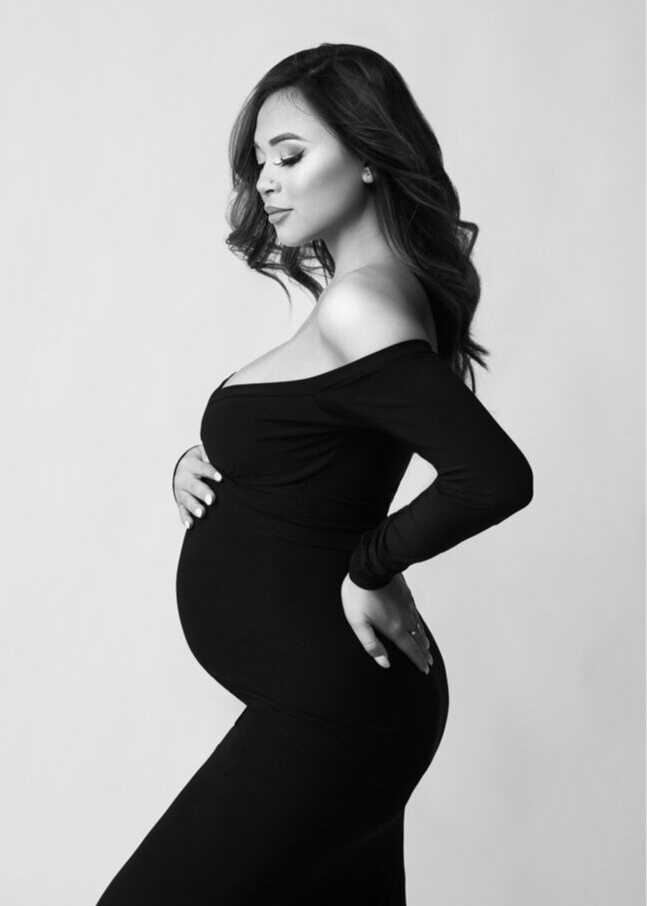
Side Lighting
Side lighting is a type of lighting that creates shadows on one side of the subject while illuminating the other side.
The best light to use for side lighting is a directional light source such as a spotlight, a front light soft-box, or a window with natural light coming from the side. The angle of the light source should be between 30 to 90 degrees from the subject.
To achieve side lighting method, position the light source to one side of the subject. This will cast shadows on the opposite side of the subject, creating a three-dimensional effect. It’s important to pay attention to the direction and intensity of the shadows.
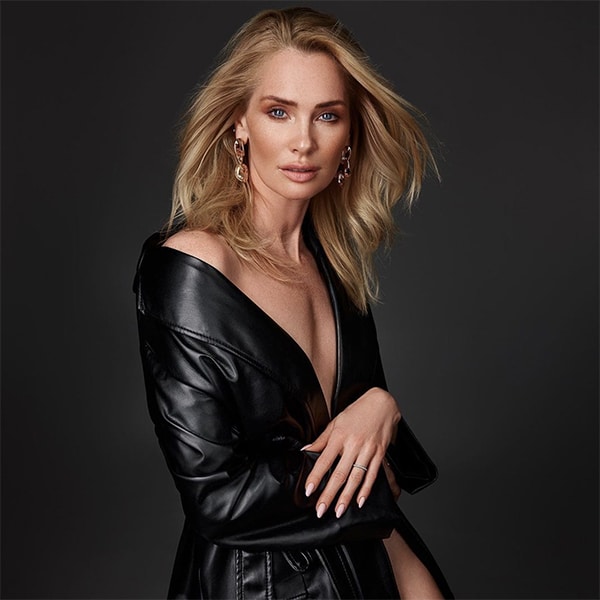
Hard Lighting in Photography
Hard light creates intense shadows and is ideal for creating dramatic images with high contrast. One of the best lights to use for hard lighting is a spotlight or a snoot, which directs the light to a small area and creates sharp shadows.
Butterfly Lighting in Photography
Butterfly lighting, also known as butterfly pattern lighting or Glamour lighting, is a type of studio lighting technique commonly used in beauty and fashion photography. This lighting style gets its name from the shape of the shadow that it creates under the nose, which looks like a butterfly.
To achieve butterfly lighting, you need a studio light with a large softbox or diffuser positioned directly in front of the subject and slightly above their head. This creates a soft, diffused light that illuminates the face evenly and reduces harsh shadows. Another light source, such as a reflector or another diffused light created with a smaller modifier, is then placed below the subject’s face to fill in any remaining shadows.
Example scenario: A photographer is taking a portrait of a young woman for a magazine cover at her/his photography studio. They set up a studio lighting setup with a large softbox in front of the subject, slightly above her head. They then place a reflector below her face to fill in any shadows. The result is a soft, even light that accentuates the subject’s features and creates a butterfly-shaped shadow under her nose.
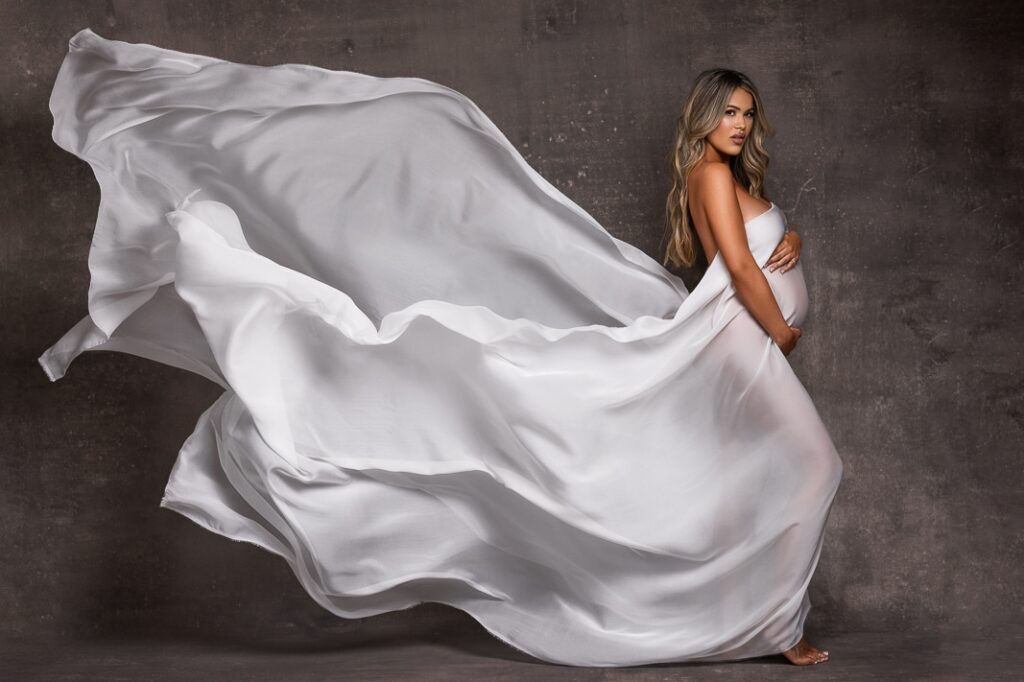
Rim Lighting in Photography
Rim lighting is a combination of backlighting and side lighting- it’s a technique that involves using a light to create a rim of light around the subject, separating them from the background.
A common example is in a photography studio, place the rim light to separate the subject from the background and add depth to the image. For example, a photographer might position a speedlight behind a subject’s head, angled toward the camera, to create a halo of light around the subject’s hair and shoulders. This can create a dramatic and striking image, especially if the subject is wearing dark clothing or has a contrasting background.
Rembrandt Lighting
Rembrandt lighting is a type of portrait lighting that is named after the famous Dutch painter Rembrandt. It is characterized by a triangle of light on the cheek of the subject that is opposite the light source, with the rest of the face in shadow, this creates a moody, dramatic portrait.
To achieve Rembrandt lighting, a single light source is used at a 45-degree angle to the subject, typically above and to one side of the face. The light should be positioned so that it creates a small, triangular patch of light on the cheek opposite the light, with the rest of the face in shadow. The light should be positioned high enough to cast a shadow from the nose onto the cheek, but not so high that it casts a shadow over the eyes.
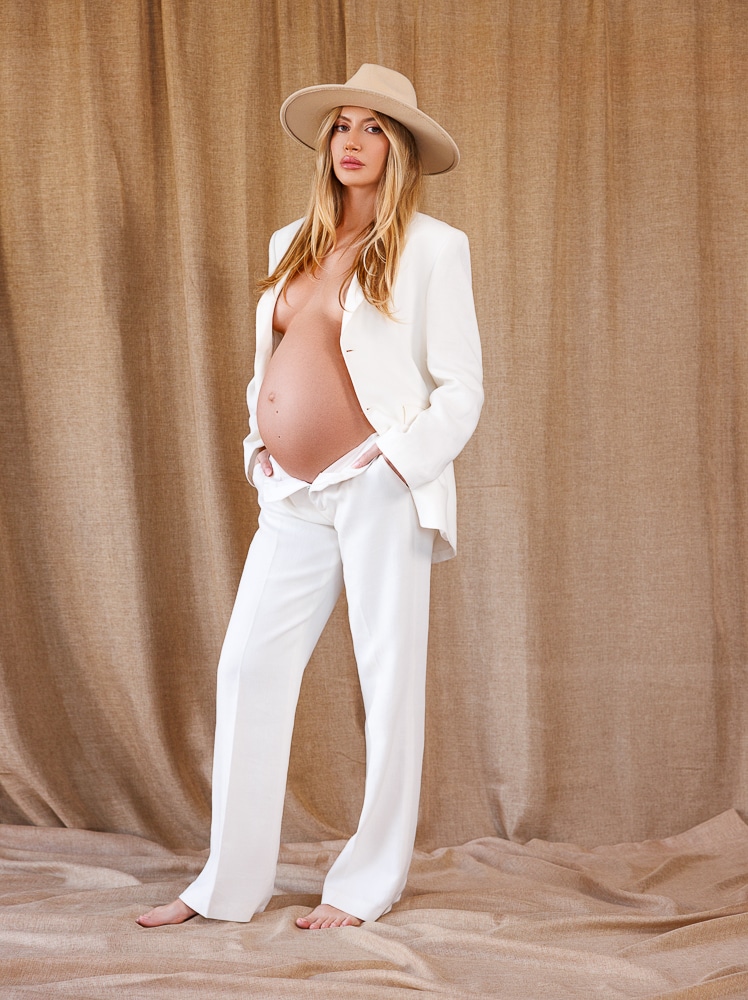
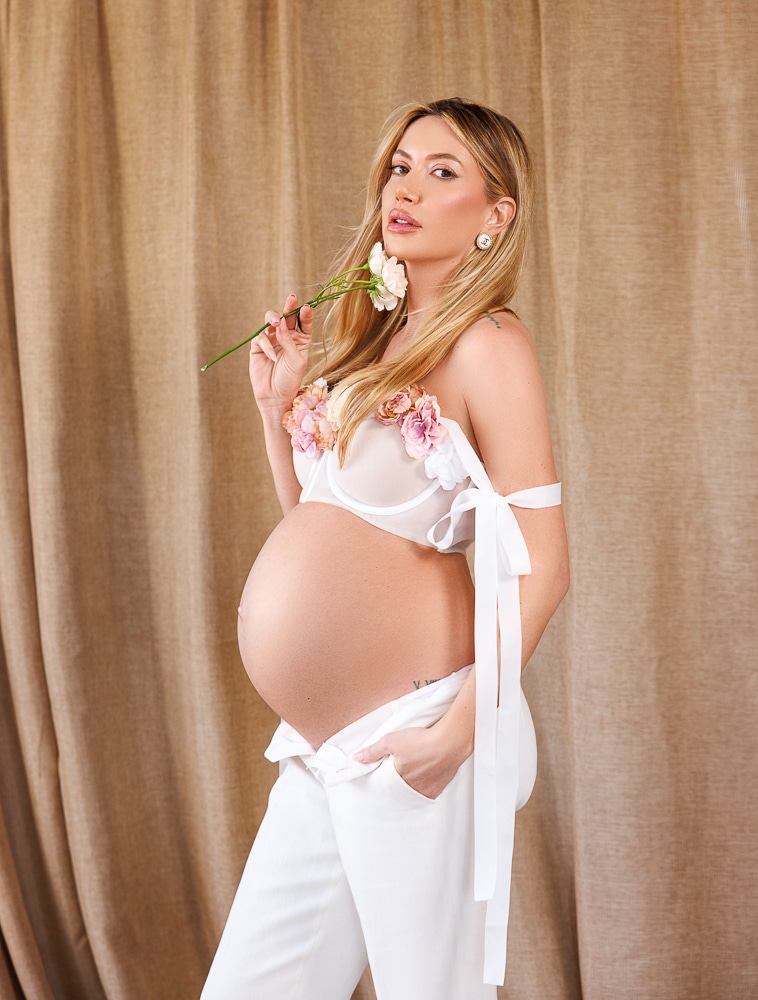
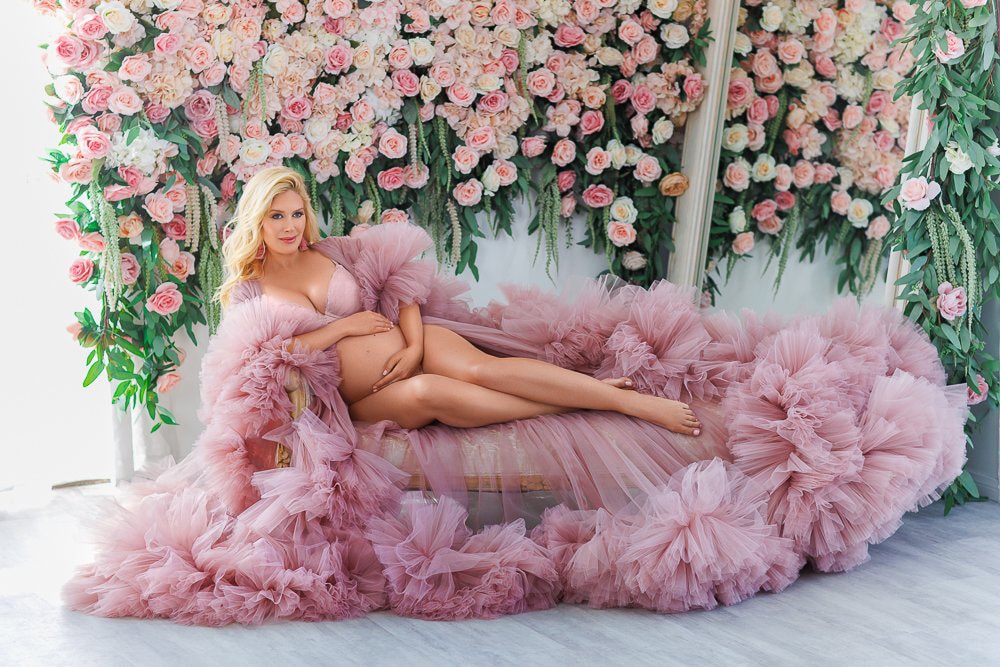
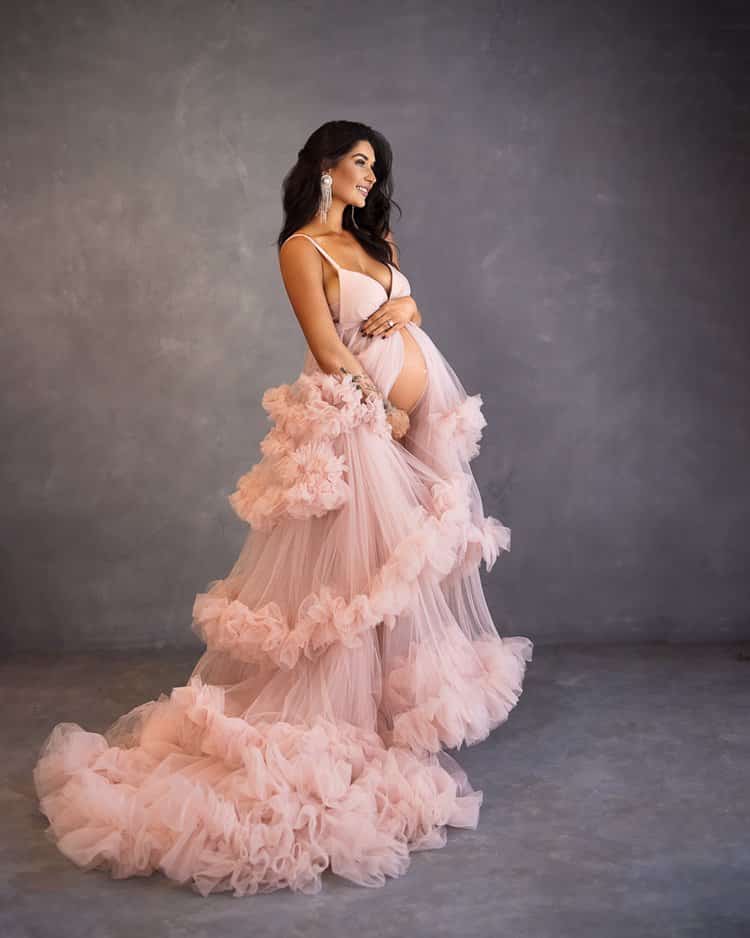
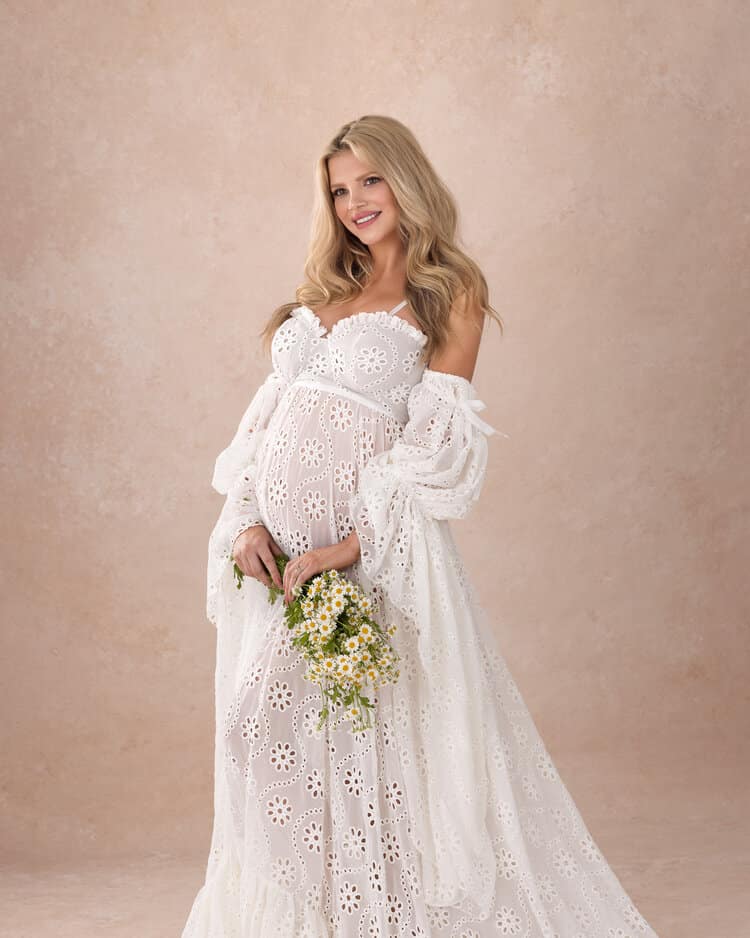
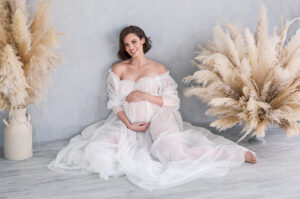
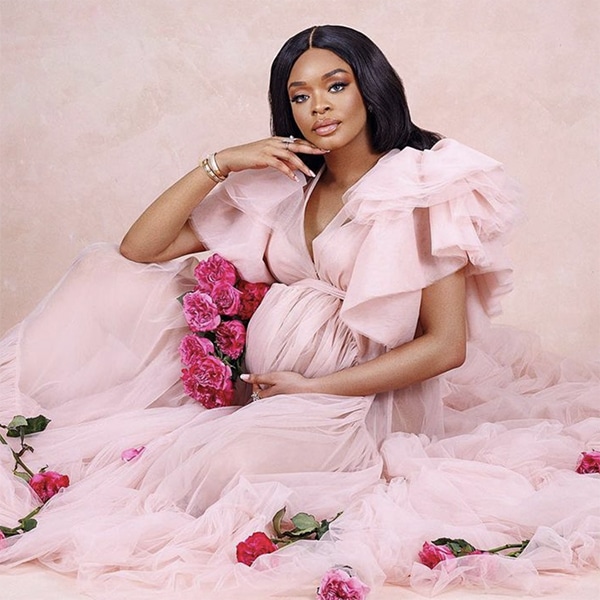
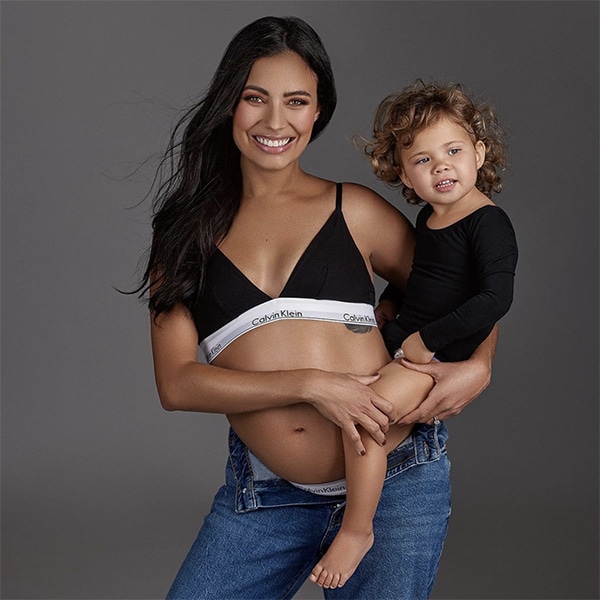
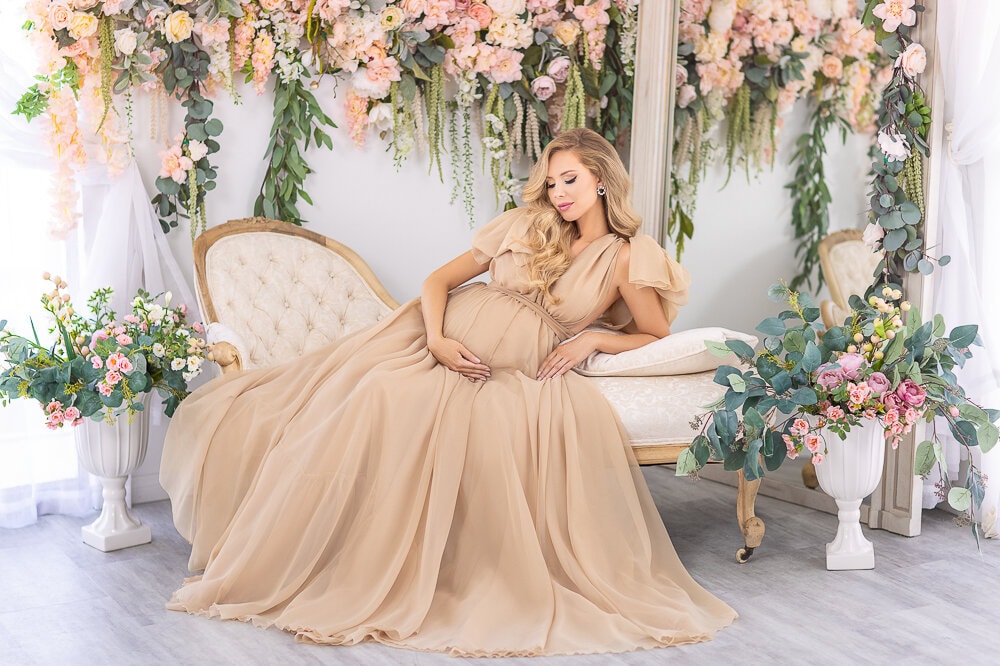
Looking for a maternity photographer in Los Angeles?
At Oxana Alex Photography we offer in studio fashion and maternity sessions. You can see our photoshoot pricing here & our reviews here.
Conclusion
In conclusion, lighting is one of the most important factors in photography, and understanding the different types of lighting and how to use them can make a significant difference in the quality of your photos.
By using the right artificial lighting and natural lighting, you can create stunning images that capture the mood and emotion of your subject and convey your message effectively. So take the time to learn about the different types of artificial and natural lighting and how to use them, and don’t be afraid to experiment and try new things to create unique and compelling images that stand out!
Whether you’re trying to perfect your indoor photography lighting techniques or your outdoor use of outdoor light, these types of photography lighting techniques will help you not just understand lighting but also become a master at it.
FAQ’s
Natural lighting refers to using the available light, such as sunlight, to illuminate the subject.
Artificial lighting in photography refers to using artificial light sources, such as studio lights, to illuminate the subject.
Front lighting or flat lighting is when the light source is positioned in front of the subject, producing even illumination across the entire subject.
Broad lighting is when the light source is positioned at an angle to the subject, lighting up the larger portion of the subject facing the camera.
Soft lighting in photography is when the light source is diffused, creating soft shadows and a more even illumination across the subject.
Short lighting is when the light source is positioned to the side of the subject, illuminating the smaller portion of the subject facing the camera.
Butterfly lighting is when the light source is positioned above and slightly in front of the subject, producing a butterfly-shaped shadow under the nose.
Backlighting is when the light source is positioned behind the subject, creating a rim of light around the edges of even the light least subject.
Split lighting is when the light source is positioned at a 90-degree angle to the subject, illuminating only one side of the subject’s face or body.
Hard lighting is when the light source is positioned close to the subject, producing harsh light and shadows – strong contrasts.
Rim lighting is when the light source is positioned behind the subject, creating a rim of light around the edges of the subject, separating it from the background.
Rembrandt lighting is when the light source is positioned above and to one side of the subject, creating a triangular-shaped highlight on the opposite cheek.
Soft lighting, butterfly or loop lighting, Rembrandt lighting, butterfly and loop lighting and broad lighting are all great options for portrait photography.
Soft lighting or a combination of soft and hard lighting can work well for product photography, depending on the desired effect.
How do I schedule my session?
You can schedule your session by emailing [email protected] or by texting our studio at (310) 854-9695.