10 Maternity Photography Lighting Setups for Studio Portraits
Every maternity portrait begins with a decision about light. Not a camera setting, not a posing choice, not a wardrobe selection. Light. Because light is the thing that determines whether a portrait looks like it was made by a professional who knew exactly what they were doing, or like a pleasant snapshot with decent exposure.
This is not a small distinction. The difference between an amateur maternity photo and a polished studio portrait is almost always lighting. The same mother, the same gown, the same backdrop, lit incorrectly and you have a flat, undistinguished image. Lit with intention and technical control, and you have something that looks like fine art. The right studio lighting is what allows you to create stunning maternity portraits consistently, session after session, rather than hoping the conditions cooperate.
Lighting shapes the body. It creates depth where there would be flatness, dimension where there would be compression, and mood where there would be neutrality. A single adjustment of a modifier, a few inches in either direction, can change the entire emotional register of a maternity photoshoot from soft and romantic to bold and editorial. That is the power you are working with every time you set up a light in a studio.
This guide breaks down ten practical maternity photography lighting setups you can build, study, and recreate in your own space. For each one, I will explain where the light goes, what it does to the subject, and when to reach for it. These are the go-to setups I return to across my own maternity photoshoots, refined over years of working with expectant mothers in a controlled studio environment. If you want the full theoretical foundation for why these setups work, start with my Complete Guide to Maternity Photography Lighting.
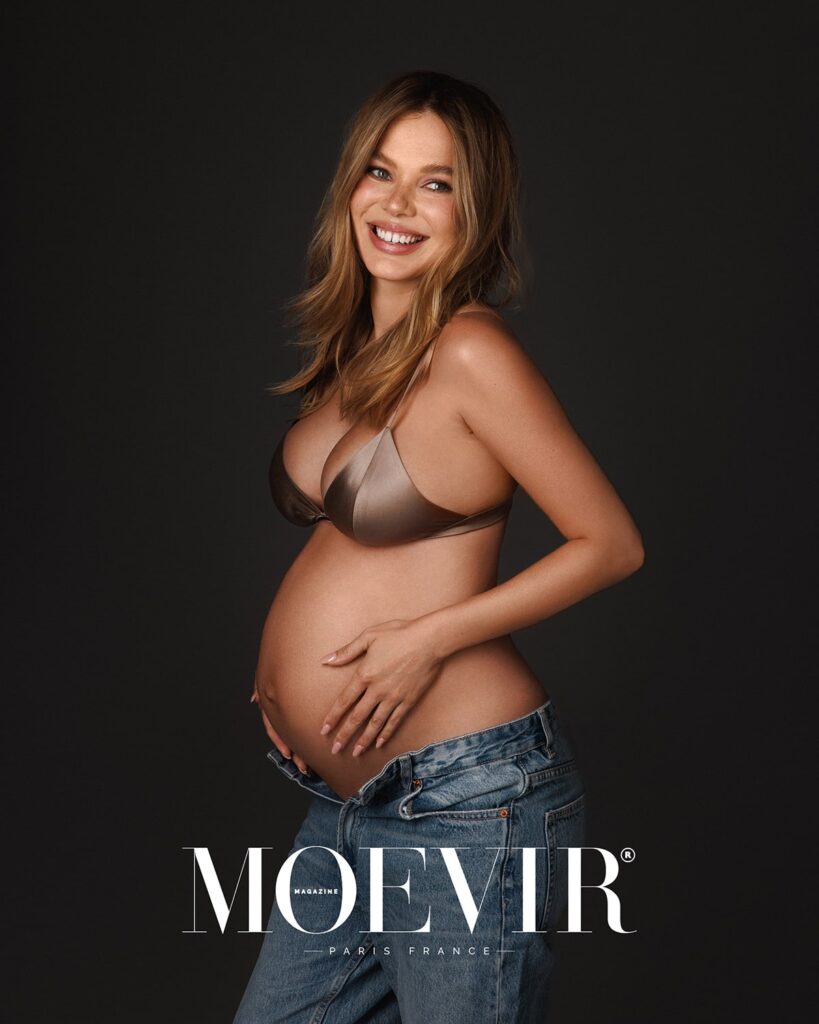
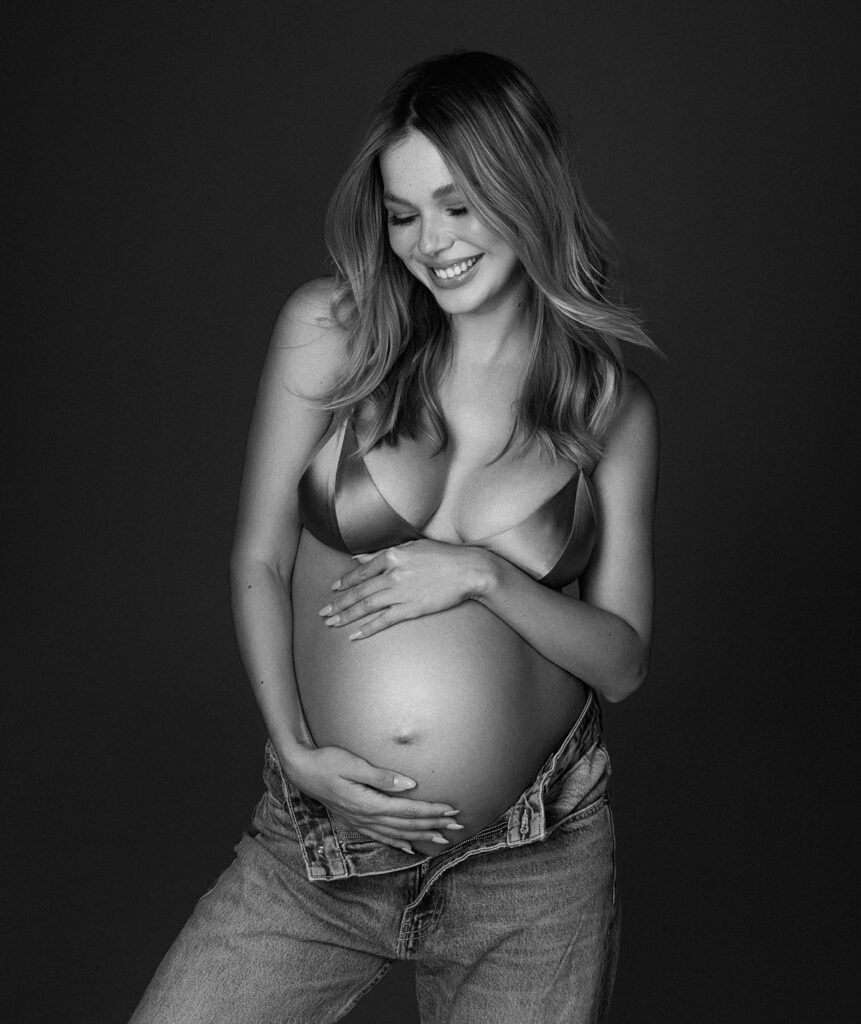
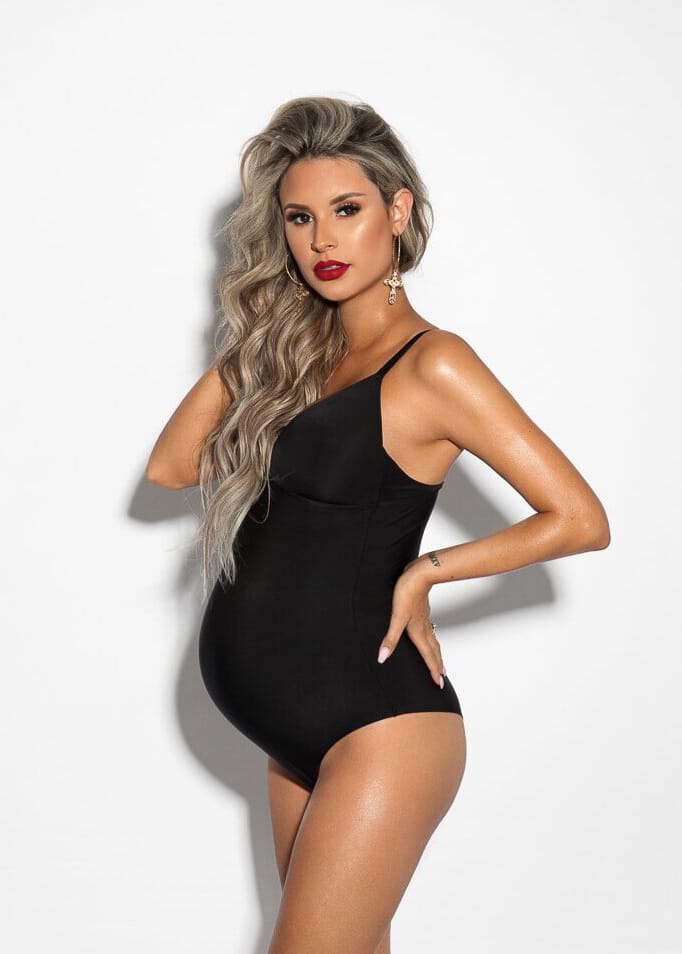
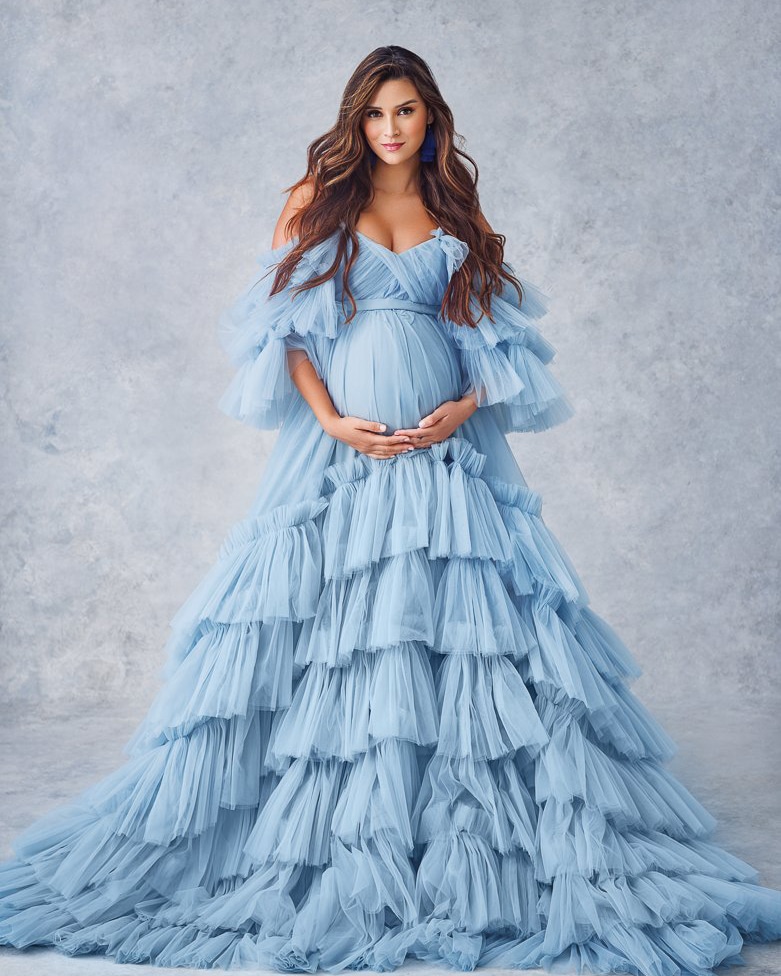
Lighting Setup 1: Center Flash Beauty Lighting for Maternity Portraits
The effect: Clean, even, luminous. This setup produces a glowing portrait where the light appears to come from everywhere and nowhere at once, wrapping the subject softly and eliminating harsh directional shadows.
How it works: Place your main strobe or monolight directly above and slightly in front of the subject, angled downward at roughly thirty degrees. The light is centered relative to the camera axis, not off to the side. This placement creates soft, even illumination across the face and belly with gentle shadows pooling beneath the chin and under the bump. Those lower shadows add subtle depth to what would otherwise be a completely flat front-lit image.
A large reflector or white V-flat positioned below the subject, angled upward, fills the shadows from beneath and lifts the quality of the light from pleasant to genuinely luminous. This is the classic clamshell variation, soft overhead source plus fill from below, creating that even, magazine-quality flattering glow that expectant mothers love.
When to use it: Reach for this setup when your client wants something clean, soft, and universally flattering. It works beautifully with fitted gowns where the silhouette is important, and it handles a wide range of skin tones gracefully. It is also an excellent starting point for any maternity session because it is forgiving while you get the client settled and the energy of the room established.
The wardrobe match: Fitted bodysuits, sculpted gowns, lace, anything with texture that benefits from even, detailed illumination.
If you want to see exactly how I build this setup in my studio including where I position the reflector and how I adjust the power ratio for different skin tones, my Lighting Scene 2 course walks through it step-by-step.
Lighting Setup 2: V-Flat Bounce Lighting
The effect: Soft, dimensional, beautifully wrapped. This setup uses V-flats not as props or background elements but as active light modifiers, and the results feel painterly and elegant.
How it works: Position a single large strobe or softbox to the side of the subject. Now place a white V-flat on the opposite side, angled to catch the light spilling past the subject and bounce it back. The V-flat becomes a secondary light source, softer than the key because it is receiving reflected rather than direct light. The result is a two-source lighting environment built from a single strobe and a piece of foam board.
The beauty of this setup is the level of control it gives you. Open the V-flat wider and the fill becomes gentler, the contrast higher. Angle it closer to the subject and the fill strengthens, lowering the contrast ratio and giving you a softer, more even result. Flip the V-flat to its black side and you have negative fill instead, deepening the shadows deliberately and adding a moody, dramatic quality to the portrait.
When to use it: This is one of the most versatile setups in studio maternity photography. The white side works for clients who want softness and warmth. The black side works for fine art portraits where depth and shadow are part of the aesthetic. Mastering both variations from a single setup is one of the most efficient things you can do as a studio photographer.
The wardrobe match: Both directions work, but the negative fill version pairs particularly well with darker wardrobe choices and dramatic backdrops.
My Lighting Scene 1 course is dedicated to this exact setup, covering where to place the V-flat, how far from the subject, and how the position affects the shadow quality on the belly and face.
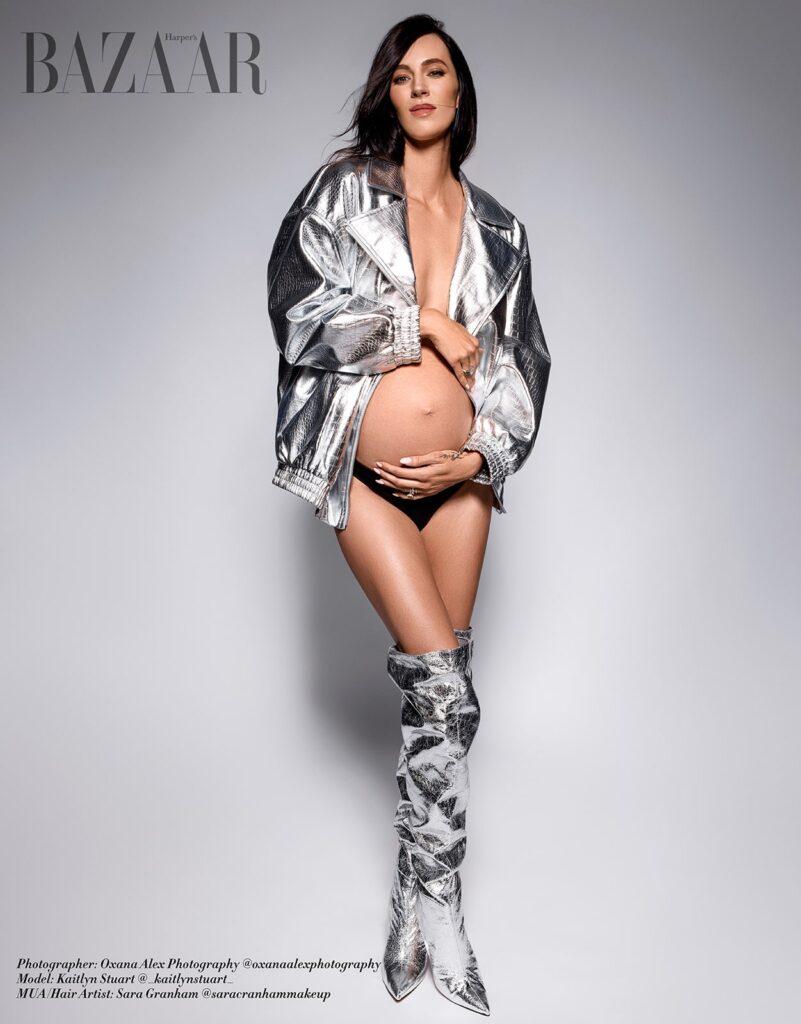
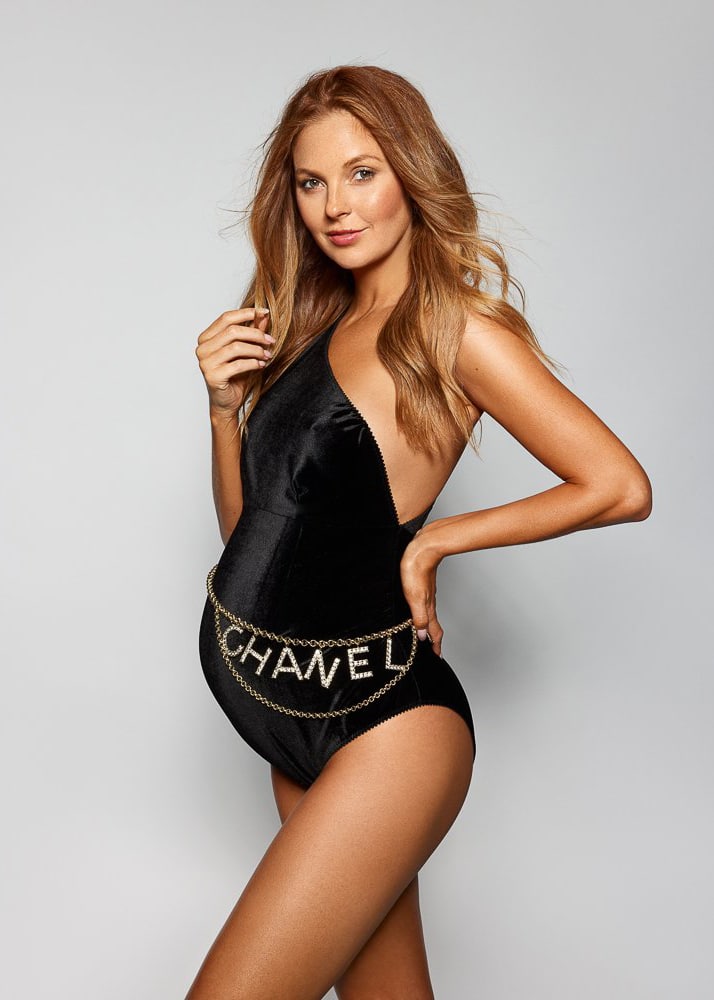
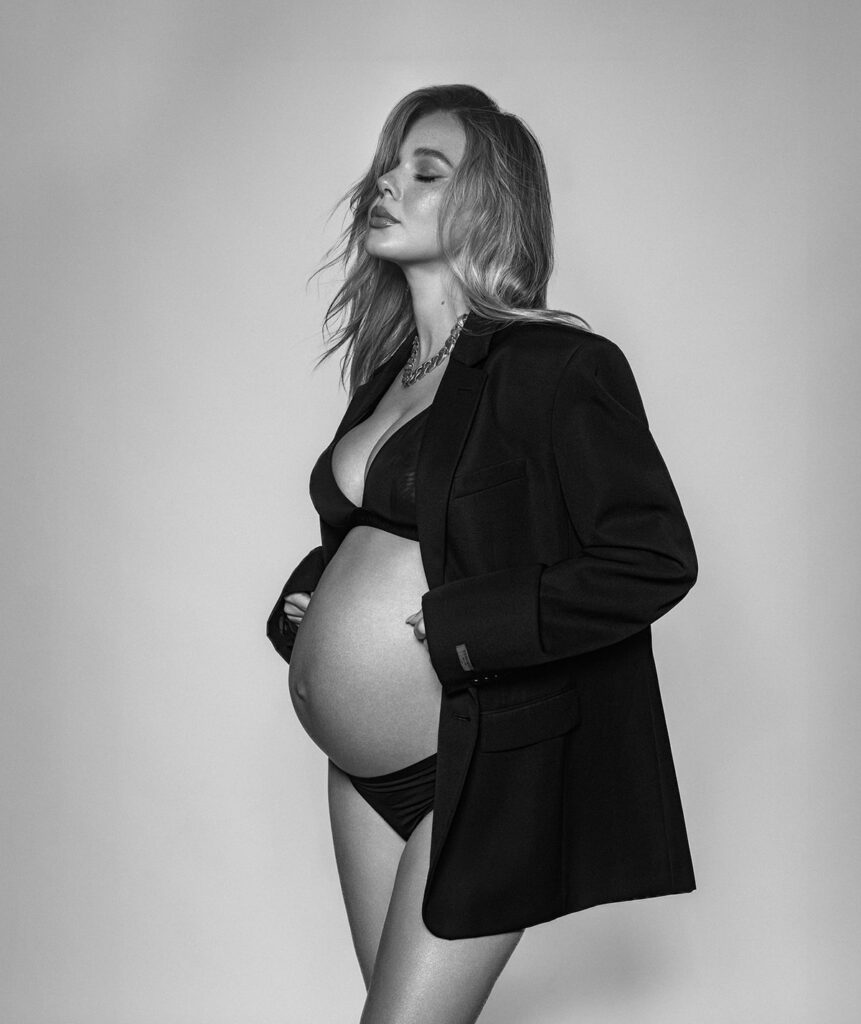
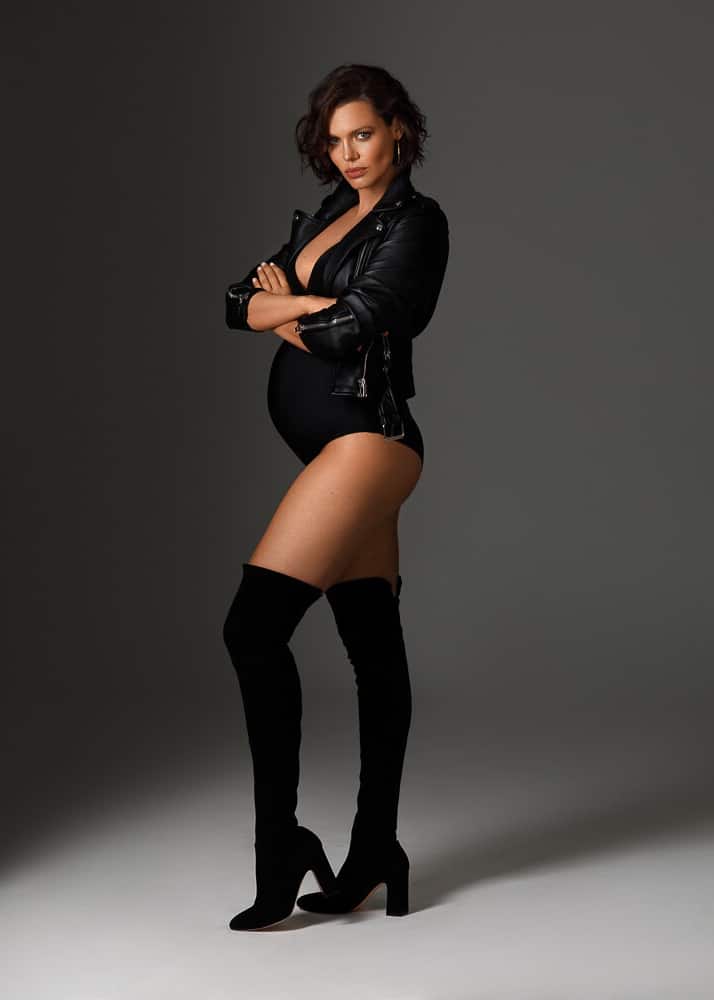
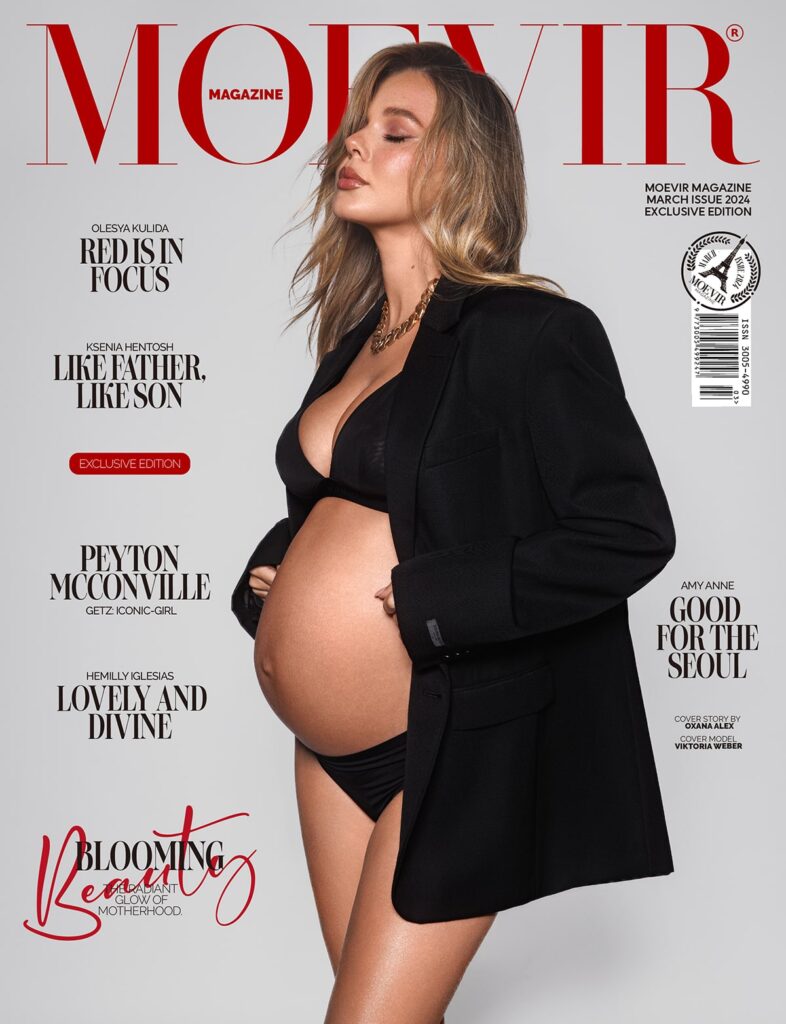
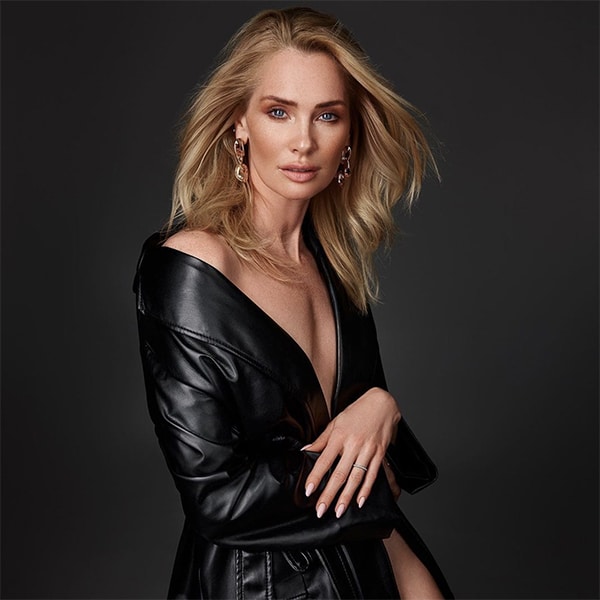
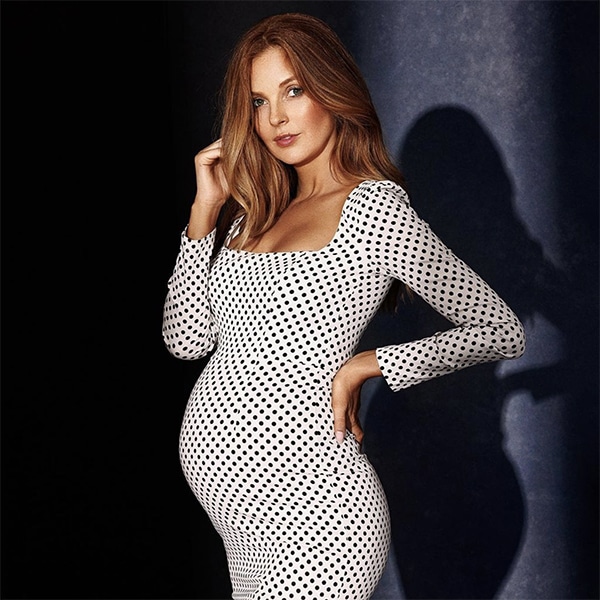
Lighting Setup 3: Stripbox Sculpting Light
The effect: Elegant body lines, defined curves, a fashion-forward quality that sets this look apart from softer maternity setups.
How it works: A stripbox is a rectangular softbox with a narrow aspect ratio, typically around twelve by fifty-five inches. Because of its shape, it throws a concentrated vertical column of light rather than the broad, even spread of a round or large rectangular modifier. Position the stripbox to the side of the subject, roughly perpendicular to the camera, at a height where the brightest part of the light is centered on the belly.
The narrow beam of light creates a hard falloff on both sides of the column, meaning the light transitions quickly from bright to shadow as it moves away from the central hit area. This falloff is what sculpts the body. It traces the curve of the belly on the lit side and lets the shadow side define the opposing contour. The result is a portrait with real three-dimensionality, the kind that makes a body look like it was photographed by someone who understood exactly what they were doing.
For even more drama, use the stripbox as a rim light rather than a key. Position it behind and to the side of the subject, pointed toward the camera axis. The narrow beam traces a bright line along the edge of the shoulder, the arm, and the hip, separating the subject from the background with precision.
When to use it: Any time a client wants something editorial, fashion-inspired, or dramatically lit. This setup attracts the client who arrives with a mood board of high-fashion maternity images and wants her portraits to match. It is one of the most creatively distinct lighting setups in studio maternity work, and once you master it you will return to it constantly.
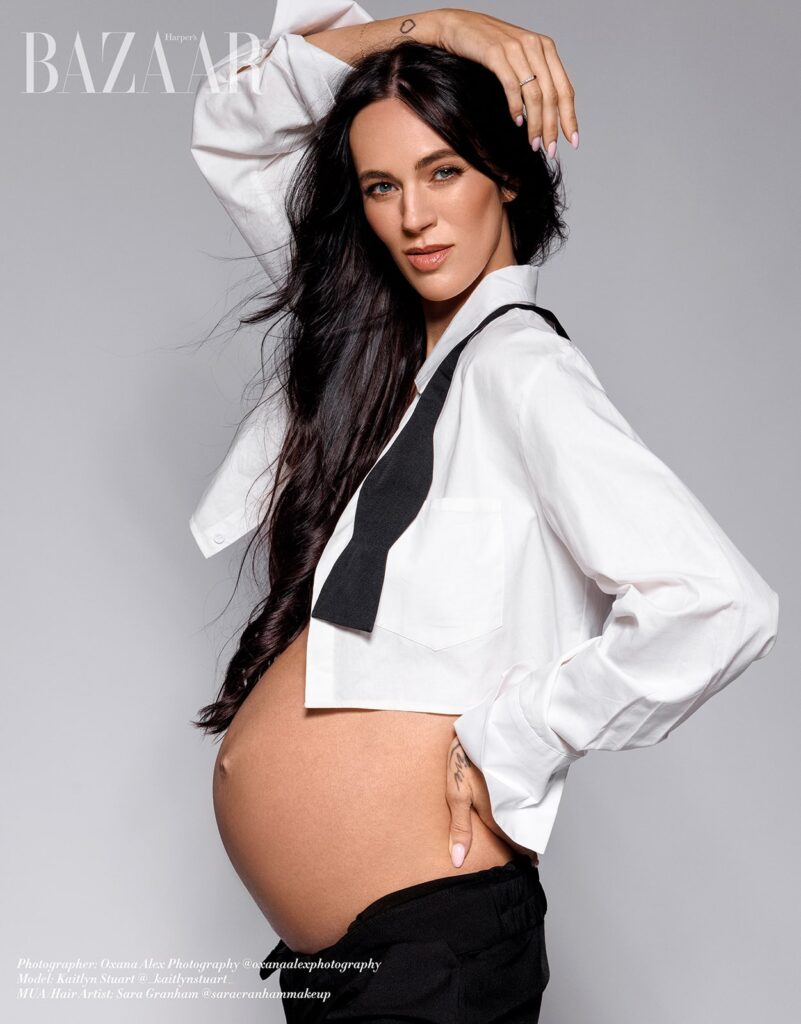
The wardrobe match: Structured blazers, dark bodysuits, strong silhouettes. The sculpting light amplifies the lines of whatever the client is wearing.
My Signature Maternity Lighting course covers this setup in full, including the two-modifier approach of combining a large octa key with a stripbox rim for the most complete studio result.
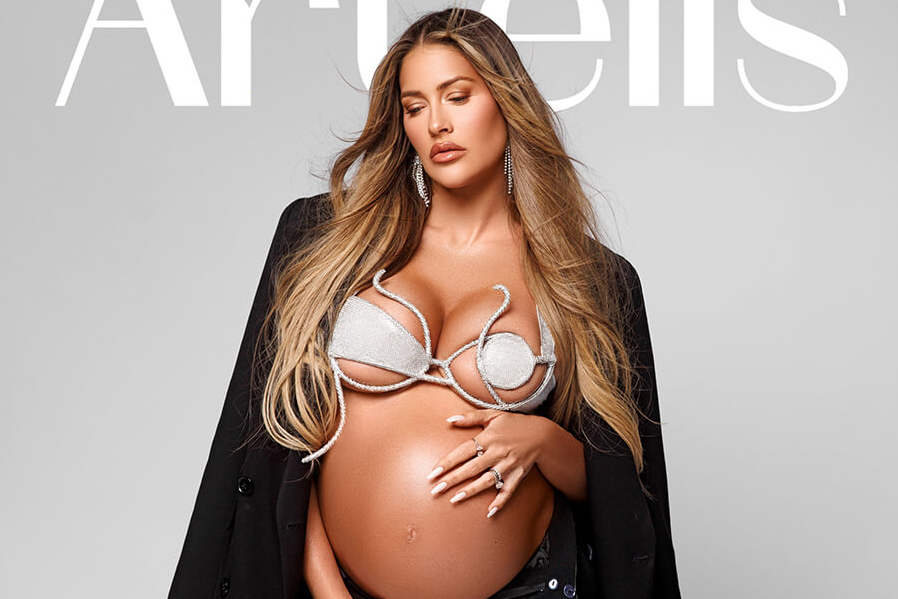
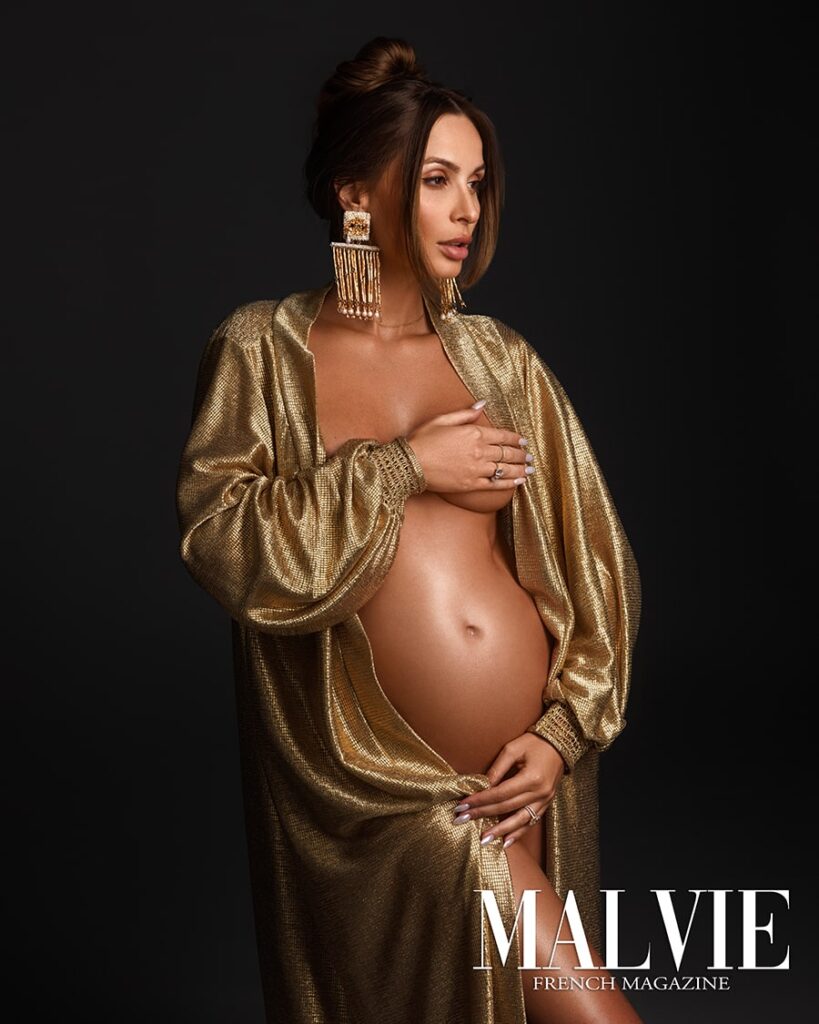
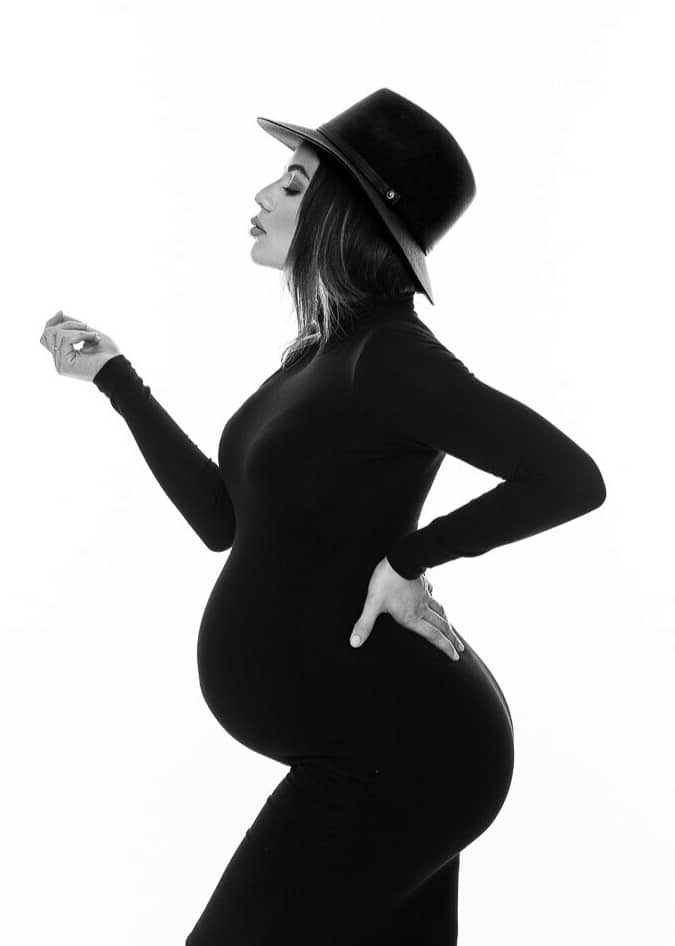
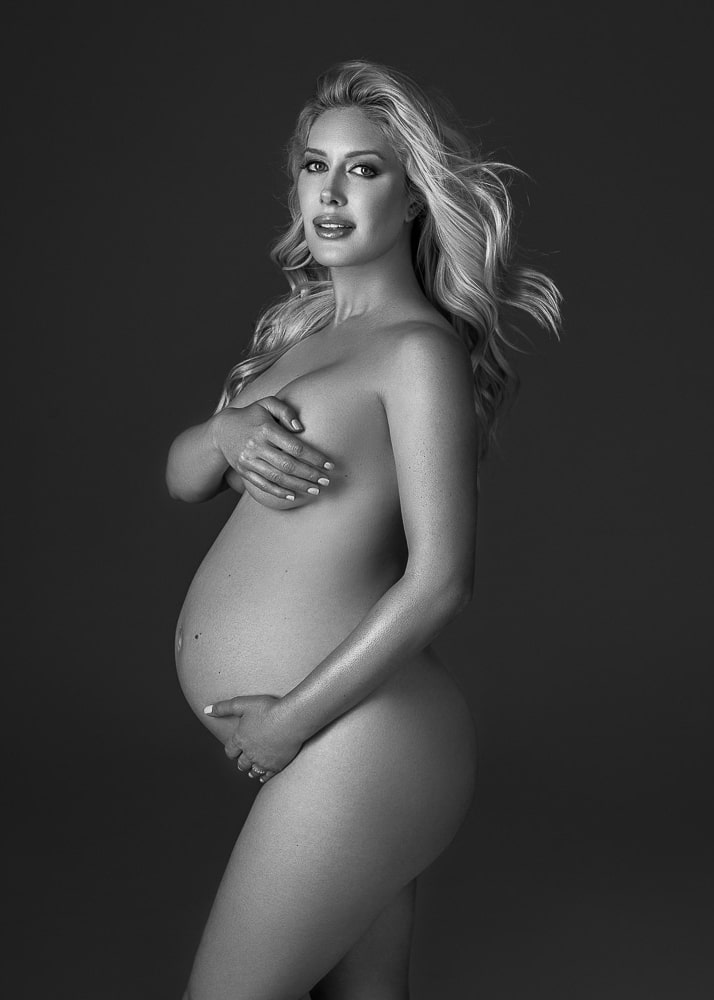
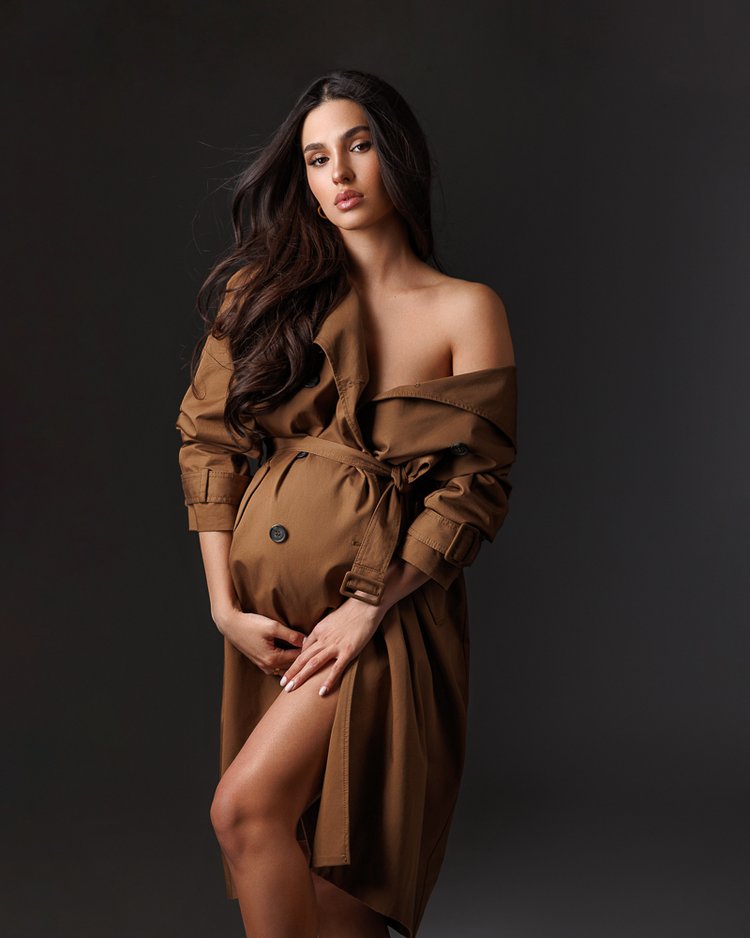
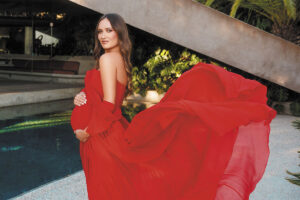
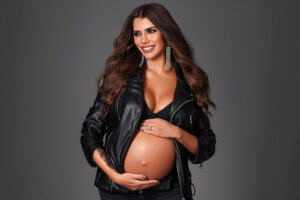
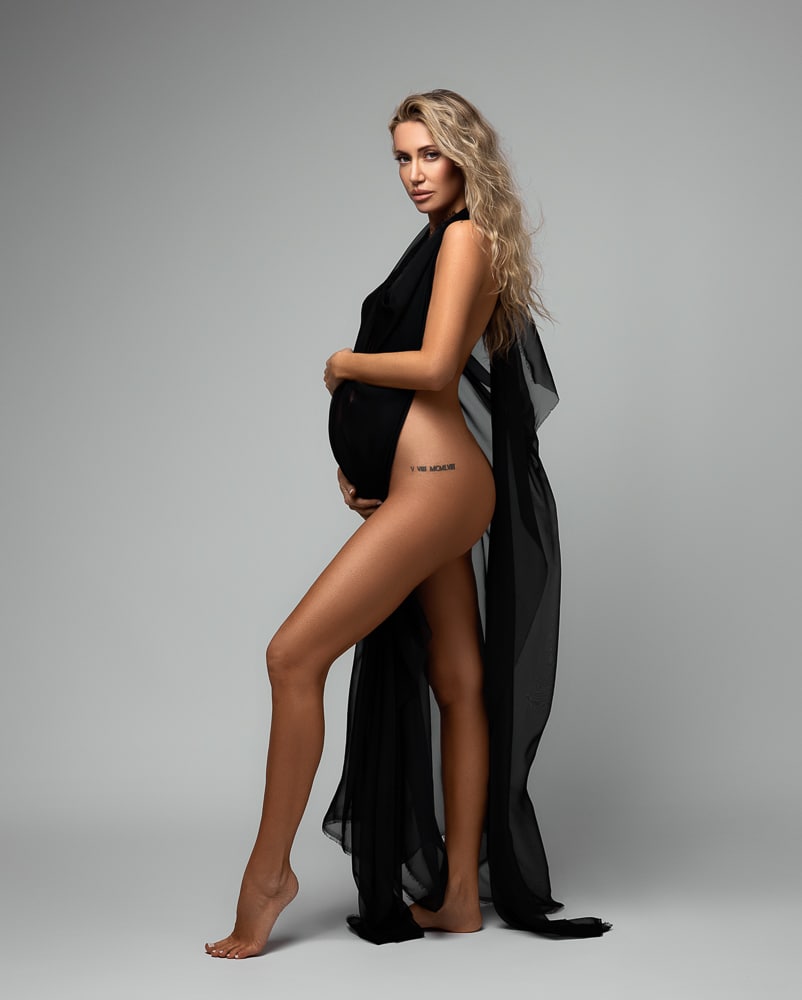
Lighting Setup 4: Magnum Reflector Drama
The effect: Bold, high-contrast, editorial. This is the setup for portraits that feel more like paintings than photographs, and for capturing the beauty of pregnancy in its most powerful, artistic form.
How it works: A magnum reflector is a large parabolic metal reflector that produces light with a harder, more focused quality than a softbox. The light is still large relative to the subject, which means it is not harshly specular, but it produces deeper shadows and more defined transitions than any softbox equivalent.
Position the magnum reflector to the side of the subject at roughly forty-five degrees, feathering it so the edge of the beam rather than the hot center is what illuminates the face and belly. This feathering technique is critical with a magnum setup because the center of the beam can be too intense for skin, particularly fairer skin tones. The feathered edge gives you the beautiful contrast of the modifier without the overexposed center.
The shadows this setup creates are what make it powerful. Under the chin, along the side of the belly, beneath the collarbone, these shadows are defined and deliberate. They give the portrait a sculptural quality that softer setups simply cannot replicate.
When to use it: Reserve this for clients who specifically want something dramatic and artistic. It is not a universally flattering setup in the way that beauty lighting is. It rewards clients who are comfortable with strong contrast and who respond emotionally to bold, moody imagery.
The wardrobe match: Dark gowns, structured outerwear, deep jewel tones. The setup amplifies drama, so the wardrobe should match rather than contradict it.
In my Lighting Scene 3 course, I break down the exact feathering technique and show how I adjust the setup for different skin tones to keep the drama controlled rather than overpowering.
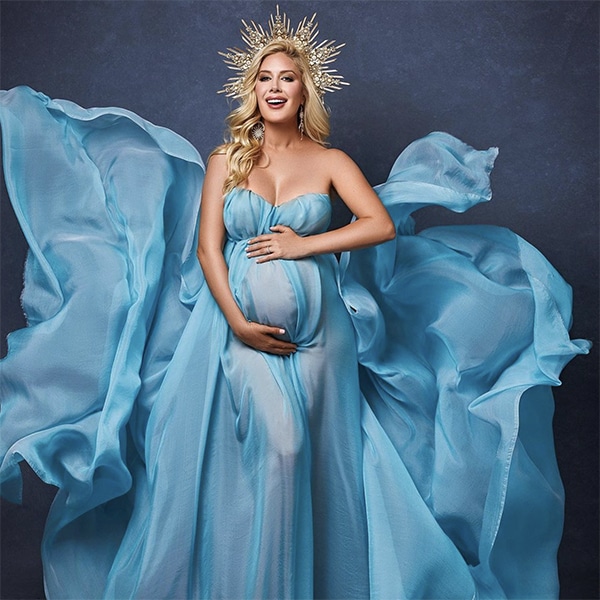
Lighting Setup 5: Natural Light Window Portrait Setup
The effect: Organic, soft, deeply flattering. Window light has a quality no studio modifier fully replicates, and when used well it produces some of the most beautiful maternity portraits possible.
How it works: Position your client at a forty-five-degree angle to the window rather than directly in front of it. This single adjustment transforms the window from a flat front light into a directional key light that sculpts the belly and lifts the face. The further the client steps away from the window, the more dramatic the falloff on the shadow side. The closer she stands, the softer and more wrapping the quality of light.
A white reflector or V-flat positioned on the shadow side bounces ambient light back into the darker side of the face and body, reducing the contrast ratio to whatever level the portrait requires. For a soft, romantic look, bring the reflector close and use a large white surface. For a more dramatic result, pull it back or replace it with a black V-flat.
Window light moves. North-facing windows are consistent and diffused throughout the day. East windows are bright and cool in the morning. West windows are warm and dramatic in late afternoon. Understanding the character of your studio’s windows is as important as understanding your modifiers.
When to use it: Any client who responds emotionally to natural, organic imagery. Window light creates portraits that feel like they belong in a home rather than a studio, and for many expectant mothers that warm and inviting atmosphere is exactly the quality they are looking for.
The wardrobe match: Flowing fabrics, soft textures, light neutrals, anything that benefits from a gentle, wrapping quality of light.
My Natural and Mixed Light course covers window placement in full, including how to combine a single strobe with window light to extend your shooting hours and maintain a natural-feeling result.
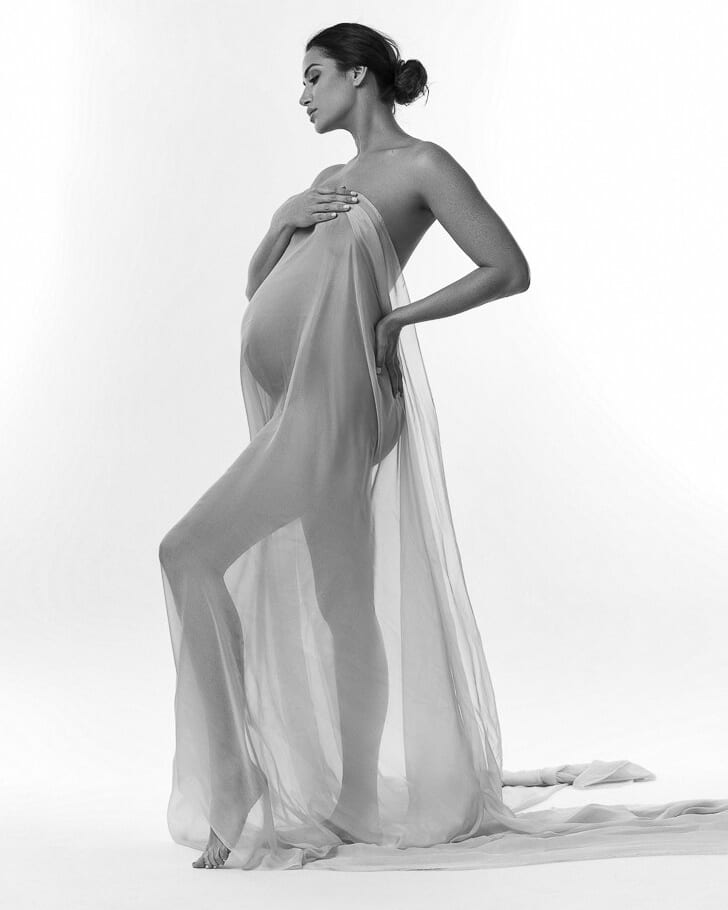
Lighting Setup 6: Backlit Silhouette Setup
The effect: Graphic, powerful, immediately striking. The silhouette is one of the most recognized and emotionally resonant images in maternity photography, and this setup is how you create it consistently.
How it works: Position a strobe or continuous light source behind the subject, pointed directly at the background or through a scrim positioned behind the client. The background becomes bright. The subject, standing between the camera and the light source, renders as a dark outline because no light is reaching the side of the body that faces the camera. The light behind the model does not touch the subject directly. Its entire job is to illuminate the background and create the contrast that defines the silhouette.
The key technical decision is exposure. Meter for the brightness of the background rather than the subject. In practical terms, this usually means exposing two to three stops below your normal base exposure for the subject. The background glows. The figure goes dark. The outline of the belly becomes the entire subject of the image.
Distance between the subject and the background controls spill. When the client stands close to the background, the backlight wraps around the edges of the body and fills in the silhouette partially. When the client moves further from the background, at least four to six feet, the spill decreases and the silhouette sharpens. Always position the subject in true profile, perpendicular to the camera, so the belly arc reads cleanly against the bright background.
Creating an Ethereal Halo Effect
For a softer variation of the silhouette setup, position a large scrim or a sheer white panel between the strobe and the subject rather than pointing the strobe directly at the backdrop. The diffused light creates a glowing, ethereal halo effect around the edges of the subject rather than a graphic hard outline. This version is particularly beautiful for flowing fabric that catches the backlight along its edges, adding an almost dreamlike quality to the portrait. The halo effect gives the silhouette an artistic feel that sits between the dramatic graphic version and a full softbox portrait.
When to use it: When a client wants something artistic and timeless. The silhouette works across every session style and every wardrobe choice, but it is particularly powerful when paired with flowing fabric that adds shape to the outline.
The wardrobe match: Profile-friendly fitted dresses or draped fabric. Avoid anything with complex structural details that clutter the outline.
If you want to see how I control the power ratio between the background light and a subtle rim light that I sometimes add to the silhouette setup, my Lighting Scene 6 course walks through the complete process.

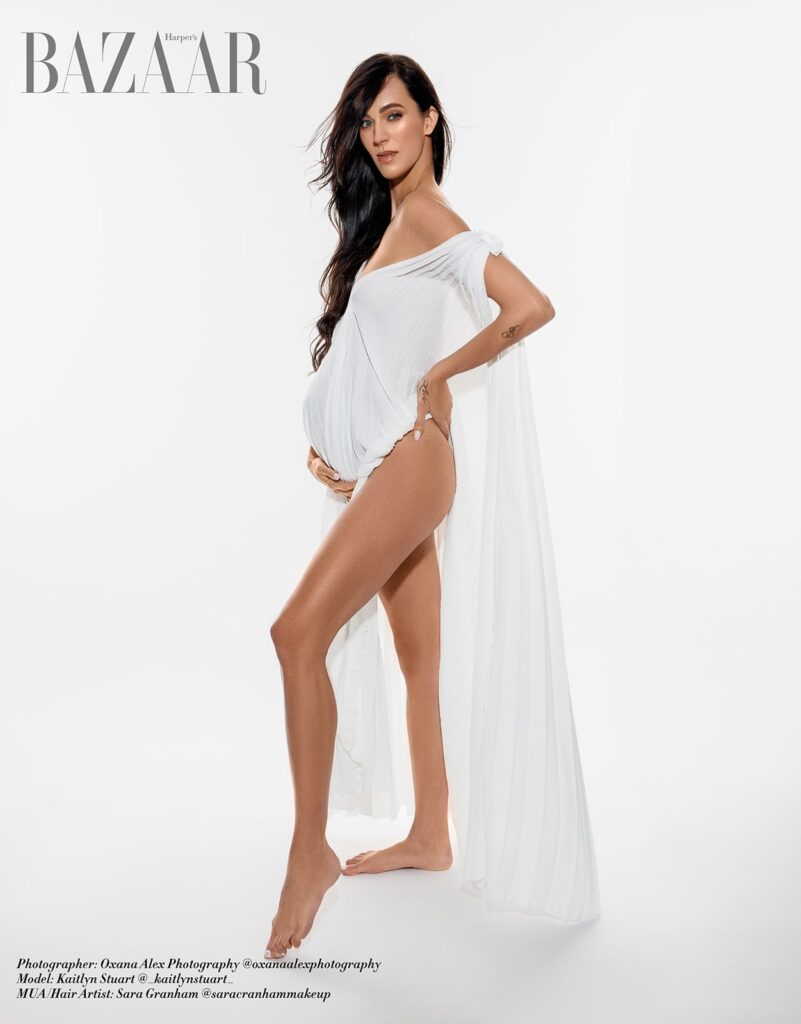
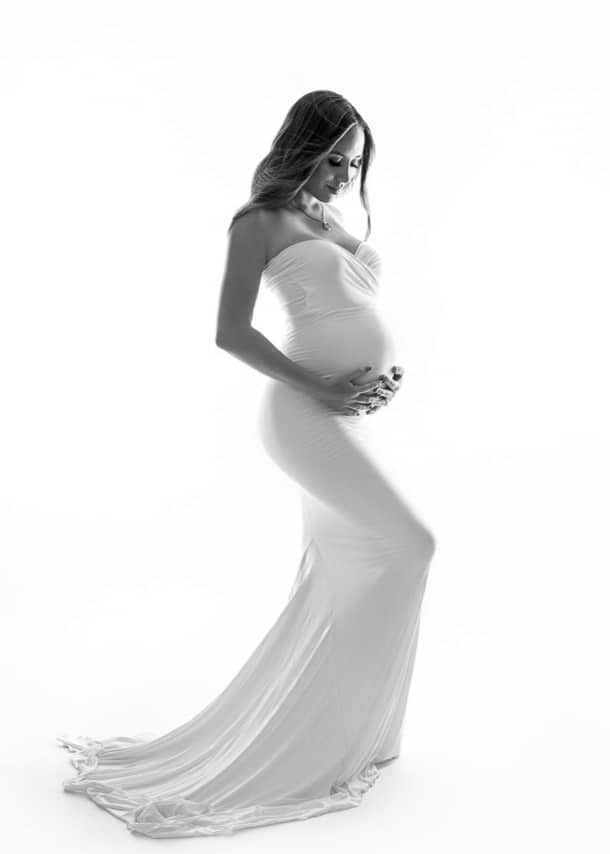
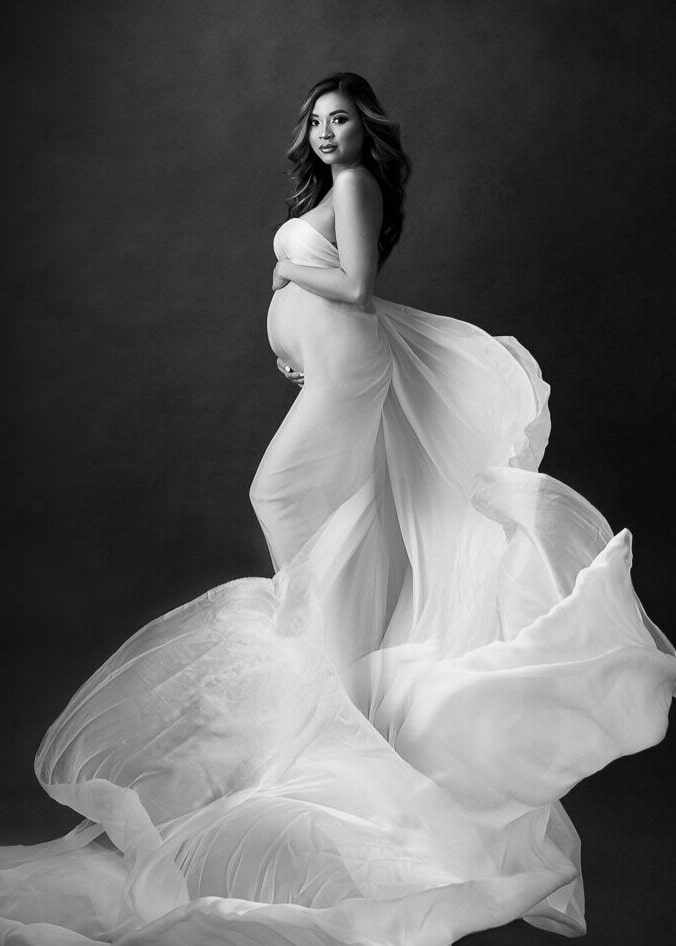
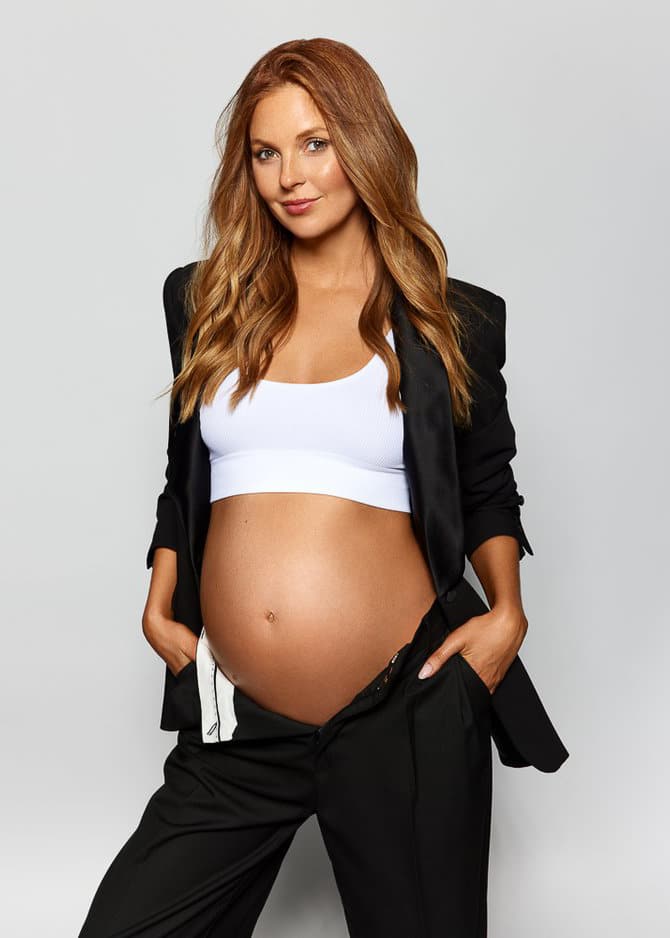
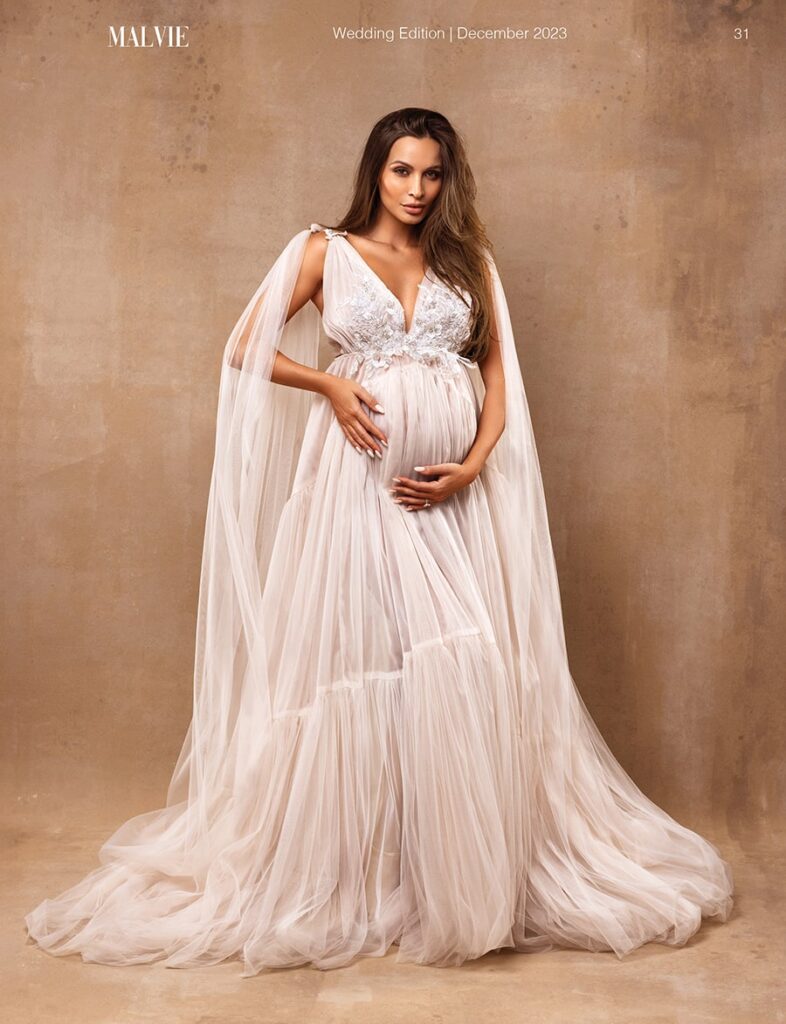
Lighting Setup 7: Soft Fill with V-Flat Panels
The effect: Gentle, even, creamy. This setup is the one you reach for when the goal is softness above all else, and it is a go-to for creating the kind of soft and flattering portraits that work beautifully across a wide range of motherhood sessions.
How it works: Position your main light source, a large softbox or octa, at the front and slightly above the subject, angled down gently. Now add V-flat panels on both sides of the subject, white side facing in, positioned close enough to the body that they are catching significant light from the main source and bouncing it back. Both V-flats are acting as fill sources simultaneously, wrapping the subject in reflected light from multiple directions.
The result is a portrait with very low contrast, almost no directional shadow, and an even, luminous quality across the entire body. Skin looks creamy. Fabric detail is preserved on both the lit and shadow sides. The belly is fully visible without any dramatic shadow pooling beneath it.
This is not a flat setup in the pejorative sense. The slight downward angle of the key light still provides gentle shadows under the chin and beneath the bump that give the portrait minimal depth. But the overall character is soft, and that softness is the point.
When to use it: Fine art portraits with a light, airy editorial feel. Clients with lighter skin tones who want a high-key result. Sessions where the wardrobe is light and the backdrop is pale, and you want everything to feel cohesive and luminous.
The wardrobe match: White gowns, pale neutrals, sheer fabrics. The setup amplifies the lightness of whatever the client is wearing.
My Lighting Scene 4 course covers this setup in detail, including how to position the V-flats at different distances to vary the softness level and how to add a subtle kicker from below for extra luminosity.
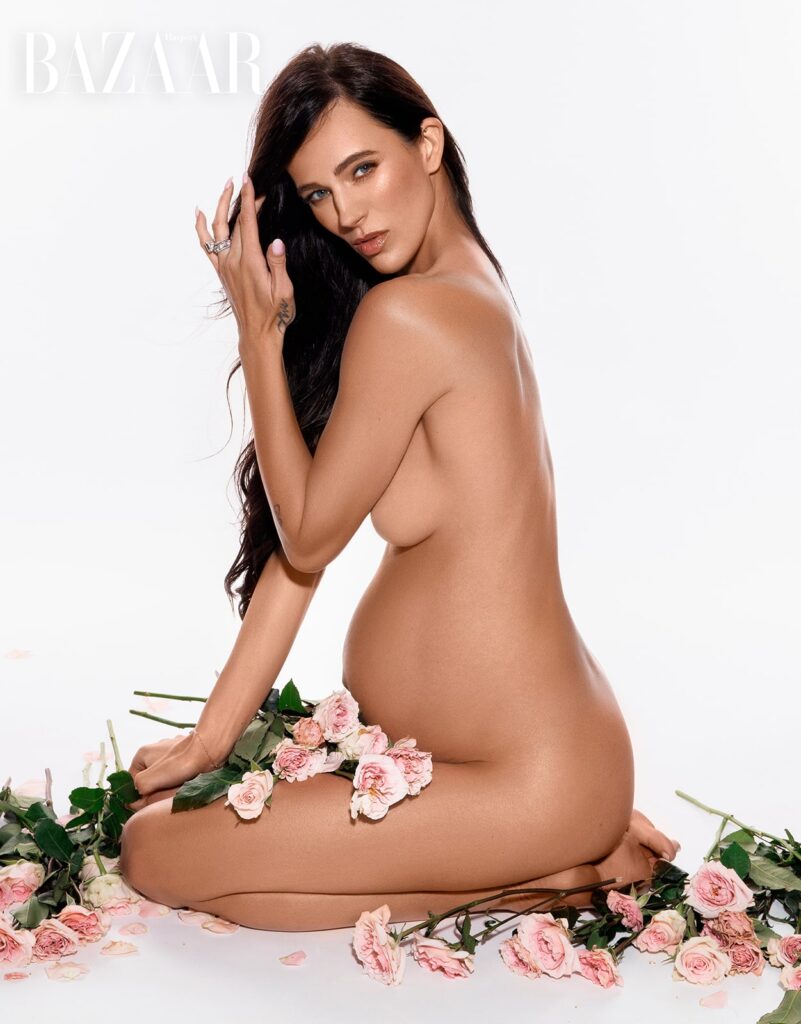
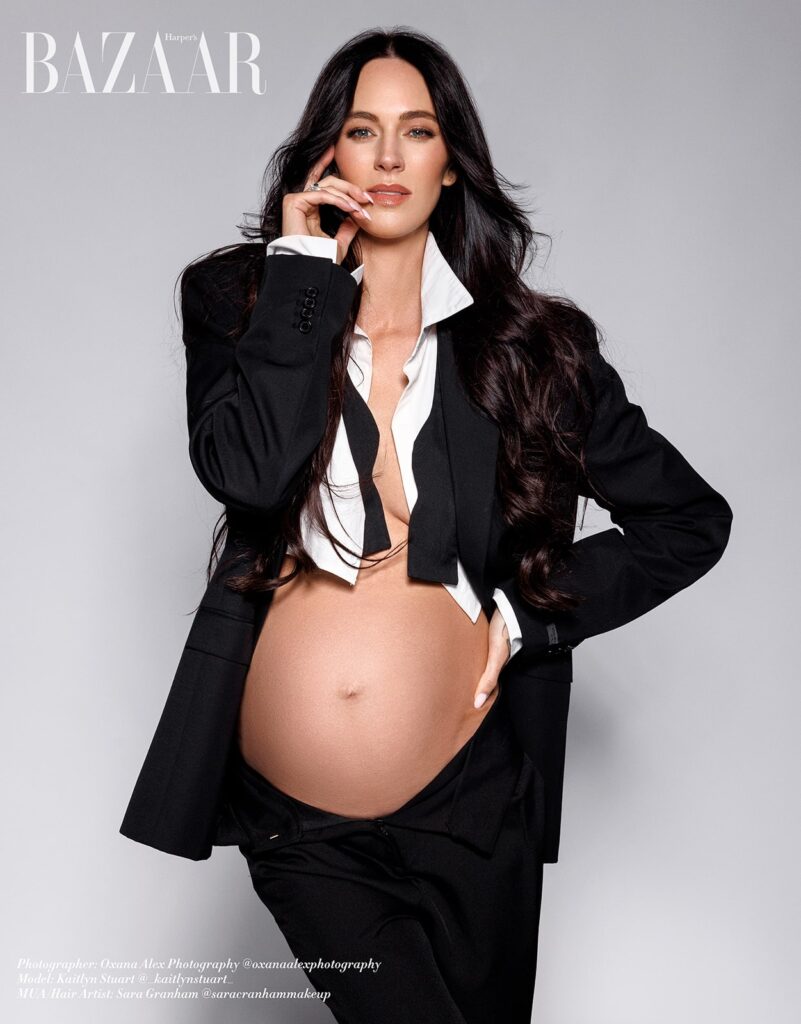
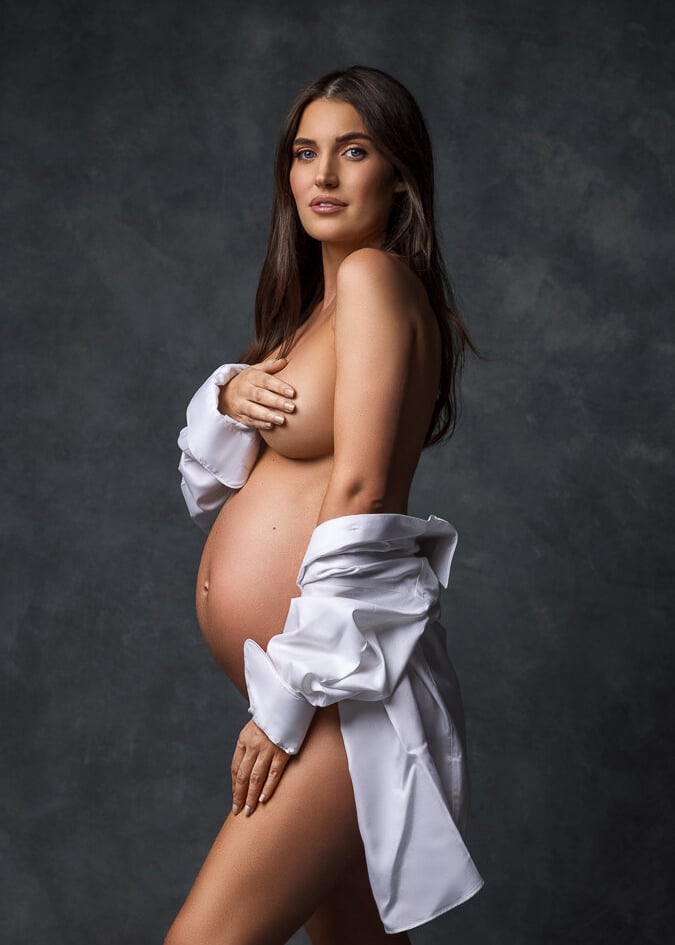
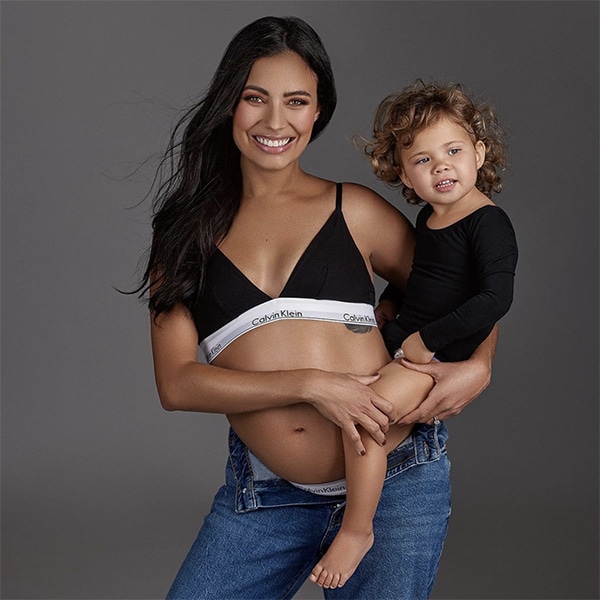
Lighting Setup 8: Hair Light Separation
What we’re looking for is depth, dimension, and the sense that the subject exists in three-dimensional space rather than in front of a flat backdrop.
How it works: A hair light is a secondary strobe, typically fitted with a stripbox or a small gridded modifier, positioned behind and slightly above the subject, aimed at the back of the head and the shoulders. Its purpose is separation: the light traces a bright line along the hair, the shoulder, and sometimes the edge of the arm, distinguishing the subject from the background in a way that the key light alone cannot achieve.
The hair light should be significantly dimmer than the key light. A ratio of roughly one-third to one-quarter of the key light power is a reliable starting point. If the hair light is too bright, it draws too much attention to itself and competes with the face and belly as focal points. If it is too dim, it provides separation without adequate impact. Find the level where it is visible but not dominant.
For dark-haired clients against dark backgrounds, the hair light is not optional. Without it, the subject merges into the background and the portrait loses its sense of depth entirely. For lighter-haired clients against lighter backgrounds, you have more flexibility, but the hair light still adds a professional polish that separates deliberate studio work from casual portraiture.
When to use it: Any time your portrait setup includes a dark or mid-tone background and a client with medium or dark hair. Add it as a standard component of your studio workflow and you will notice the difference in almost every image.
The wardrobe match: Works across all wardrobe choices, but is particularly valuable with dark gowns that would otherwise disappear against a dark background.
This setup is also covered in detail in my Lighting Scene 4 course, alongside the soft fill setup, because the two are often used together to build a complete three-source lighting environment.
Lighting Setup 9: Mixed Natural and Flash Light for Maternity Photoshoots
This setup is the best of both worlds… The organic warmth and texture of natural light combined with the control and consistency of studio flash.
How it works: Begin with your window as the ambient base. Note the exposure the window provides for your subject at your chosen aperture and ISO. Now introduce a strobe at a power level that is one to two stops below that ambient exposure, positioned on the shadow side of the subject. The strobe lifts the shadows without competing with the window as the primary light source. The result reads as natural light, because it is, but with the shadow control of a studio setup.
Color temperature is the technical challenge. Daylight from a window typically registers between 5,500 and 6,000 Kelvin. A well-calibrated strobe is designed to match this range. If the session is happening near golden hour, the window light shifts warmer and the strobe will read relatively cooler by comparison. In that case, a warming gel on the strobe corrects the imbalance. Set your white balance to the window light and adjust from there.
The second variation of this setup reverses the relationship: the strobe becomes the key and the window becomes the ambient fill. This approach gives you more power and control, particularly useful on overcast days when the window light is insufficient as a key source on its own.
Prop Integration
When to use it: Any time you want the emotional quality of natural light but need more consistency or shadow control than the window alone provides. This setup extends your ability to shoot throughout the day regardless of light conditions outside.
The wardrobe match: Works across all wardrobe choices. The natural quality of the light makes it particularly well-suited to flowing fabrics and organic textures.
My Natural and Mixed Light course covers both variations of this setup, including the specific gel choices I use for golden hour sessions and how I meter the mixed exposure to keep the ratio between window and strobe feeling cohesive.
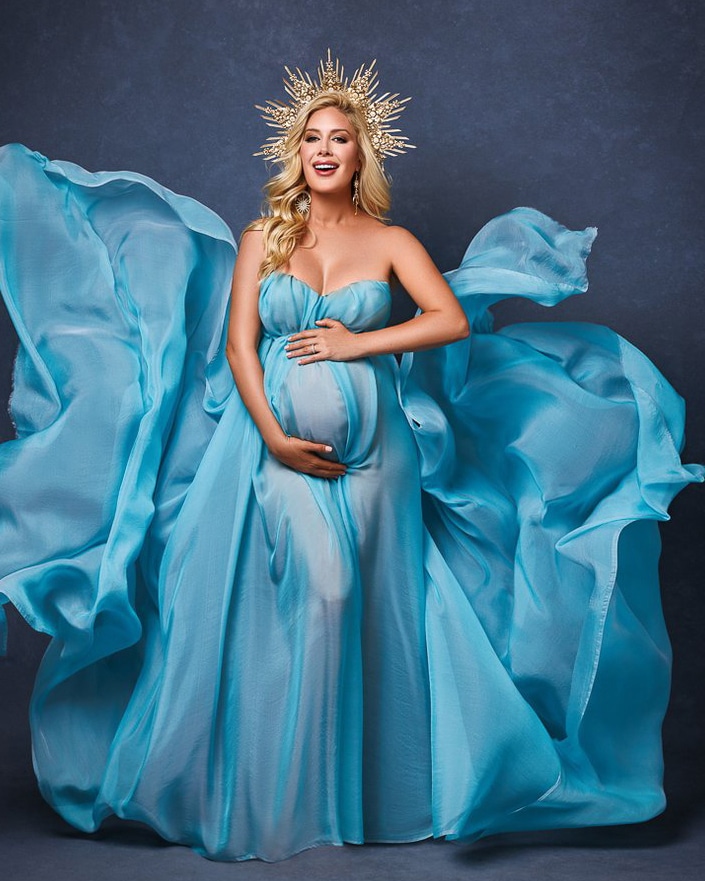
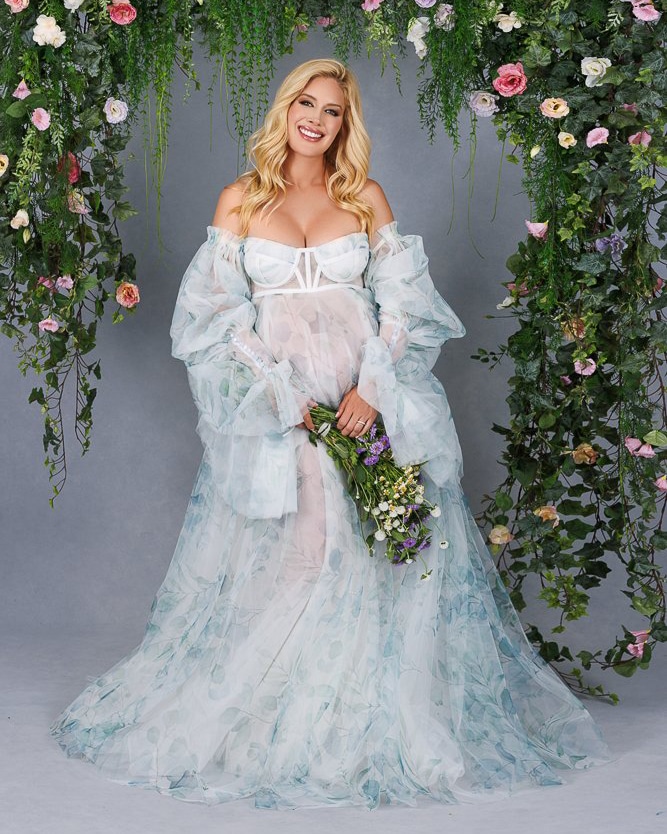
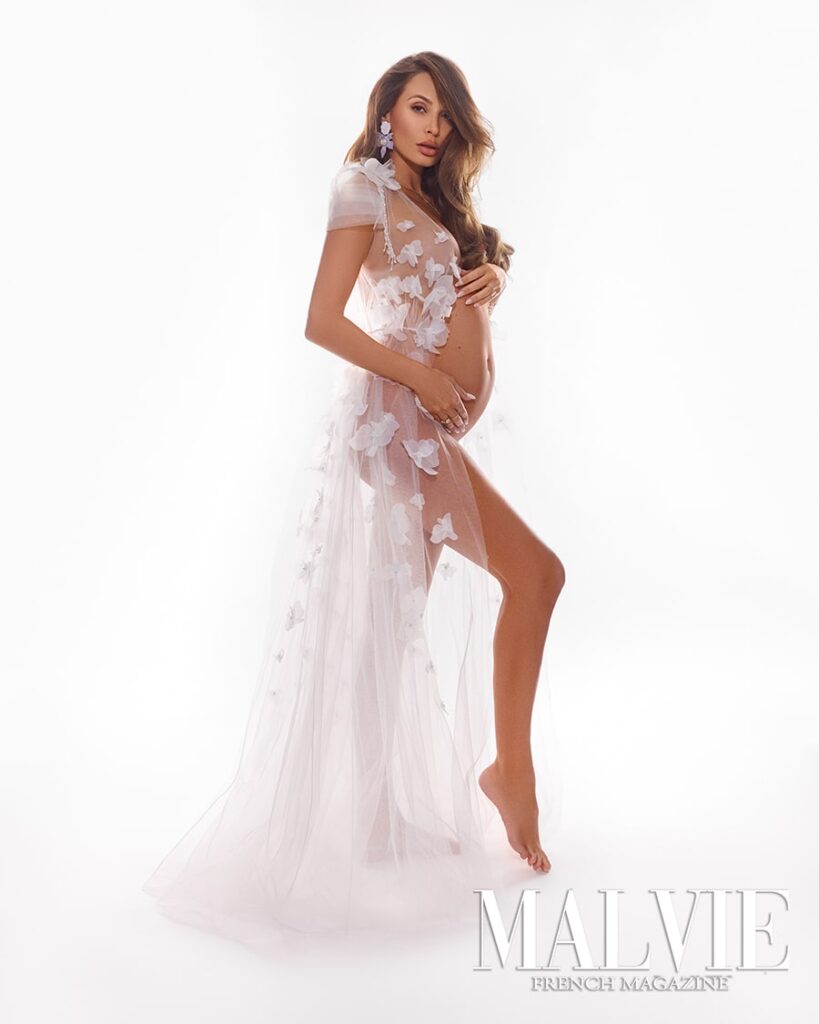
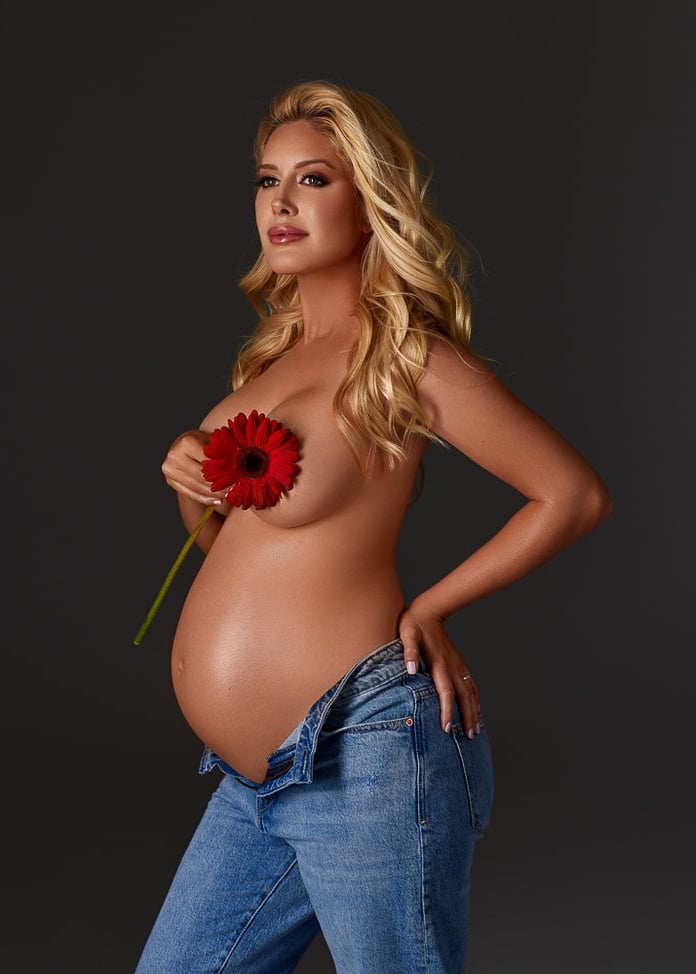
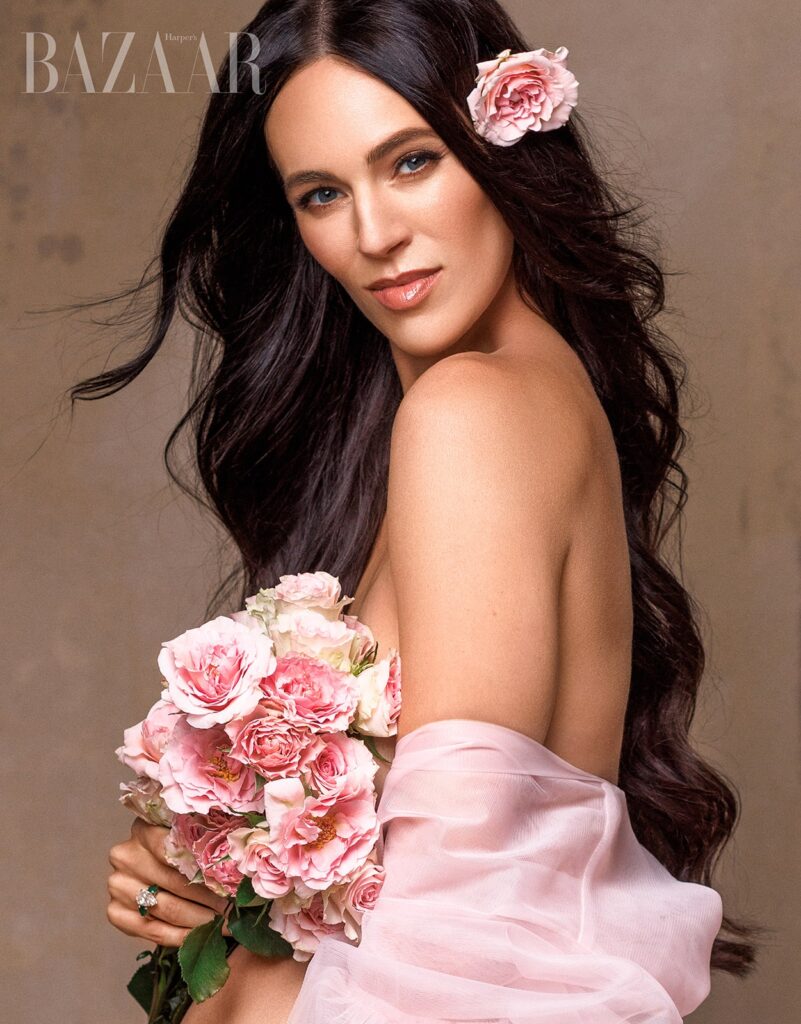
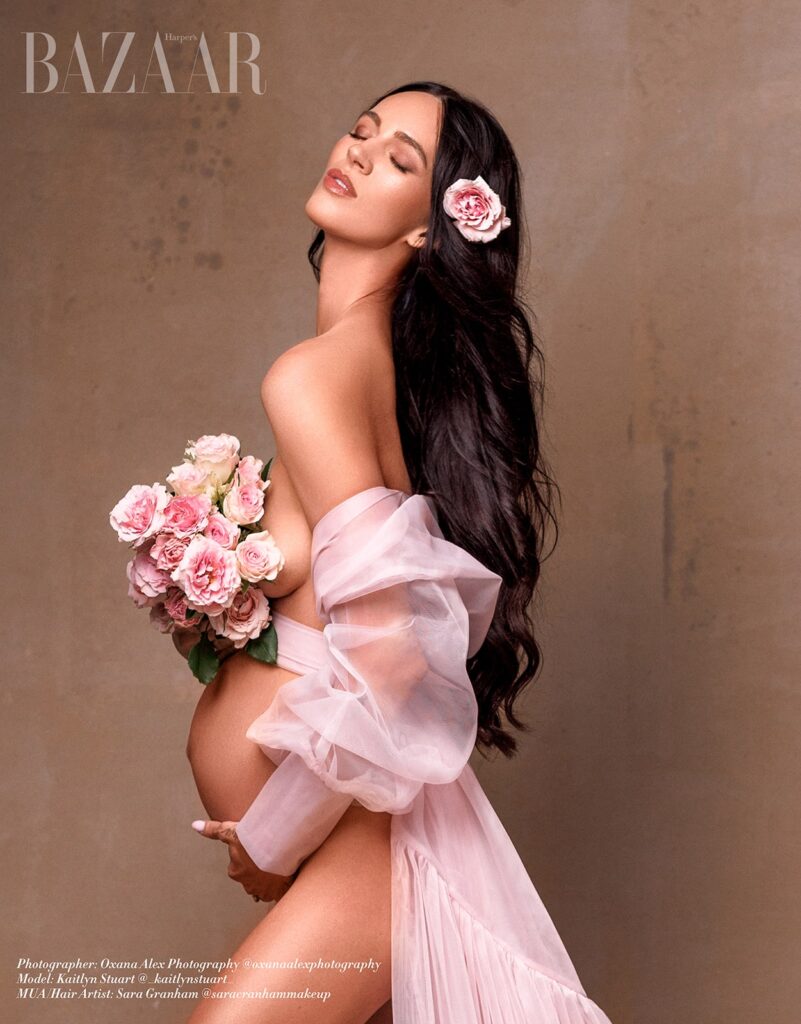
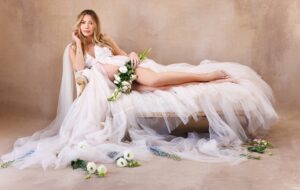
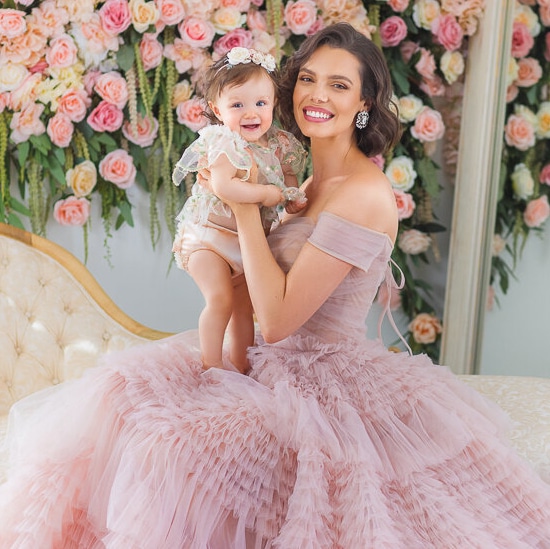
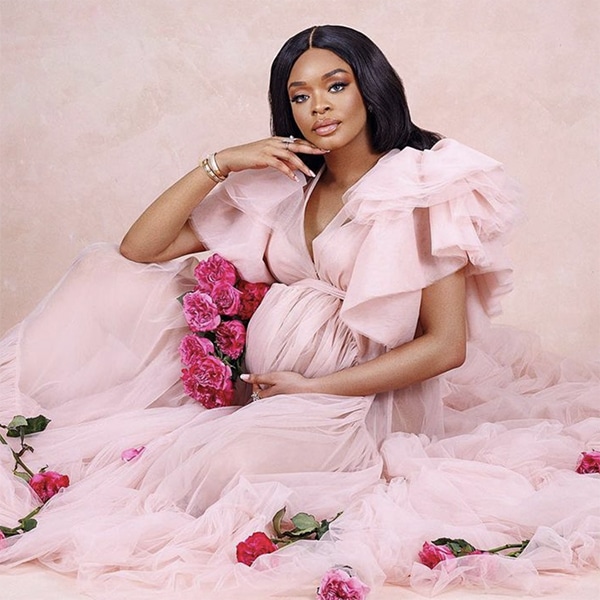
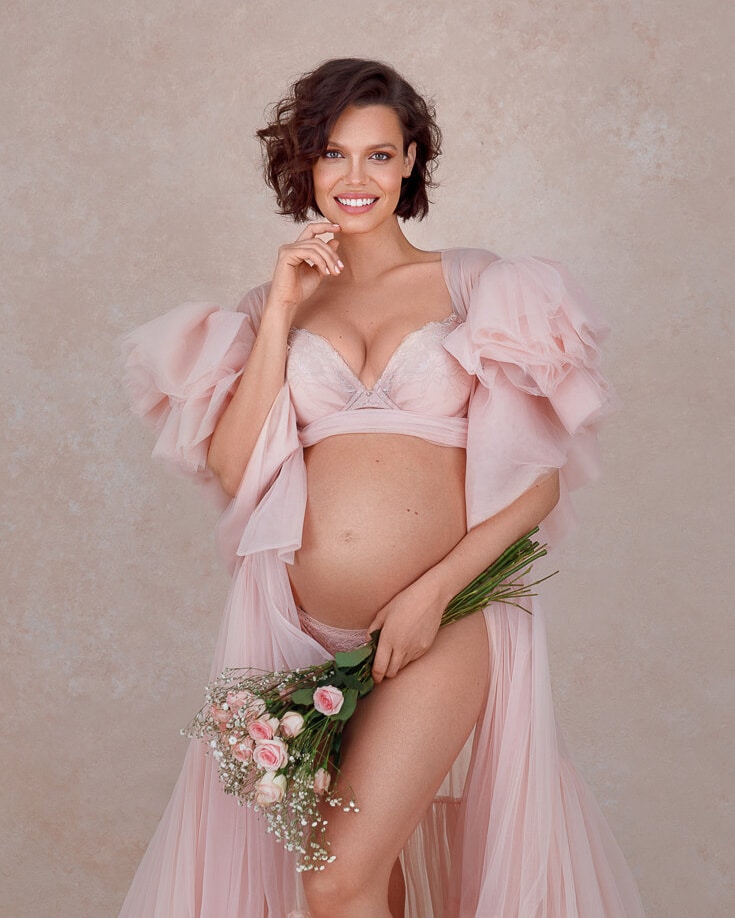
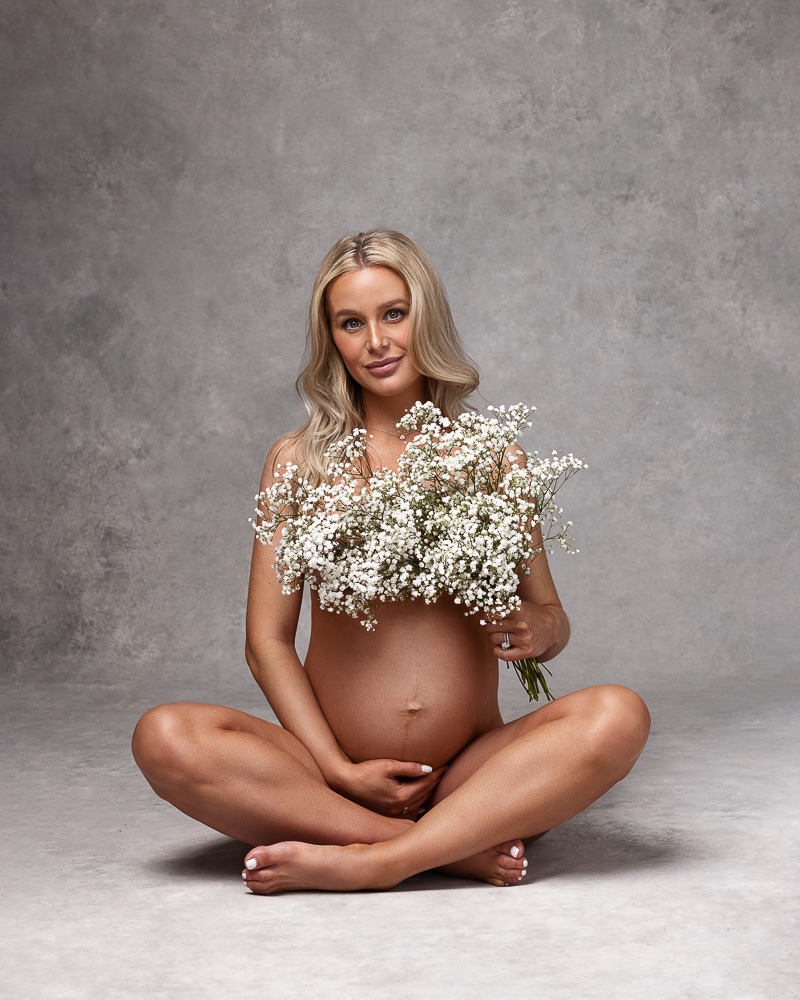
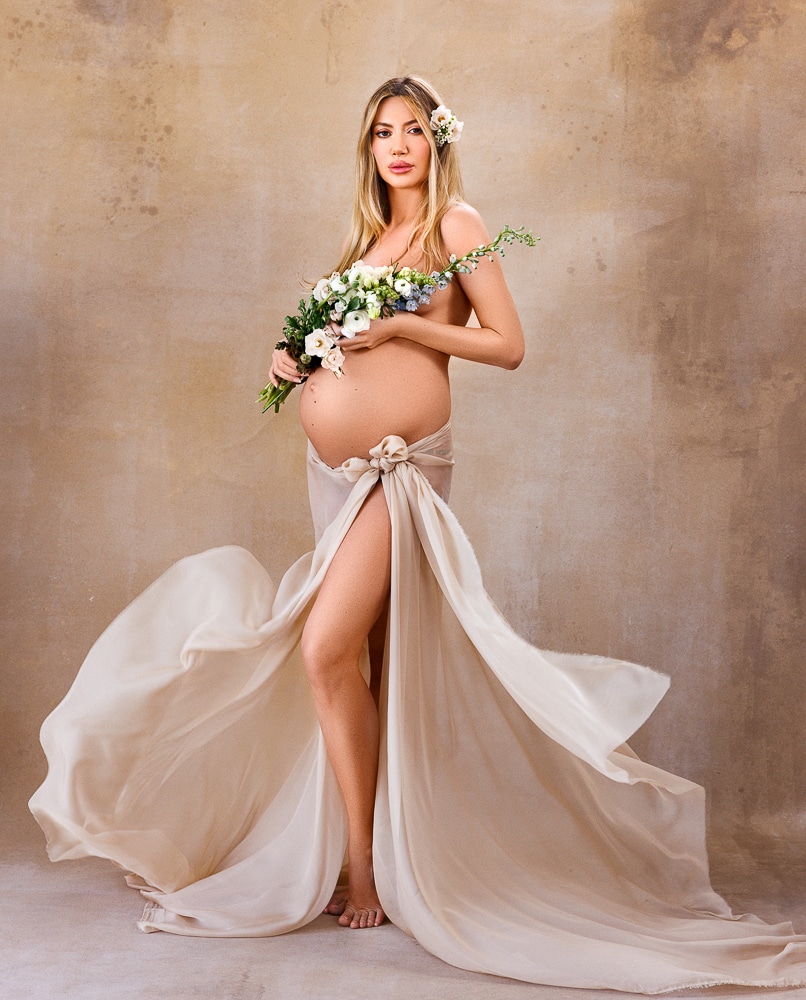
Lighting Setup 10: Floral Fashion Lighting for Creative Maternity Photoshoots
This setup is for sessions where the environment is as important as the subject, where a floral backdrop, elaborate props, or rich fabric arrangements are part of the composition.
How it works: The challenge in a complex scene is that you have multiple visual elements at different distances from the camera, and each one responds to light differently. The subject needs to be the brightest element in the frame to maintain visual hierarchy. The background and props should be lit beautifully but with less intensity than the subject.
Start with your key light on the subject, a large softbox or octa at your standard placement. Then assess how much of that light is reaching the background. If the background is too bright relative to the subject, add a gobo or flag on the edge of the modifier to cut the light before it reaches the backdrop. If the background is too dark, add a second light source at significantly reduced power aimed at the backdrop only.
The props and fabric in a floral setup respond best to soft, diffused light that picks up texture without creating harsh shadows. Position a small softbox or the spill from your main key to graze the floral elements from the side, which reveals texture in a way that flat front light cannot. This is the same principle of directional light applied to the environment rather than the subject, and it is one of the most creative lighting techniques available for maternity work.
When to use it: Sessions with elaborate styling, complex backdrops, or floral and fabric arrangements that are integral to the concept of the shoot. This is also the setup for spring-themed sessions and editorial work where the environment tells as much of the story as the subject.
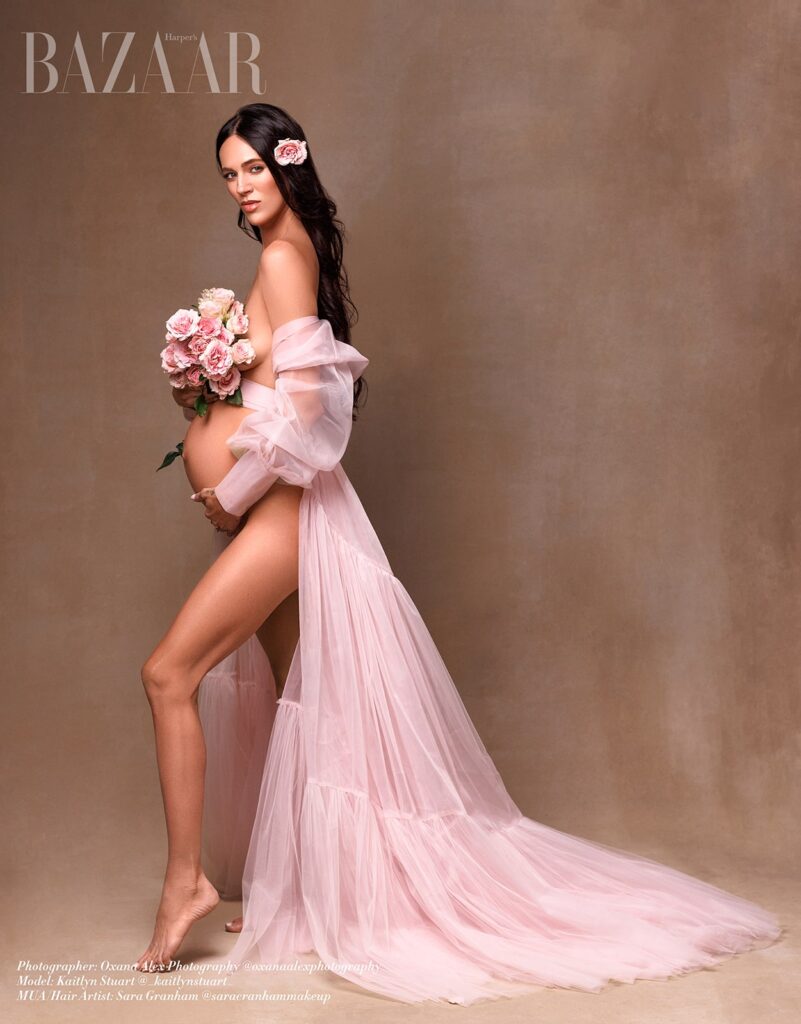
The wardrobe match: Flowing fabrics, soft neutrals, and romantic wardrobe choices that complement rather than compete with the backdrop.
My Lighting Scene 5 course covers this setup end-to-end, including how I build the floral environment, light it separately from the subject, and balance the two exposures in-camera rather than relying on post-production corrections.
Choose the Right Lighting Setup for Your Maternity Session
The setup you choose for any given session depends on four factors that need to be considered together.
#1 Mood and creative intention. What should this portrait feel like? Soft and romantic calls for beauty lighting or window light. Bold and editorial calls for the magnum reflector or stripbox. Artistic and timeless calls for the silhouette. Define the intended mood before you touch a modifier.
#2 The subject’s comfort level and energy. Some clients arrive with the energy and presence for dramatic, high-contrast lighting. Others are softer and more internal, and the lighting should match that quality rather than impose something unfamiliar on them. Read the client and let that reading influence your setup choice.
#3 Wardrobe and color. Dark wardrobe against a dark background needs separation light. Light, flowing fabric in a high-key setup needs the soft fill approach. Fashion-forward styling calls for the stripbox or magnum. The wardrobe tells you a great deal about the lighting the client expects even before they say it.
#4 Your studio space and available equipment. Not every setup is available in every space. The silhouette setup requires enough distance between the subject and the background. The mixed light setup requires a window of sufficient quality. The V-flat setups require physical space for the panels. Know your space and work within its actual possibilities.
The photographers who make the best lighting decisions are not the ones who know the most setups. They are the ones who know a smaller number of setups deeply enough to adapt them fluidly to whatever the session requires.
Common Lighting Mistakes in Maternity Photography
Understanding what goes wrong is as important as understanding what works. These are 5 mistakes that appear most consistently in maternity photoshoots, and knowing them is the first step toward eliminating them.
#1 Flat front lighting. The strobe is on. The client is lit. The image looks acceptable but not memorable. This is almost always the result of a light source positioned too close to the camera axis, eliminating the directional shadows that create dimension. Move the light thirty to forty-five degrees to the side and the portrait immediately comes to life.
#2 Incorrect light height. A key light positioned at eye level or below creates shadows that rise from the features of the face upward, which is unflattering for almost every subject. Raise the key light above eye level and angle it downward. The cheekbones lift. The neck elongates. The belly curves rather than compresses. Light height is one of the fastest adjustments available and one of the most impactful.
#3 No shadow control. Shooting without a reflector, V-flat, or fill source on the shadow side and accepting whatever the shadows do naturally. Sometimes the shadows are perfect. More often, they need management. Build shadow control into your setup from the beginning rather than trying to fix it in post.
#4 Poor subject-to-background separation. When the subject’s hair or clothing is similar in tone to the background, the portrait loses depth and the subject appears to merge into the backdrop. Add a hair light or rim light as a standard part of your setup any time this risk exists. It takes two minutes to position and the difference in the final image is immediate.
#5 Inconsistency across a session. Moving lights between setups without marking the positions, changing power settings without noting them, and ending the session without a reliable way to recreate the look that worked best. Keep a simple lighting diagram for each setup you use regularly. Even a rough sketch with power ratios and approximate positions will help you rebuild a look you loved and avoid rebuilding one that was not quite right.
Oxana Alex – Maternity Photographer Los Angeles
At Oxana Alex Photography, we are open for booking in studio fashion photography sessions. Our studio is located at 2100 Sawtelle Blvd UNIT 307 Los Angeles, CA 90025, USA. You can see our photoshoot pricing here & our photography reviews here.
Conclusion
Lighting is the foundation that everything else in maternity photography rests on. Posing makes the body graceful. Wardrobe establishes the mood. But lighting is what determines whether the portrait is truly polished or simply adequate. Elevate your maternity photography by treating lighting not as a technical checkbox but as the primary creative decision of every session.
The ten setups in this guide represent a complete toolkit for studio maternity photography. Start with the ones that match the style of work you are already doing, practice them until they feel instinctive, and then begin exploring the ones that push your range. Each setup you master adds a new creative option to every session you shoot from that point forward.
The difference between a photographer who knows one setup well and one who knows ten is not ten times more complexity. It is ten times more creative freedom to give every client exactly what their portrait deserves.
If you want to see each of these maternity photography lighting setups recreated step-by-step in a real studio environment, with full demonstrations, power settings, and variations, my maternity lighting courses walk through the complete process from first light placement to final exposure.
How do I schedule my session?
You can schedule your session by emailing [email protected] or by texting our studio at (310) 854-9695.