How to Take Stunning DIY Maternity Photos
Most people think that if they shoot at home, their maternity photos will look homemade.
The truth is, most DIY maternity photos look flat or amateur not because of the camera or the living room, but because intention, posing, and light weren’t given a plan. Think of a maternity shoot like cooking. A simple dish can taste Michelin-level when you salt at the right time, sear at the right heat, and plate with restraint. In photography, the salt is direction of light, the sear is your pose and angles, and the plating is composition. When these three are deliberate, even maternity photos at home can feel editorial.
The difference between photos that feel professional and photos that feel like quick snapshots usually shows up in three places. First, intention, are you telling a story about pregnancy or just photographing a bump? Second, posing, are you shaping the body to flatter curves, elongate lines, and protect the neck and jaw, or just standing square to camera and hoping for the best? Third, lighting, is your light carving form and creating a soft contour on the belly, or is it blasting straight on and erasing dimension? Once you start making decisions in those three areas your DIY maternity photos will start looking incredible.
See my course on how to take beautiful DIY Maternity photos here.
What Studio Maternity Photography Teaches Us
As a Los Angeles based studio maternity photographer, I love being able to control everything from the background, the light fall-off on the belly, the angle of a shoulder, even the breath right before the shutter. That control is what gives a maternity photoshoot its refined, calm, luxury feel. Now, can we transfer studio principles to a diy maternity shoot at home?
Absolutely. You don’t need strobes or a cyclorama. You need thoughtful choices. A white sheet clipped to a curtain rod suddenly becomes a clean seamless. A sheer curtain turns harsh sunlight into natural light that wraps. A tripod and a timer or remote unfreeze your face so you can focus on feeling instead of timing the shutter. Bring those habits home, and the results stop looking like photos at home and start looking like professional maternity portraits.
If you want my full lighting blueprints to use at home, window angles, reflector placement, and one light that acts like three, see my Maternity Photography Lighting Course Bundle here.
Understanding the Emotional Core of a Maternity Shoot
When posing a maternity photo, always ask yourself what part of this story you want to show in this frame, Maybe it’s the quiet morning before the world wakes up, sunlight through a curtain touching the baby bump. Maybe it’s the fierce profile of a mother claiming space. Maybe it’s laughter with a couple in their living room, the entire family joining for one frame that will make the nursery wall.
Decide the type of photo you’re making before you raise your camera. Your edit later will be easier, your posing will have purpose, and your subject will feel seen rather than staged.
Guiding the Mom Into a Confident State
Confidence photographs. When I work with a first pregnancy or fourth, I start with breath. Inhale tall, exhale through parted lips, soften the throat, and let the shoulders drop. I avoid commands that make the body tense. Language cues create posture without stiffness.
To avoid self-conscious posing during a diy maternity session, choose a pose that gives the hands a job. One hand cradles under the belly, one hand grazes the collarbone, elbow floating away from the torso to carve negative space. Turn the body forty-five degrees from camera, shift weight to the back leg, and bring the front toe forward like you’re testing water. That tiny staggered stance lengthens, slims, and flatters. Think length and curve, not twist and crunch.
Preparing for Your DIY Maternity Photoshoot
For most people, the sweet spot is 28–34 weeks. The bump is pronounced but not yet heavy in a way that makes posing uncomfortable. If you’re carrying twins or experiencing swelling or reduced mobility, shift earlier, around 26–30 weeks, and shorten the photoshoot into two mini sessions of twenty minutes each. If mornings are when you feel your best, chase morning light. If you bloom at dusk, save your energy for golden hour. Remember, fatigue shows in the eyes before anywhere else. Choose a time when your body feels good and your mind is calm.
Curating a Concept, Not Just a Look
We’re not imitating Pinterest shots, we’re building a feeling. Pick a concept like goddess minimal, soft-maternal, editorial black-and-white, romantic texture, sunlit silhouette. Save five reference images max, just enough to set direction without turning the shoot into a scavenger hunt.
Ask, what’s the soundtrack of this photoshoot? If it’s movement and flowing fabrics, plan for a fan or an open window. If it’s stillness, plan for seated poses and a tighter frame. If it’s editorial, think contrast and shadow. If it’s whimsical, a flower crown and a simple prop like a single stem can be lovely without tipping into costume.
Selecting Wardrobe That Photographs Well
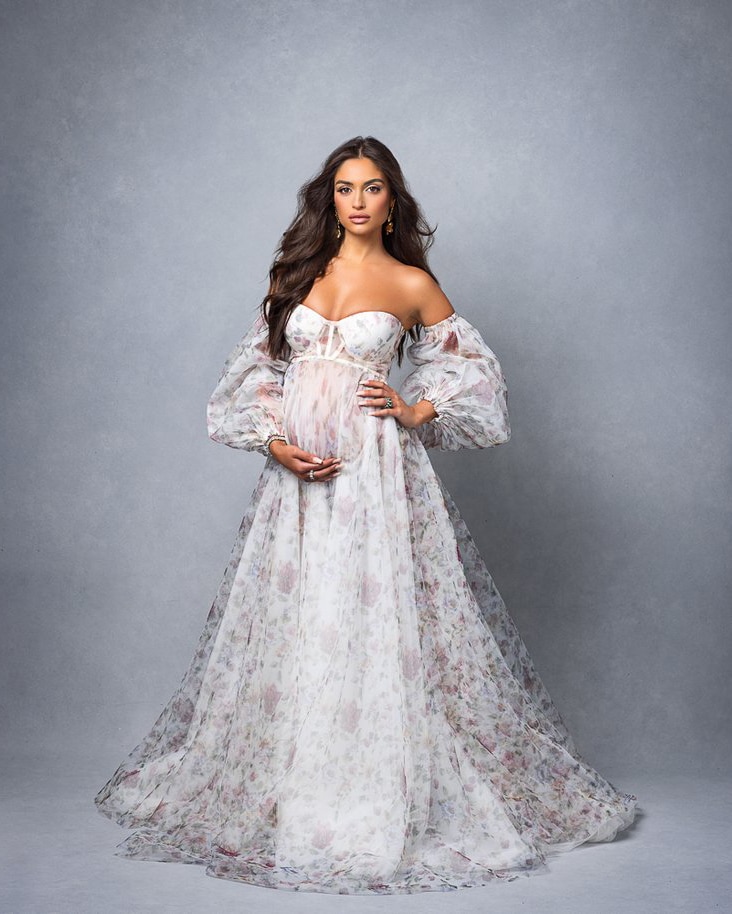
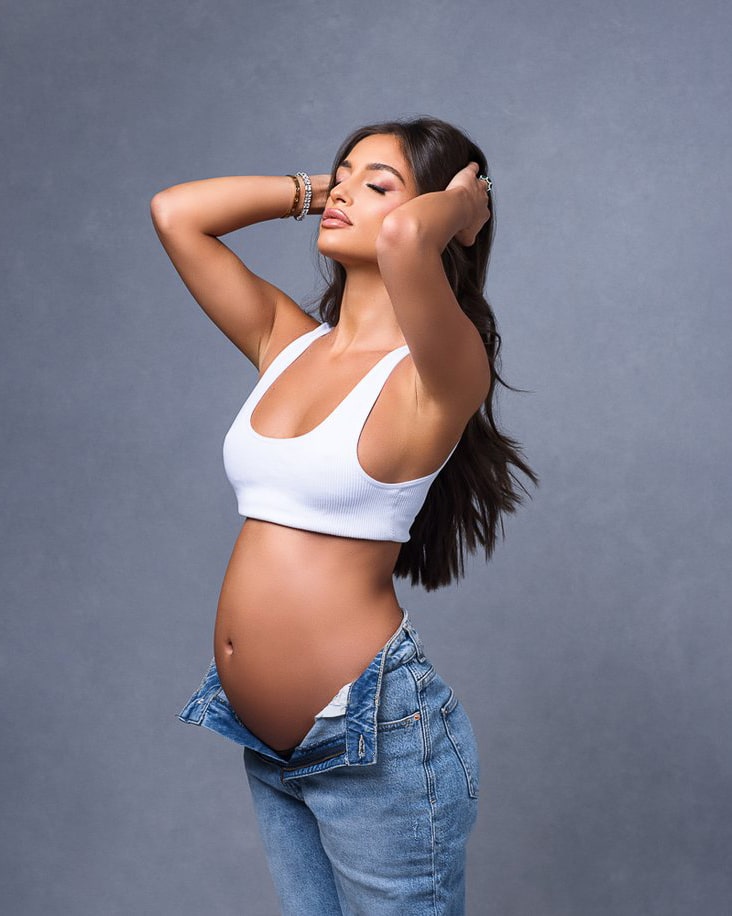
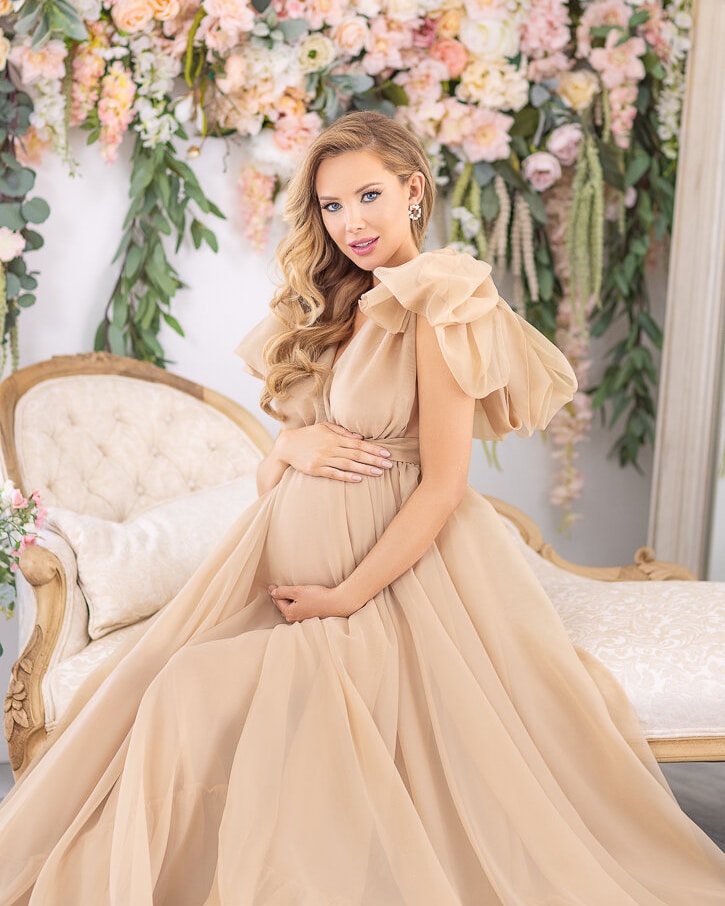
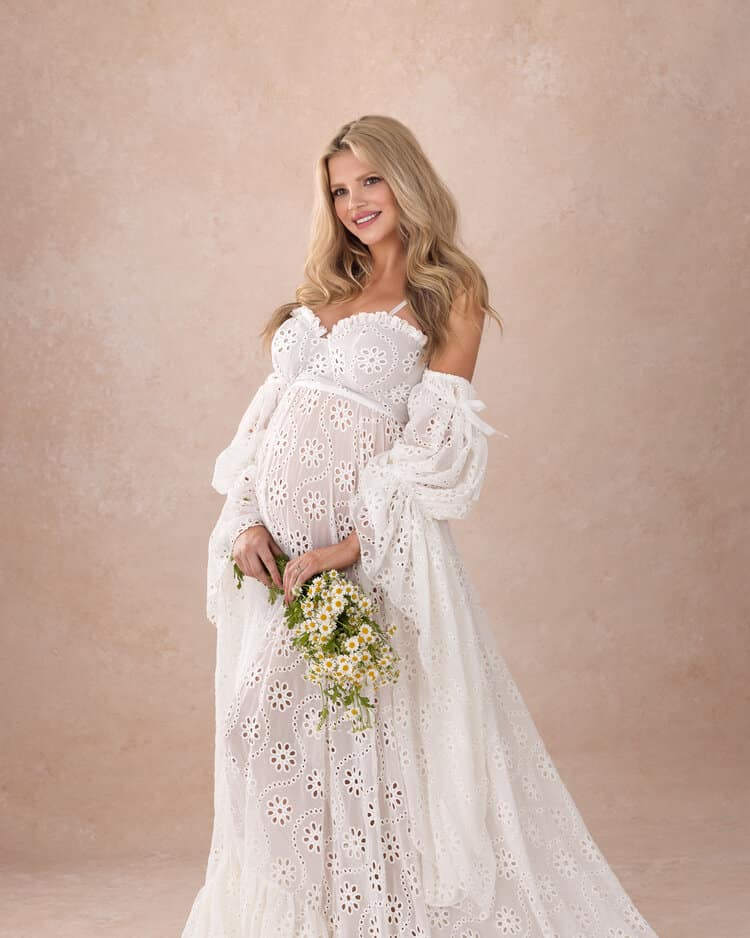
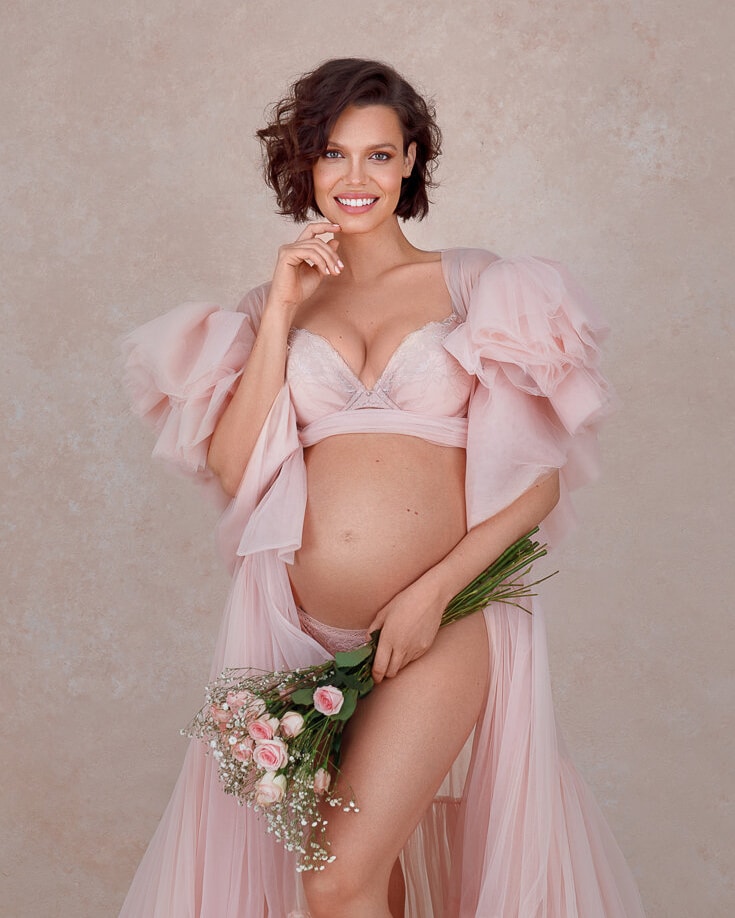
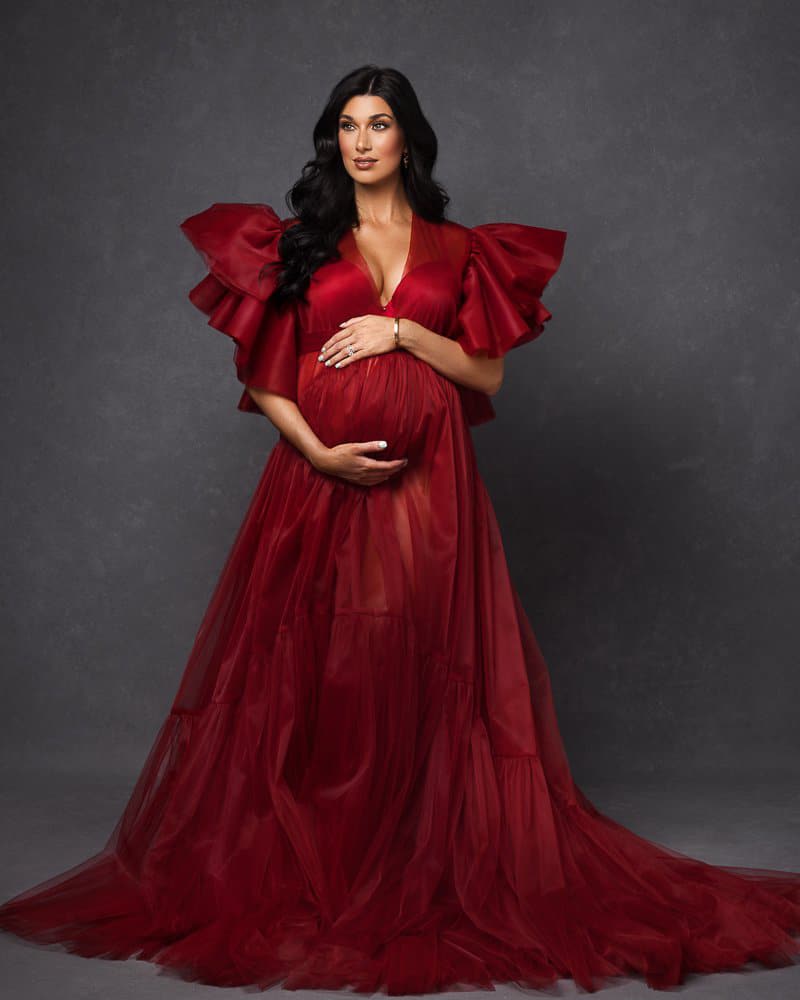
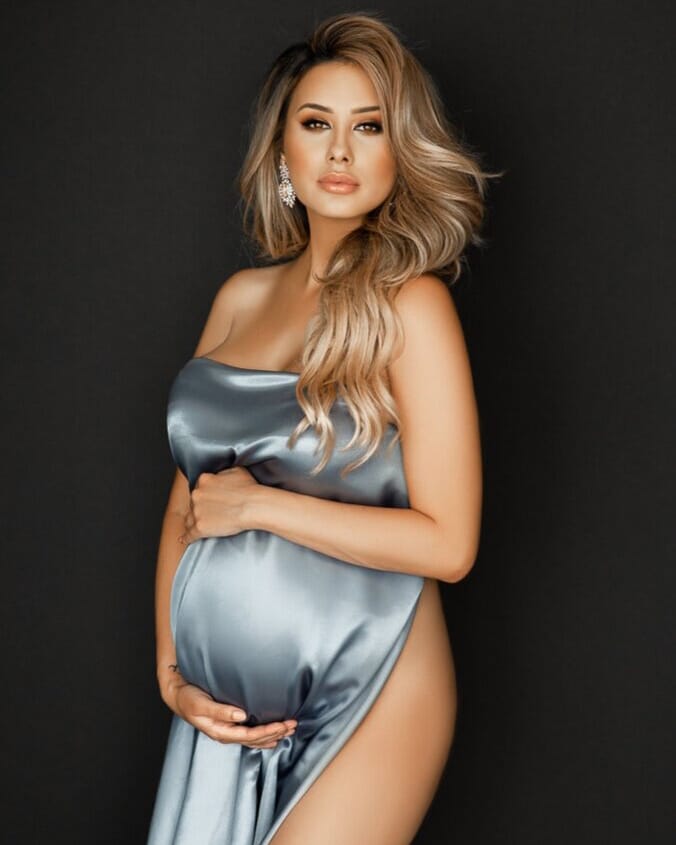
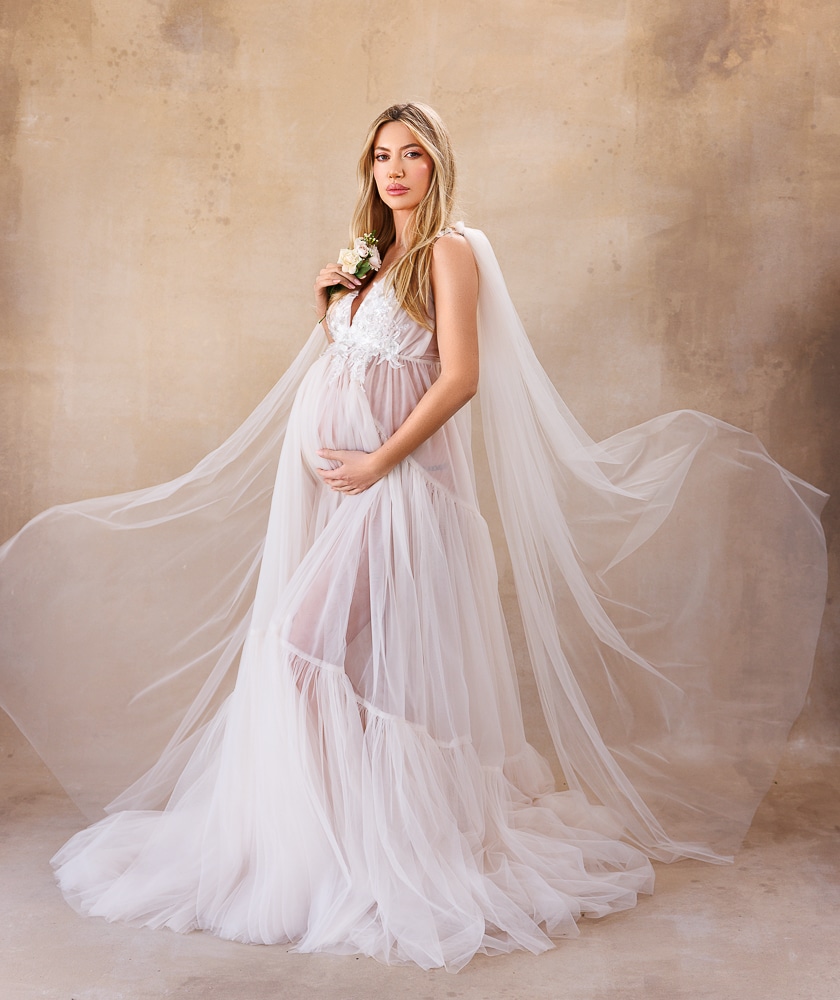
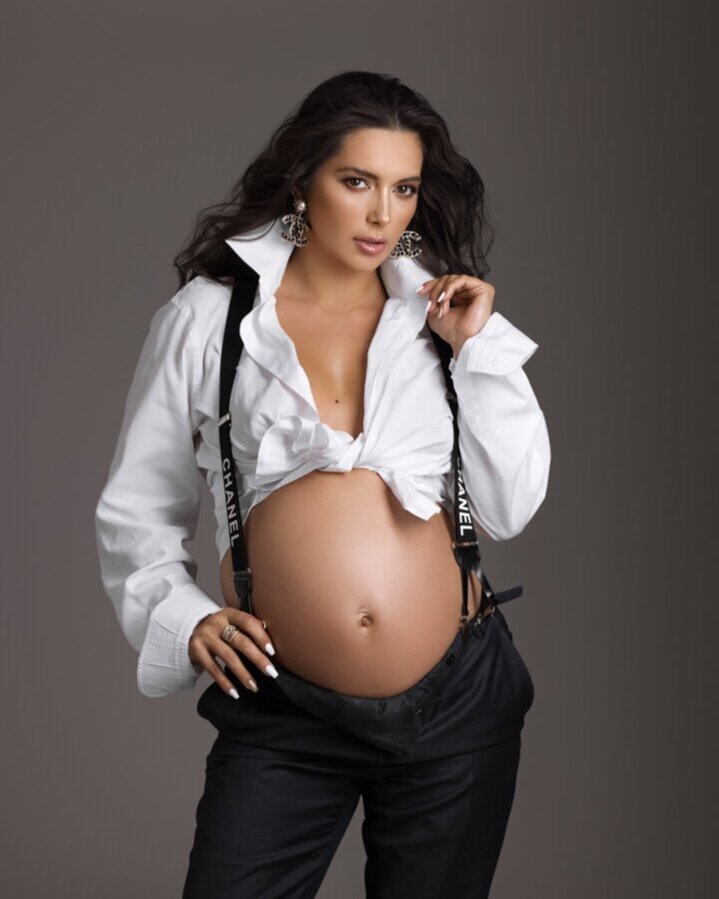
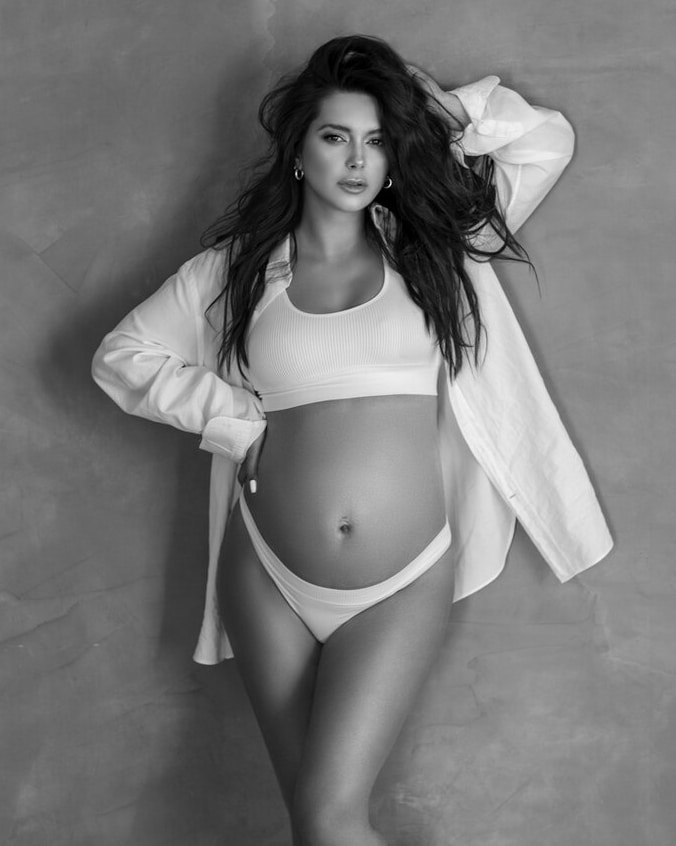
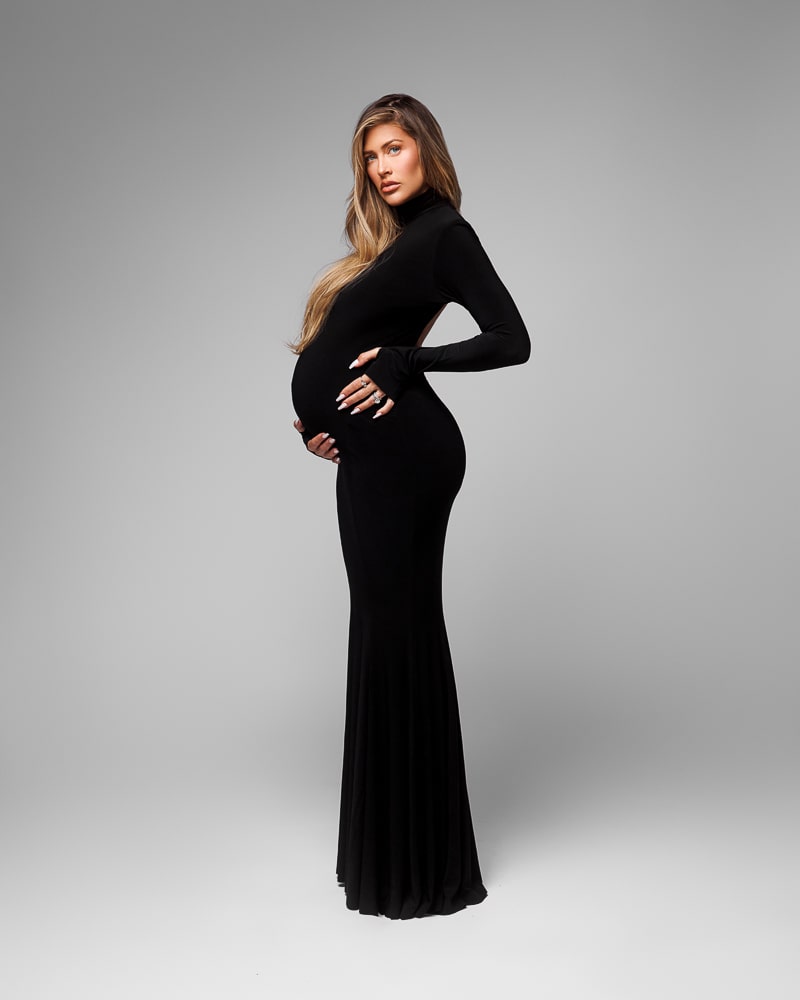
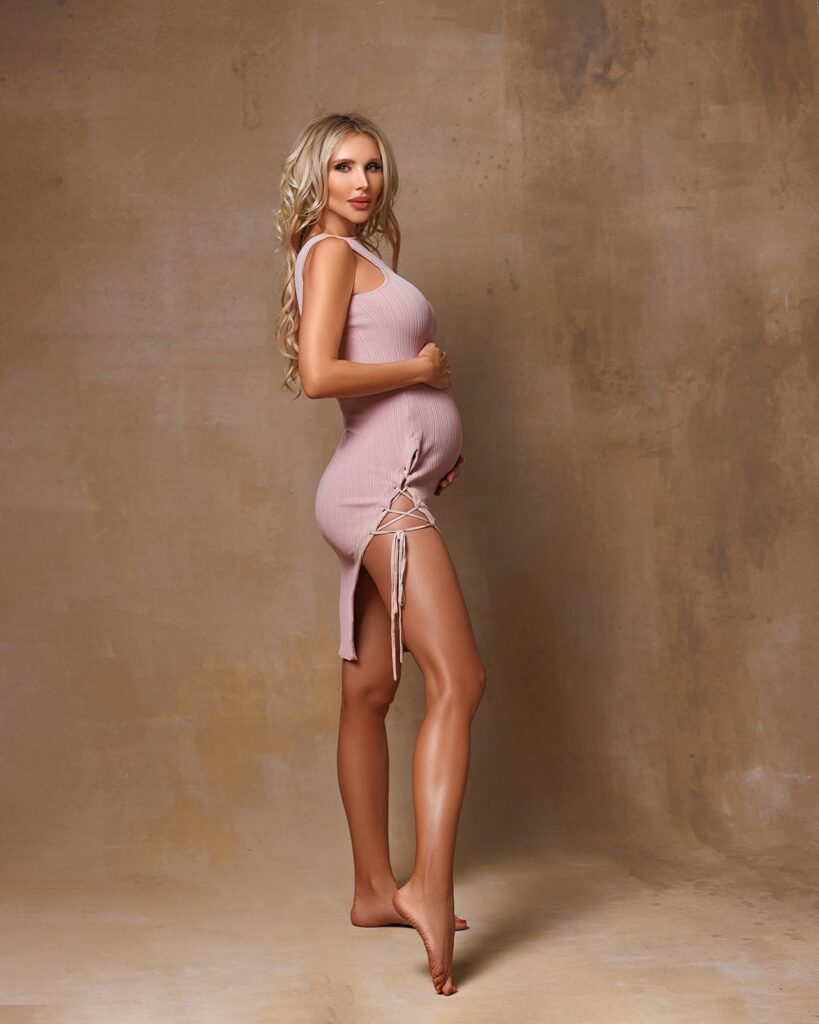
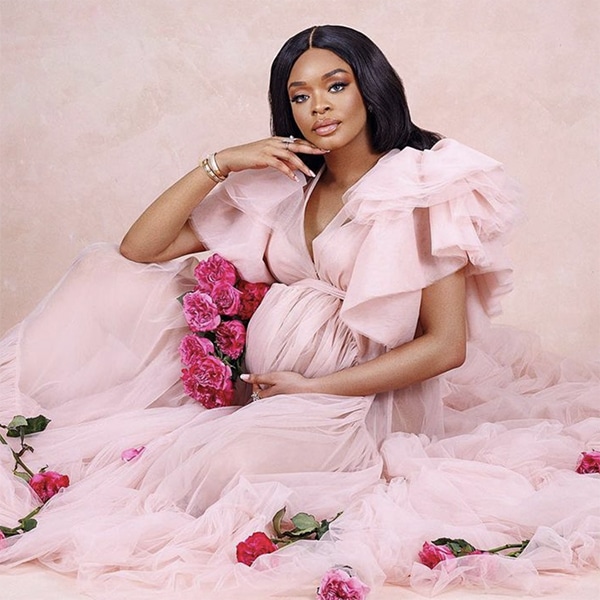
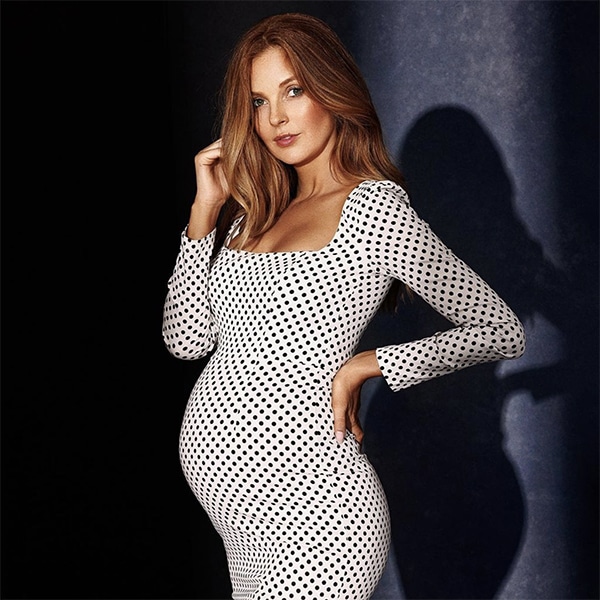
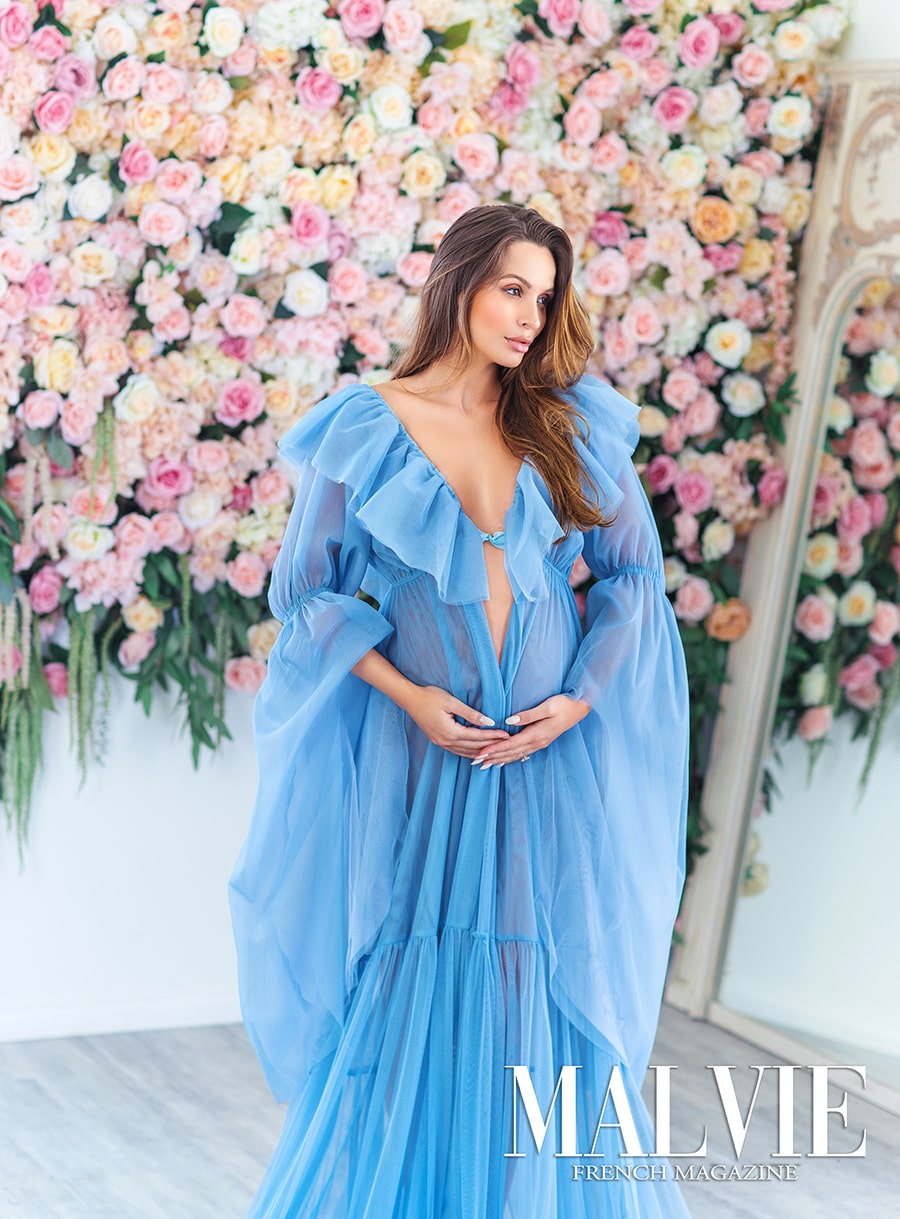
For a maternity shoot, I love two categories, drape and contour. Drape means silk robes, chiffon, and knits that catch light and move. Contour means a fitted dress or bodysuit that celebrates the belly line without squeezing. For diy maternity photos at home, neutrals and texture are your best friends, cream ribbed knit, linen, soft gray, black. They flatter skin, reflect light nicely, and keep the focus on expression and shape. A trick I teach photographers is to never let the hemline cut the widest part of the thigh. Either above mid-thigh or below the knee creates cleaner lines.
If you want a quick fashion change, toss on an oversized white shirt half-buttoned, then slip into something fitted, then go for a bare-bump silhouette with a shawl or white sheet. Three looks, one room.

Setting Up Your Space Like a Studio (Even at Home)
A clean frame is ninety percent of professional-looking photography. Scan your living room or nursery. Remove distracting items in the background. Shift a plant, straighten wall art, pull a sofa away from the wall to create depth. If you don’t have a blank wall, make one. Tape a length of white or gray paper roll, or clip a sheet to a curtain rod and let it drape to the floor for an instant seamless. Iron it or toss it briefly in the dryer to smooth wrinkles. Position your subject four to six feet from the background so shadows fall softly and your subject separates from the setting. Suddenly, the space looks intentional rather than improvised.
The Power of Negative Space
Luxury breathes. Leave room around your subject. If you’re shooting full-length maternity portraits, give headroom, if you’re shooting a portrait, crop mid-thigh or just above the belly button so the baby bump can curve into frame. Imagine air flowing around the pose, especially at the waist, elbows, and knees. When in doubt, step back one foot. The photo will feel calmer, richer, and more editorial professional photographer than tight phone snap.
Tripod + Remote Setup for Solo DIY Maternity Photos
A tripod is your best studio assistant. Set it slightly above eye level for standing portraits to avoid a heavy jawline and to flatter the neck. For seated or semi-reclined poses, drop it to mid-chest height so the belly line reads elegantly rather than looming. Use a remote or your phone’s timer, and give yourself a three-second delay so you can exhale into the moment.
If you’re on an iPhone, switch to portrait mode when the light is generous, when it’s dim, stick to the regular photo mode to avoid artificial blur. If you’re on a DSLR camera, start with camera settings like f/2.8–f/4 for a single subject near a window, ISO 200–800 depending on the day, and a shutter speed no slower than 1/160 if you’re including movement or kids.
If you’re doing a full diy maternity shoot, see my DIY Maternity Photoshoot Course .
Mastering DIY Maternity Lighting
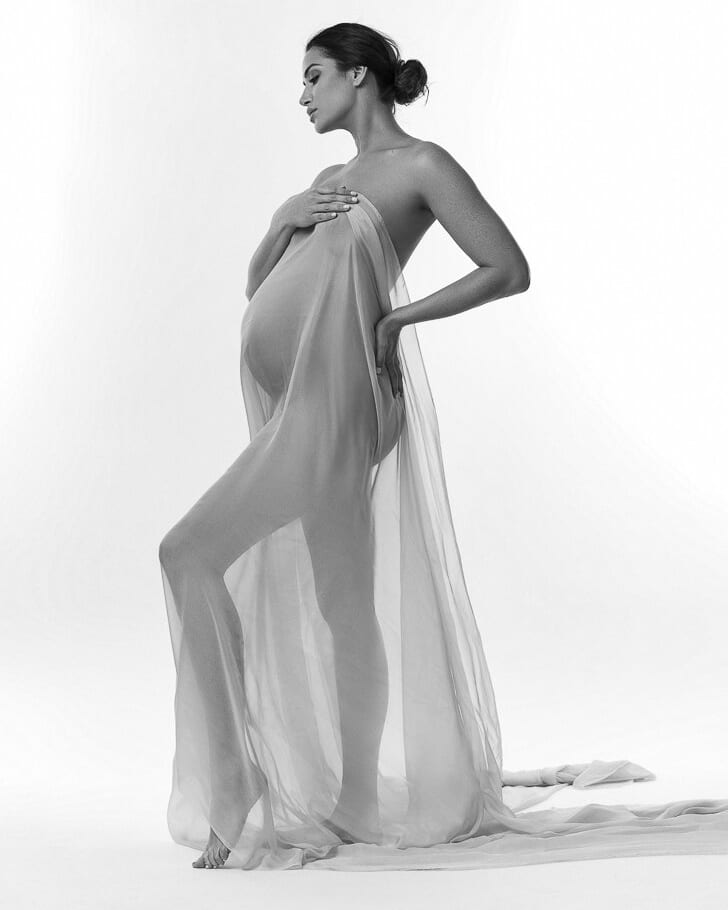
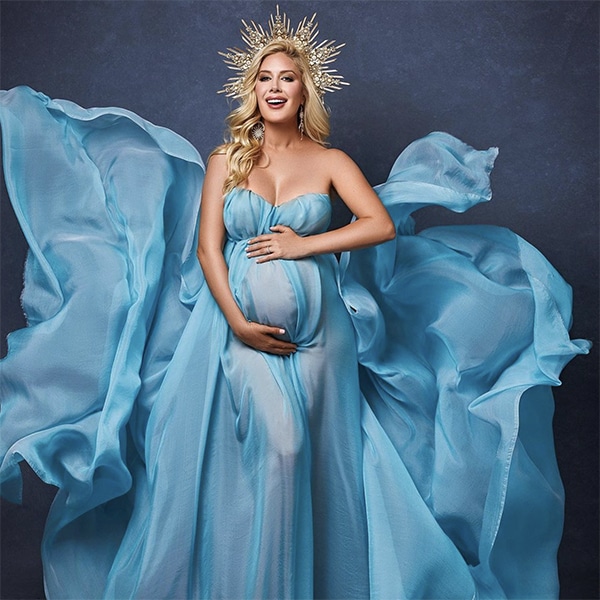
Light has personality. North-facing windows are consistent and gentle. East light is bright and crisp in the morning. West light is warm and dramatic in late afternoon. A sunny day is wonderful, but direct beams on skin can be harsh. Diffuse them by hanging a sheer curtain or draping a translucent white fabric across the window. Place your subject at a forty-five-degree angle to the window, belly turned slightly toward the light, and watch the form carve itself.
That’s how you get maternity photos that feel sculpted rather than flat. If you only have one small window, embrace the intimacy, go close, use the fall-off to darken the background, and let the face and bump glow.
One-Light Setups That Mimic High-End Studio Lighting
If you have a single continuous light at home, put it high and to the side so it kisses the top of the belly and cheek, not blasting straight on. Think of your light like the sun at late afternoon. For a classic, flattering setup, place it at forty-five degrees off camera and slightly above eye level.
For a backlit silhouette, put the light behind your subject aimed at the backdrop and expose for the highlights, letting the figure go inky while the belly outline remains luminous. For a soft Rembrandt feel, feather the light so the brightest part doesn’t hit the face directly, let it skim. This trick keeps skin creamy and reduces shine while keeping shape.
Reflectors & Household Light Shapers
You don’t need fancy gear. A $5 foam board from a craft store becomes a perfect reflector. Prop it opposite the window to bounce light back under the chin and into the eyes. Aluminum foil, crinkled and flattened, gives a brighter, more specular fill, great for a sparkling eye light. A sheer white curtain will diffuse, a gray blanket will gently absorb. The side of a white wardrobe? That’s a wall-bounce fill. Control shadow depth with distance, the closer your reflector to the face, the softer the shadow under the cheekbone.
Why Light Direction Defines the Mood
Front light is friendly but can be flat. Side light is sculptural and romantic. Backlight is ethereal and works wonders for a pregnancy silhouette and flowing fabrics. The mom’s personality should guide the lighting. A quiet soul loves soft, near-front light and minimal contrast. A bold spirit may glow in a deep shadow profile with a strong highlight on the baby bump. You’re telling the truth of this person, not chasing someone else’s picture ideas.
If you want step-by-step diagrams tailored for living rooms and small spaces, see my Maternity Photography Lighting Course Bundle here.
Expert Maternity Posing That Flatters Every Body
Lengthen first, curve second. Create space between limbs and torso. Lead the viewer’s eye in an S-curve, face to hands to belly to hips and back. For hands, think delicate energy. Fingers together but relaxed, wrists soft, elbows angled slightly out so light can slip through. Chin forward and slightly down, as if reaching toward the camera, then tilt a whisper. This prevents the turtle shell chin.
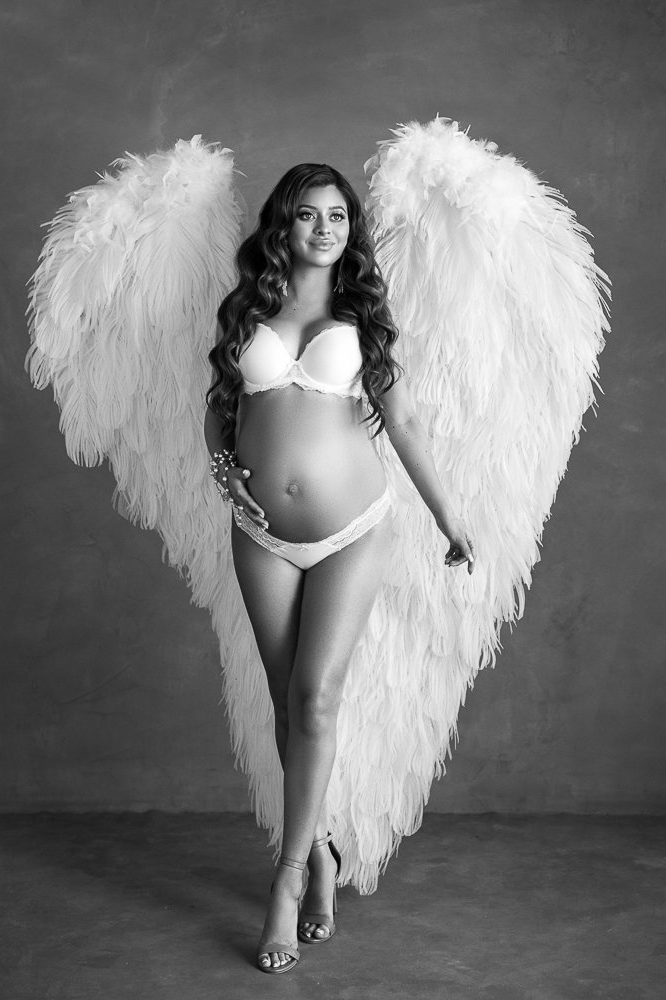
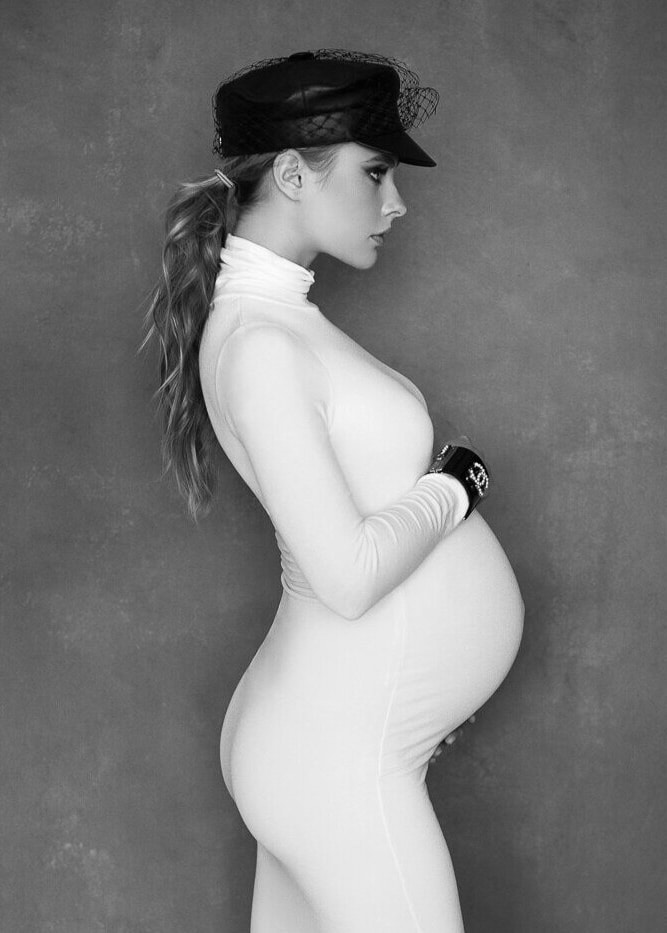
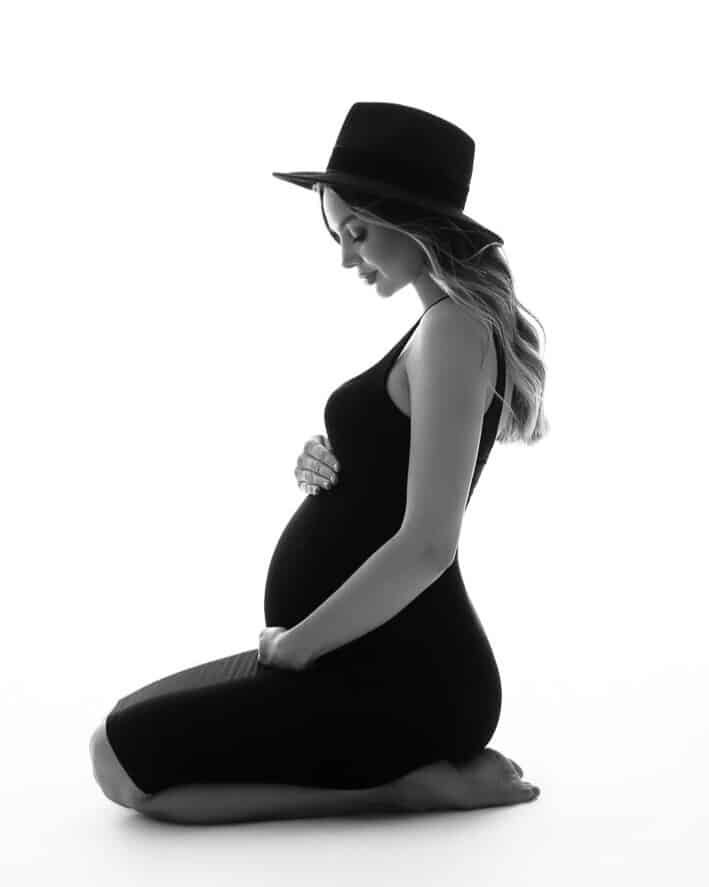
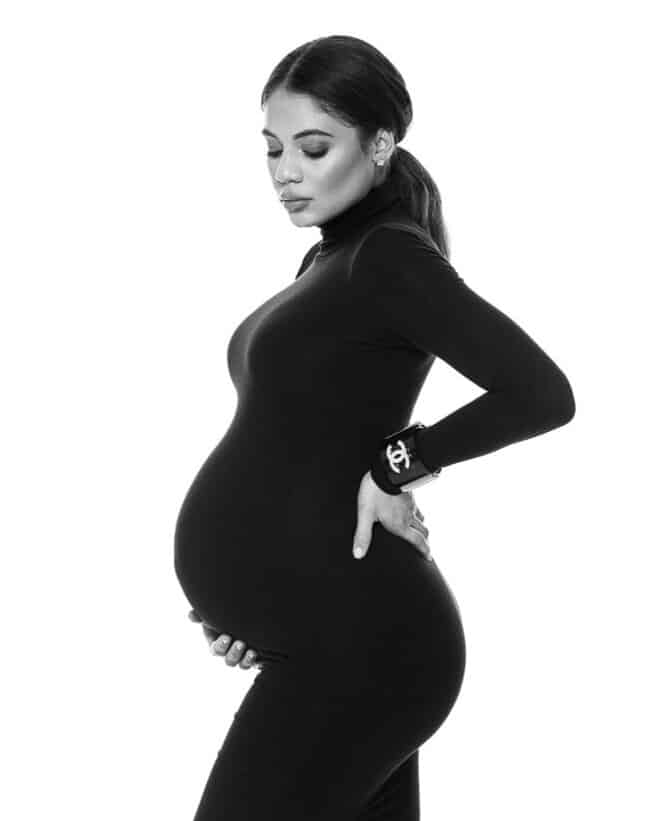
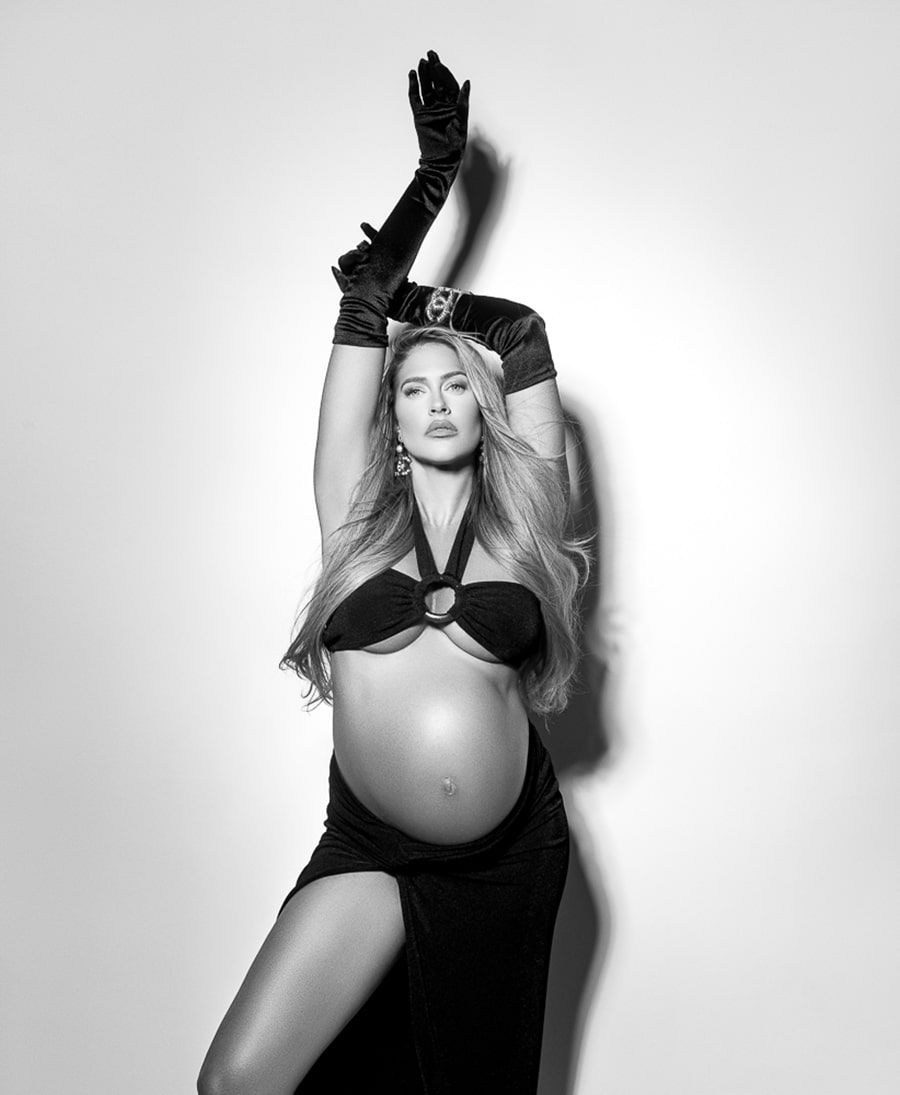
Editorial Profiles & Silhouettes
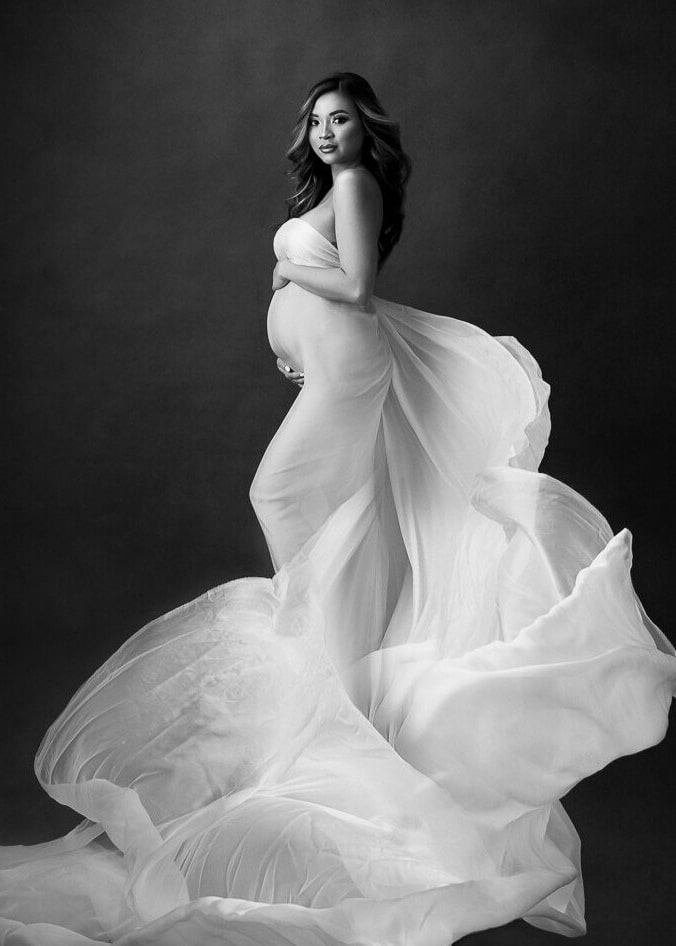
Profiles are timeless. Rotate the body so the shoulder closest to camera slides back, then ask for a tiny sway of the ribs toward the lens, just enough to emphasize the belly arc. For silhouettes, kill all side clutter in the frame, backlight your subject, and let the outline do the speaking. If you’re shooting on an iPhone, tap to expose for the brightest part of the background so your subject goes darker. If you’re on a DSLR camera, underexpose by two-thirds of a stop and refine in the edit. Keep stray hairs tidy and chin proud, silhouettes magnify little details.
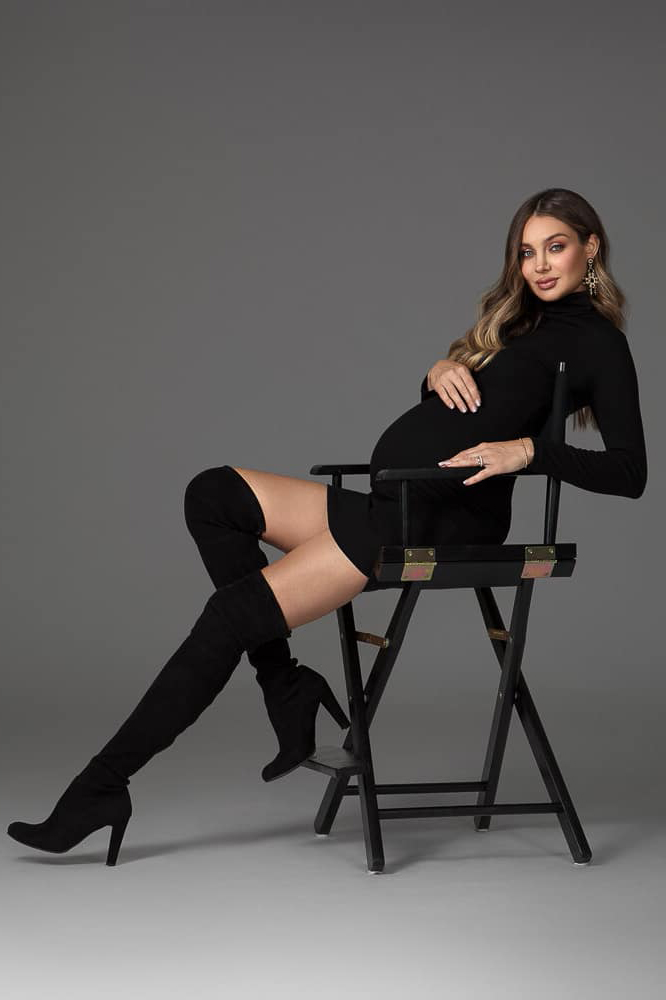
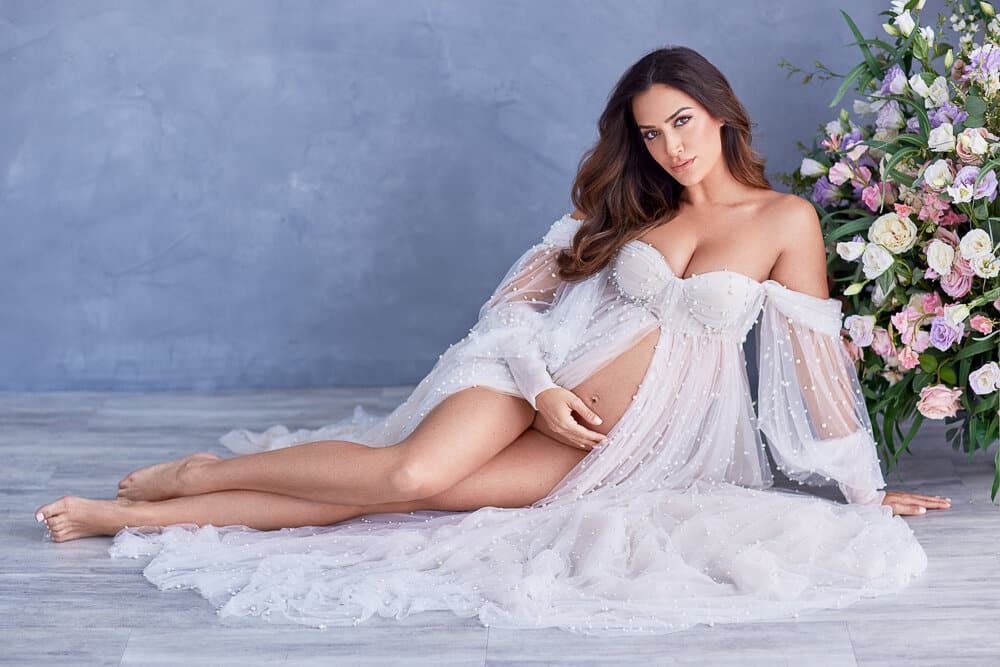
Seated + Reclined Poses That Look Luxurious
Seated poses are forgiving and elegant for pregnancy photos. Sit on the edge of a chair turned at a forty-five-degree angle to camera. Keep feet staggered, knees together or slightly apart depending on comfort, and tuck the pelvis so the lower back lengthens. Place a pillow under the front foot if needed to lift the knee and shape the dress. For reclined poses, keep the torso angled at least thirty degrees from flat so breathing stays easy. Use flowing fabrics to drape the belly line rather than squish it. Ask for a slow toe point and a relaxed ankle to lengthen the leg.
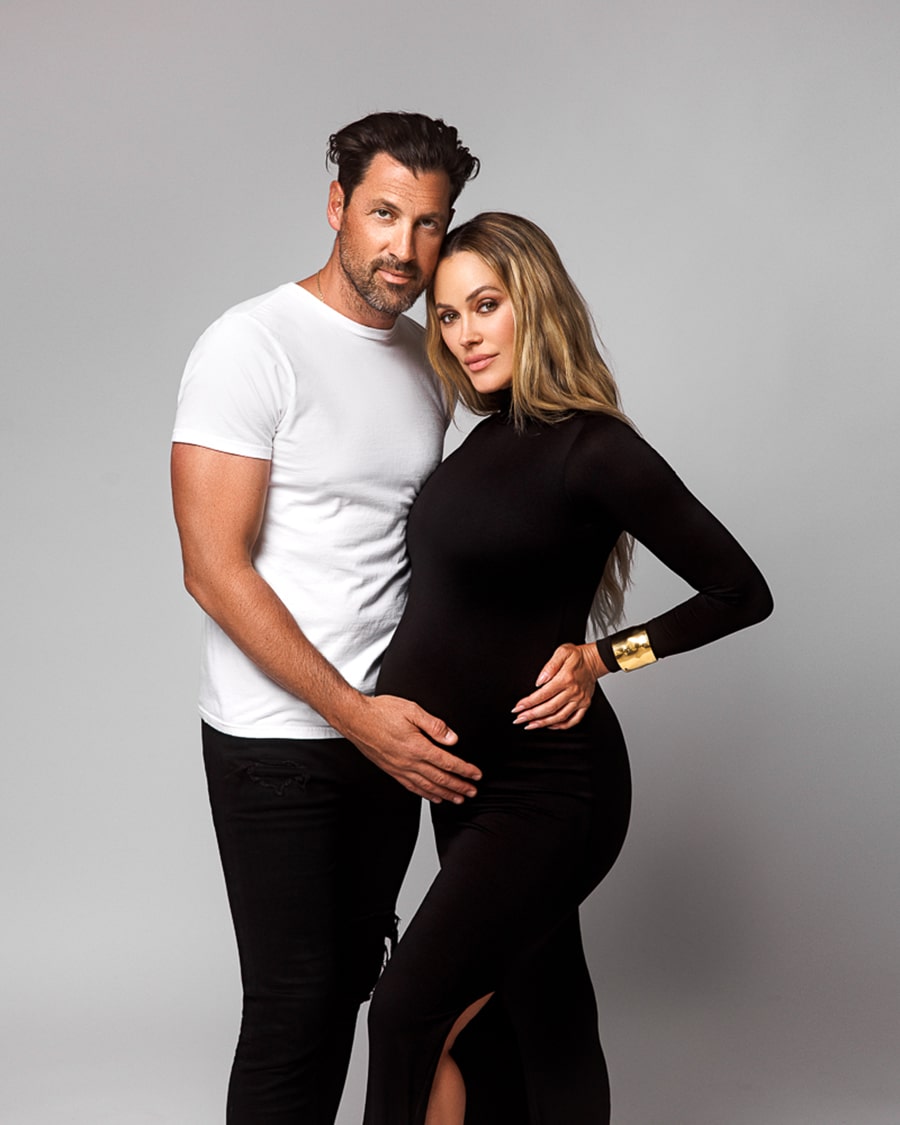
Posing With a Partner
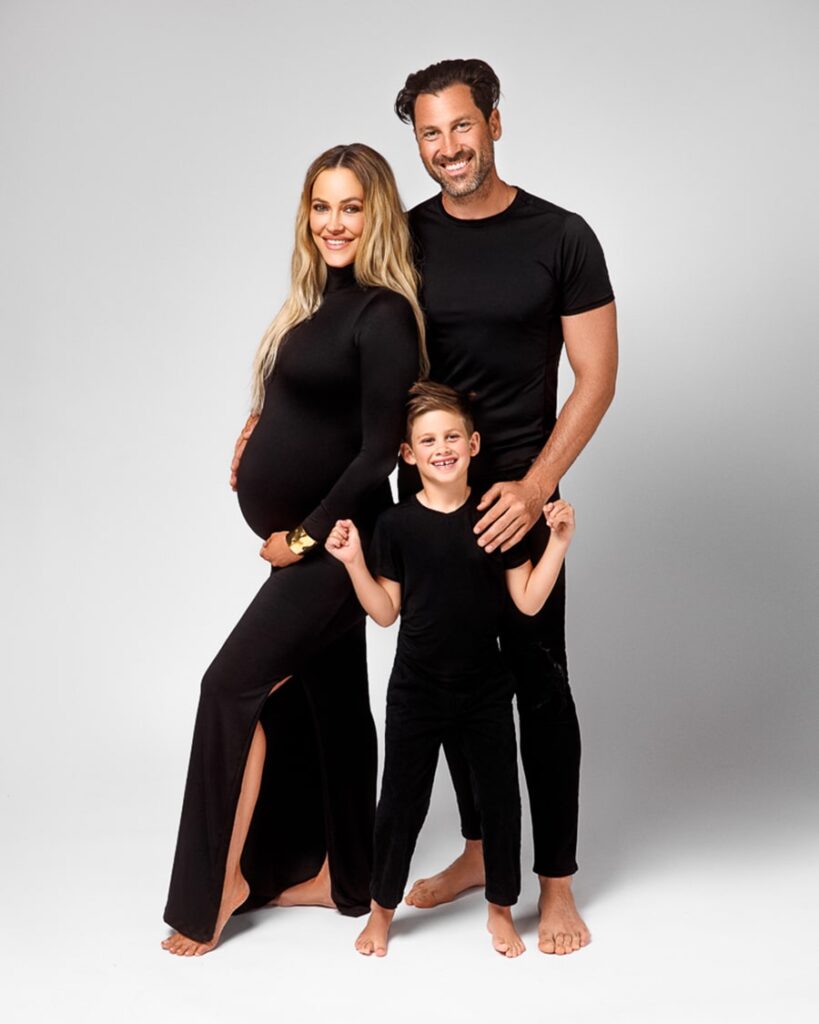
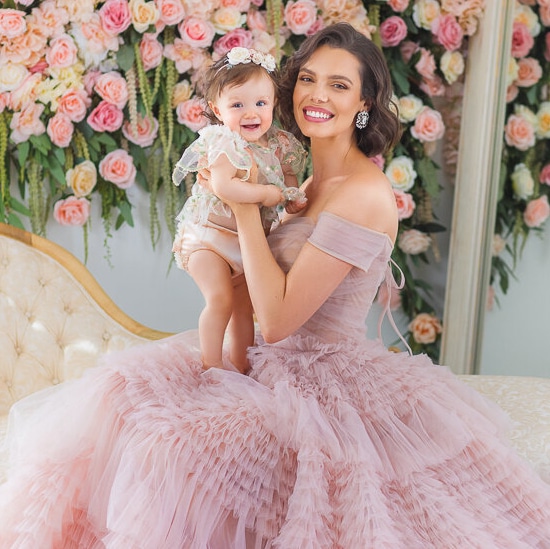
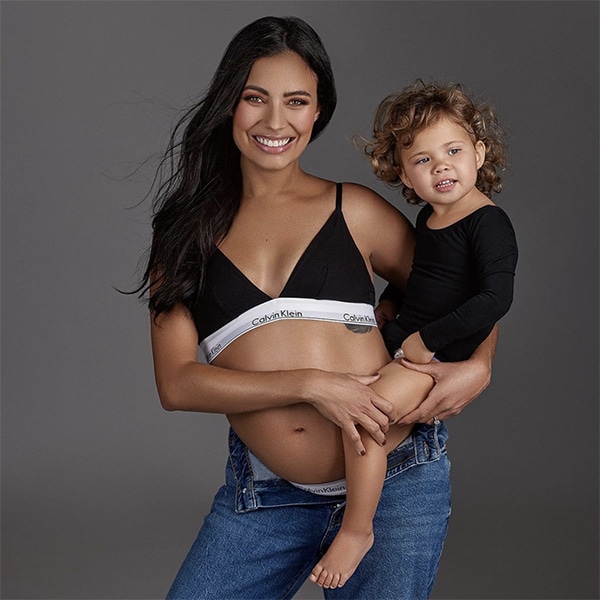
When a couple enters the frame, photograph connection. Place the partner slightly behind, ask them to breathe together for three beats, then ask a question that sparks a micro-smile, and capture that candid shift. For the entire family, keep the frame simple and let hands lead the story, little hands on the bump, partner’s hand at the small of the back, your own hand relaxed at the collarbone.

Tips on Facial Expressions
Tiny cues unlock everything. Close your eyes, roll your shoulders once, open, and breathe out through your lips like you’re cooling tea. Expressions soften when the mind is somewhere real.
If the smile starts to feel forced, guide them into a micro-smile, warm eyes, just the slightest lift at the corners of the mouth. Then shift the emotional direction to change the mood. Serene, then strong. Tender, then playful. Capture the transitions, those in-between moments are often the most true.
Avoiding Forced Smiles
Forced smiles happen when there’s tension and everyone is waiting on the camera. Using a remote or voice-activated shutter keeps things moving so expression stays natural. Set a gentle rhythm for the session, pose, breathe, click… soften the hands… click again. Keep everything slow and unhurried. Speak less, watch more, let the moment unfold.
And if you need a spark of real laughter, keep it light. A small joke about the tripod being the third wheel is enough. The tiniest bit of humor relaxes the jaw, softens the eyes, and brings out a true, effortless expression.
Editing & Finishing Touches That Create a Luxury Look
Before any retouch, fix exposure and white balance. If the skin looks gray, lift exposure slightly and warm the temperature a hair. If the dress looks blue under natural light, correct it so neutrals read neutral.
Creating a Consistent Style Across the Gallery
Pick a look and commit. Maybe it’s clean, airy neutrals. Maybe it’s rich black-and-white. Create one anchor edit, copy its settings, and paste across the set. Nudge exposure and white balance per frame. Consistency reads as professional photos, even if the entire session happened in a living room with a tripod and an iPhone.
DIY Maternity to DIY Newborn
Think in pairs. If your maternity shoot leaned minimal with soft window light, plan your newborn photos in the same corner, same curtain, same palette, so the story flows from bump to baby. Use the same prop, a knit blanket or that flower crown repurposed above the bassinet. Place your favorite maternity picture near the crib and echo the pose with your newborn in your arms. The album will feel intentional and timeless.
Setting Up a Simple Newborn Space at Home
Warm the room. A newborn settles best around 75–78°F. Use a white sheet or neutral blanket on a firm surface, never leave baby unattended, and keep poses natural, on the back or side, supported, with hands visible. For lighting, stick to the same natural light window and diffuse if needed. Keep sessions short, follow baby’s cues, and include the couple and siblings for context.
If you want a complete, step-by-step plan that bridges your maternity photoshoot ideas into safe, beautiful newborn images without leaving the comfort of your own home, see our DIY Maternity & Newborn Photography Course Bundle here.
Practical At-Home Scenarios and Pro-Level Solutions
In a small apartment, pull the sofa away from the wall by three feet and turn it at an angle to the window. Sit on the edge, belly three-quarters to camera, and place a foam board opposite the window for fill. If it’s a sunny day and the light is too punchy, diffuse with a curtain, bed sheet, or even baker’s parchment taped safely to the glass. In a nursery, sit in the glider, open the window shade halfway for a top-down softbox effect, and place a reflector on your lap angled up. In a hallway, use the doorway like a giant flag, stand just inside the shadow with the window light spilling in from the side to sculpt cheekbones and the bump.
If you want an outdoor take, schedule golden hour. Backlight the hair, expose for skin, and ask for tiny movements, walk two steps, look down, hand on belly, so the photos feel candid. If wind picks up, celebrate it. Flowing fabrics plus backlight equal magic. If crowds make you nervous, shoot at home by an open door; it’s the easiest outdoor light hack.
Gear, Settings, and Easy Wins
Whether you’re a photographer building your portfolio or a mom doing a diy maternity shoot at home, remember that it’s not about having every lens. A dslr camera with a 50mm or 35mm lens is enough. An iPhone is enough. If you’re on a phone, clean the lens, tap to focus on the eye, slide exposure down a touch for richer tones, and step back so perspective stays flattering. If you’re on a DSLR, start at f/2.8–f/4 for single-subject portraits, f/4–f/5.6 for a couple, and f/5.6–f/8 for the entire family. Keep shutter speed above 1/160 if kids are involved. If grain sneaks in at ISO 1600, it’s fine; grain is better than blur.
A tripod lets you lower ISO and keep images crisp. A timer frees your face to soften. If your remote fails, set a ten-shot burst with a two-second delay and flow through tiny pose changes between frames. Your odds of catching the perfect shot skyrocket.
Styling Touches That Photograph Beautifully
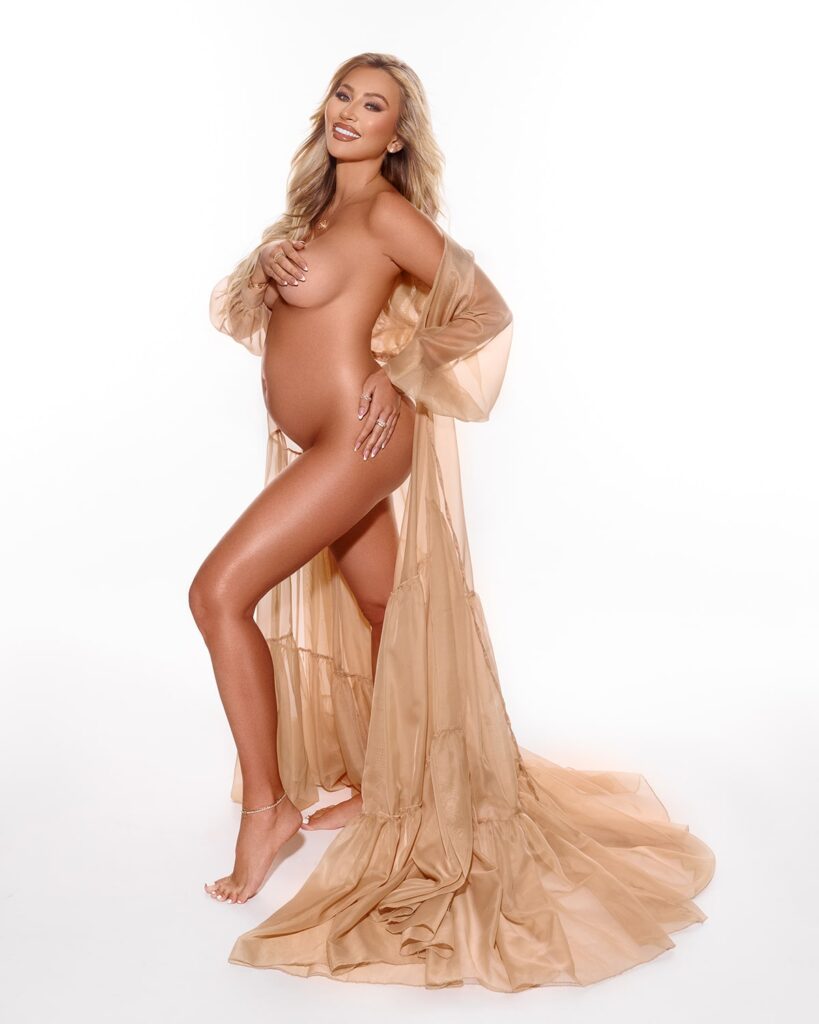
Outfit and dress choices should echo your concept. A fitted midi dress with a gentle scoop neckline is the easiest one-and-done. Layer with a cardigan for texture. If you want a bare-bump set, wrap a white sheet like a sarong and pair with a knit top. Flowing fabrics photograph beautifully, silk, chiffon, or a robe that moves. Keep jewelry simple so it doesn’t date the photo. For hair and makeup, think polished natural, tame flyaways, define brows, a satin finish on the skin. If shine creeps in, a light dusting of powder on the T-zone is your friend. A flower crown can be gorgeous if the rest of the styling is minimal, it should feel like a whisper, not a costume.
Composition Tricks That Feel Like Magic
Here are the tips and tricks that never fail me. Angle the body, never square to camera unless it’s a deliberate, powerful statement. Build triangles with elbows and knees, they give structure. Shoot slightly above eye level for standing portraits to flatter the jaw, then come down to belly level for hands-on-bump frames. Leave negative space on the side the subject is facing into, it gives the gaze somewhere to travel. For a chic portrait, aim for the eyes, not the center of the face, eyes sharp, everything else gently falls away.

Troubleshooting Common At-Home Problems
If the light is dull, move closer to the window and increase contrast in the edit by deepening blacks slightly. If the room color contaminates skin tones, say, green walls, throw a white blanket or sheet opposite the window to bounce neutral light back into the face. If the floor is cluttered, crop higher and lean into portrait frames. If your pictures look muddy, you probably need to increase separation, pull your subject farther from the wall and bring your light source closer. If your maternity photoshoot ideas feel stale, switch the type of photo, go from smiley to serene, from standing to seated, from dress to drape.
Bringing Kids and Partners Into the Frame
For shots with partners, keep touch gentle and specific, hand low on back, whisper at temple, forehead to forehead for one breath. For kids, assign a job, it could be as easy as holding their favorite toy. Always get shoot wide first, then tighten for connections. Keep the session short, stack your must-have frames early, and let chaos be part of the charm. Some of my favorite maternity photos are the in-between seconds when someone giggles at the timer beeping and the whole pose relaxes.
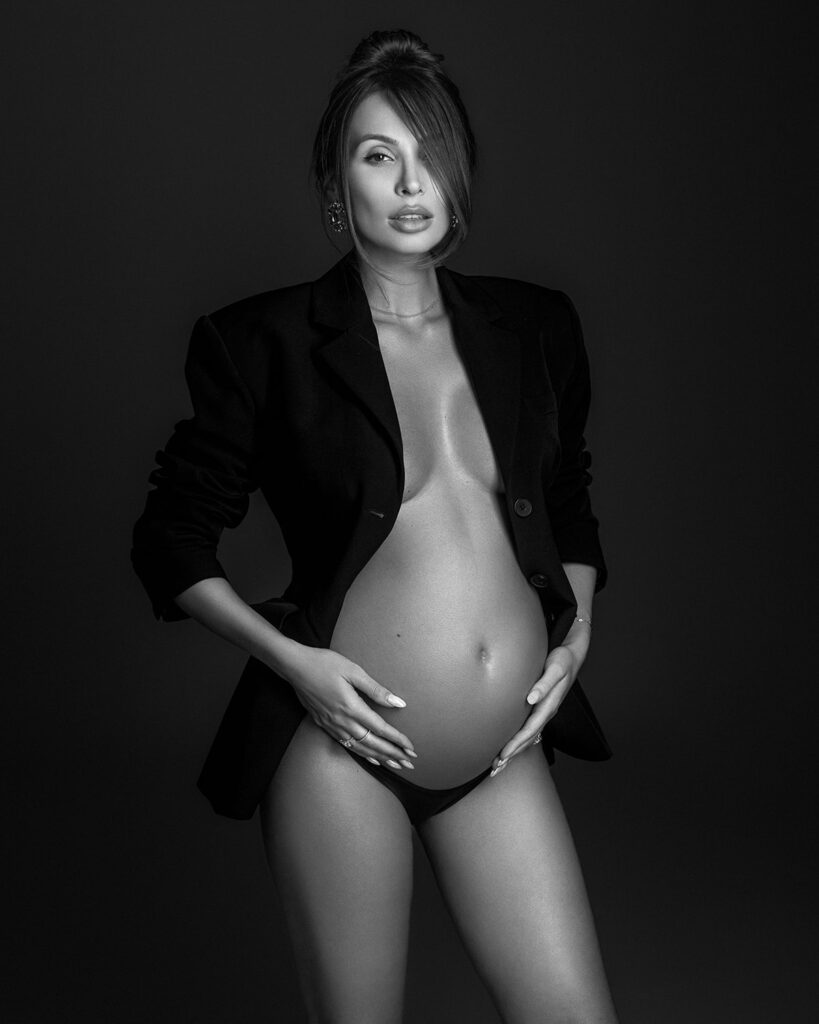
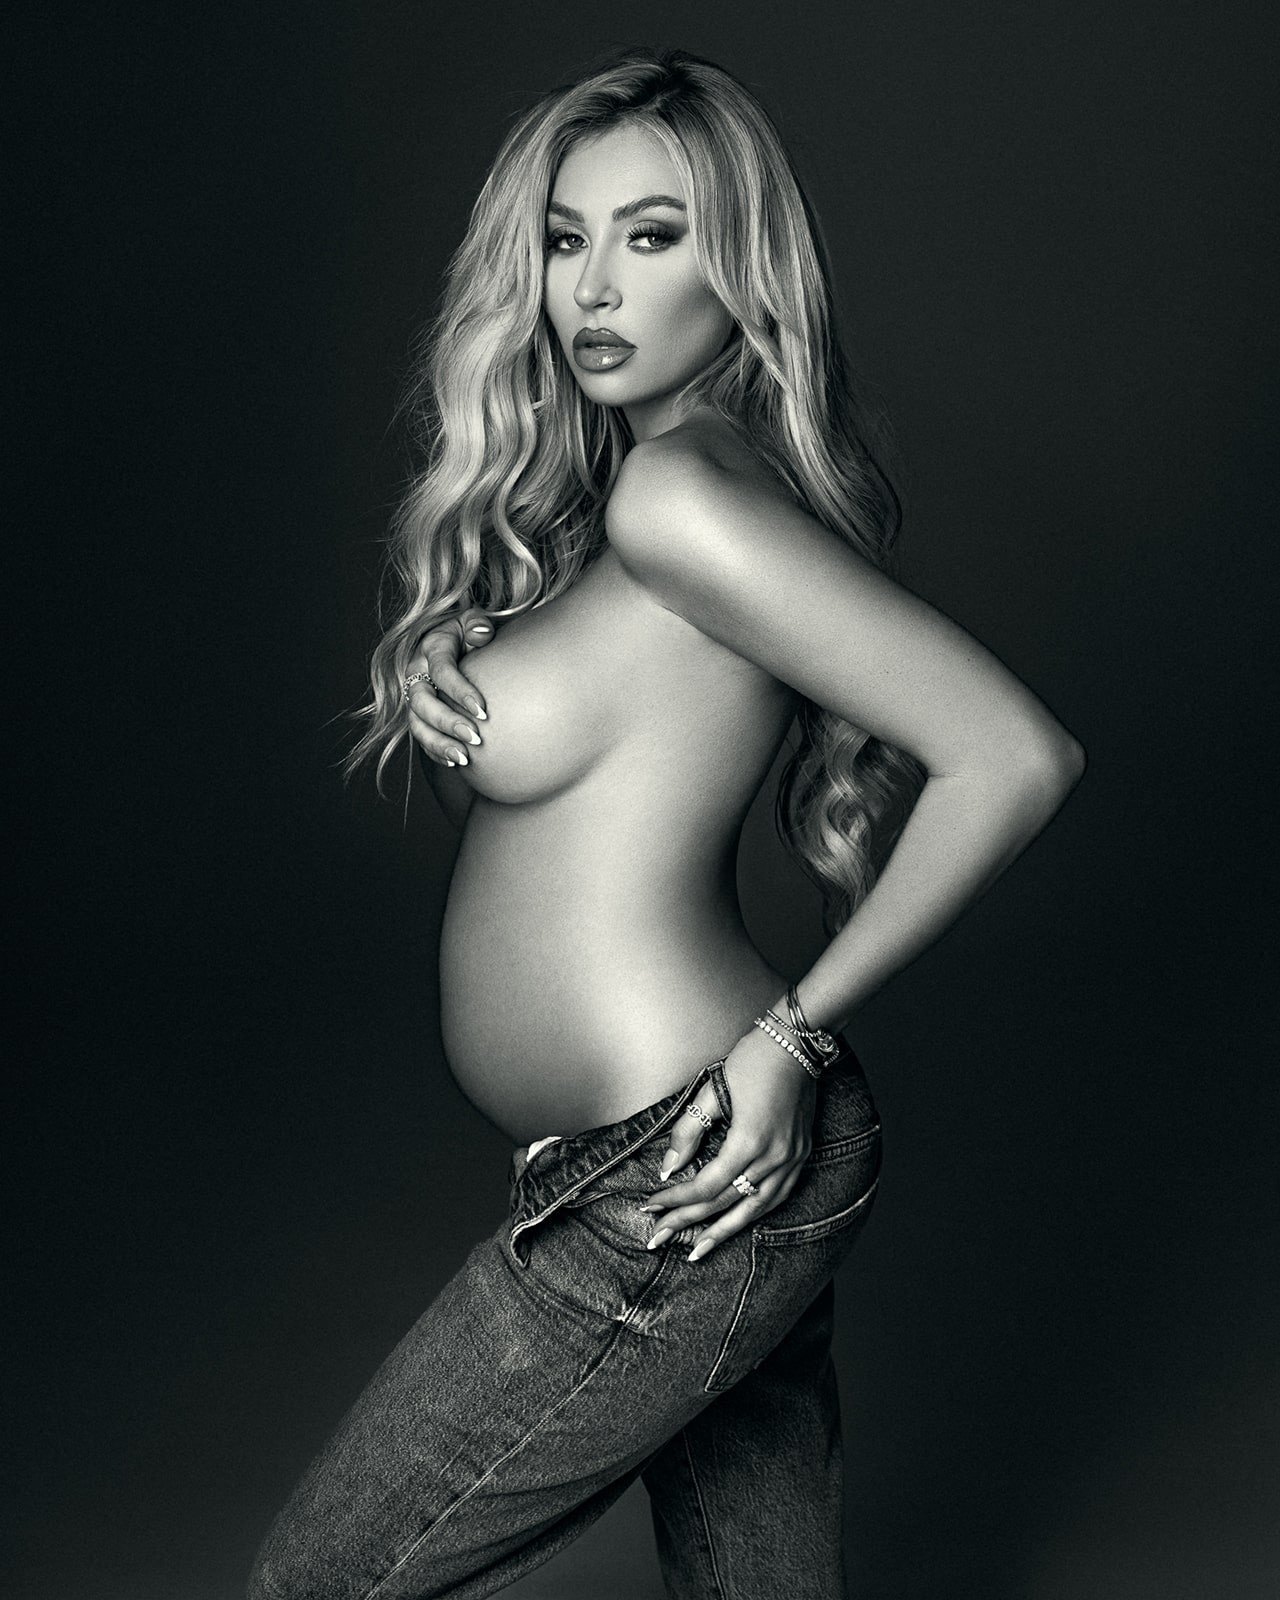
When to Go Black-and-White
Black-and-white is wonderful for pregnancy portraits where light and shape are the heroes. If the living room has distracting colors, or the dress is bold but you want the moment to feel timeless, try converting the edit to monochrome. Watch how the curve of the bump, the line of the jaw, and the shine in the eye become the story. Increase contrast a touch, lift shadows gently, and avoid over-smoothing. Texture is memory.
The Subtle Art of Hands
Hands tell the story. Avoid palms smashed flat to skin. Use the side of the hand, fingertips grazing fabric, thumbs relaxed. If fingers look tense, shake them out, then place them again with intention. For a classic maternity pose, one hand cups under the belly, the other floats at the clavicle. For an intimate variation, one hand slides behind the neck, elbow forward to create a gorgeous triangle. Hands are small adjustments with big impact.
Make Your iPhone Work Like a Pro
If your professional photographer can’t be there and you’re going solo with an iPhone, turn on grid lines, place the eyes on the top third, and step back. Use natural light from one side, and avoid overhead lights that create color casts. In portrait mode, choose natural for a clean look, if edges look cut out, step back or switch to standard mode. For a maternity silhouette near a bright window, tap the background to expose for highlights and let your shape go rich and dark. Use the three-second timer, steady the phone on a tripod, and keep that calm breathing rhythm.
A Note on Self-Compassion
Some days you feel luminous, some days you feel like a burrito. Both are normal. If a pose feels uncomfortable, it will look uncomfortable. Change it. If the dress pinches, swap it. If the photoshoot energy dips, take a snack break. Your newborn will someday look back at these and see strength and love, not whether your hair curled perfectly on a humid day.

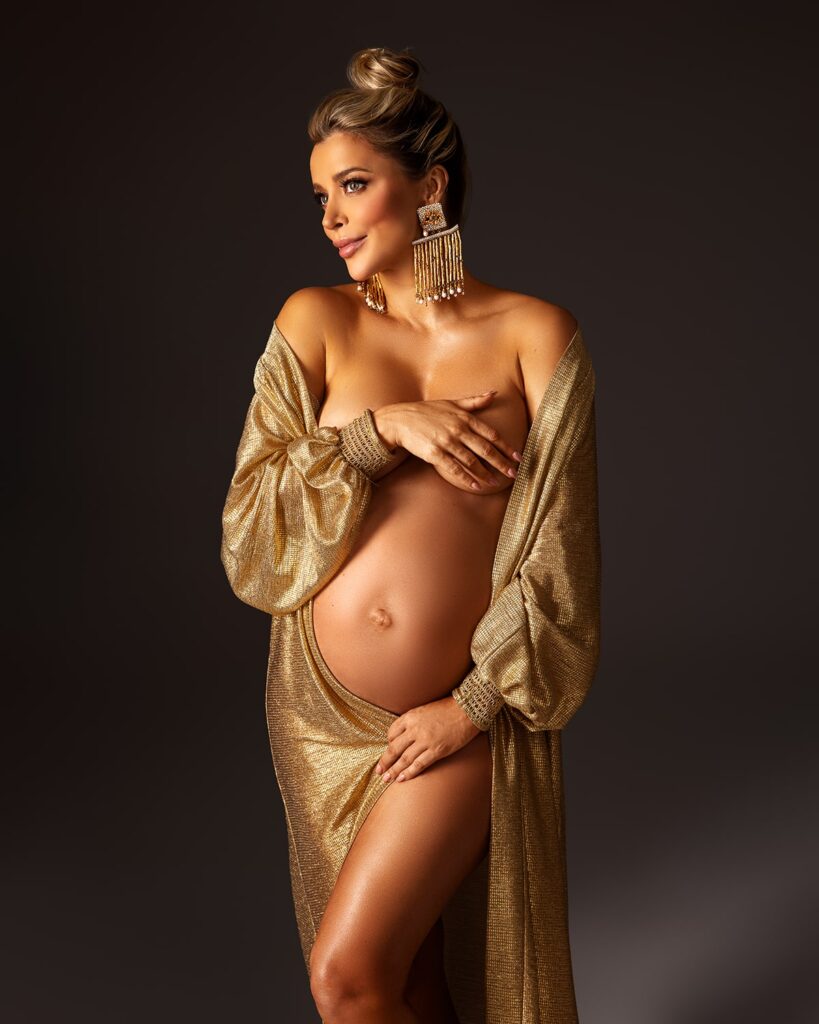
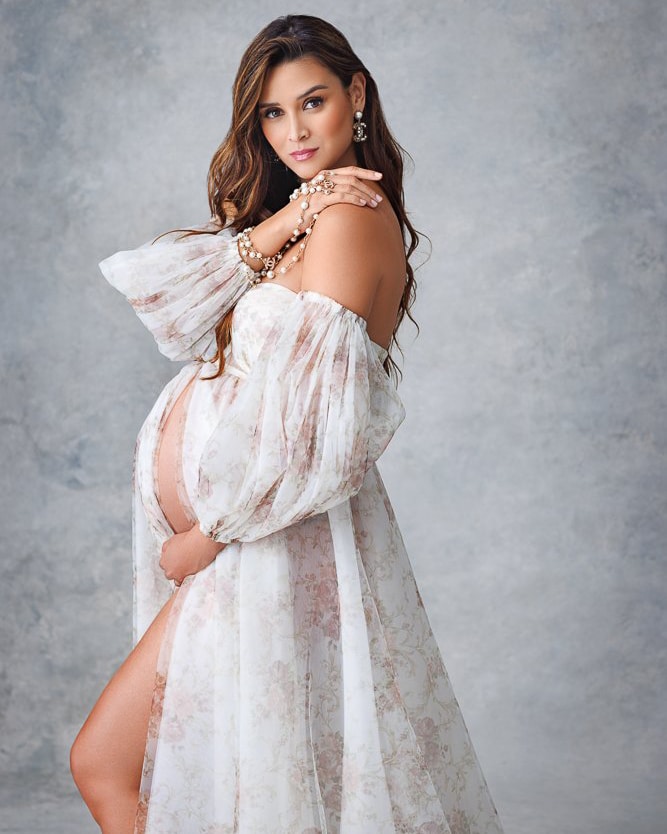
Oxana Alex Photography
At Oxana Alex Photography, we are open for booking in studio maternity photography sessions. Designer wardrobe and accessories for your session are free or charge. Our studio is located at 2100 Sawtelle Blvd UNIT 307 Los Angeles, CA 90025, USA. You can see our photoshoot pricing here & our photography reviews here.
Conclusion
You don’t need a warehouse studio to create beautiful maternity images. You need intention, directional light, a flattering pose, and space to breathe. Your home can become the most cinematic set you’ll ever use. Start with one window and one outfit. Add a reflector. Add a tripod. Add a concept. Add movement. Before long, you’ll have a gallery that feels elevated, intentional, and deeply personal.
If you want step-by-step guidance, lighting, posing, angles, styling, and real examples you can follow in your own space, my DIY Maternity Photoshoot Course walks you through everything I’ve learned over years of photographing mothers with care and artistry.
How do I schedule my session?
You can schedule your session by emailing [email protected] or by texting our studio at (310) 854-9695.

