The Complete Guide to Maternity Photography Lighting
There is a moment in every maternity session, before the first shutter click, before the client has fully settled into her pose, where I walk the room and read the light. I look at where it falls, where it stops, what it does to the curve of a shoulder or the arc of a belly. I ask myself whether the light in this room is telling the truth about this woman, or flattening it.
That question is what distinguishes professional maternity photography from amateur work. The difference is almost never the camera body, the lens, or the number of years behind the viewfinder. It’s whether the photographer understands light as a sculptural tool, something that shapes, reveals, and defines, or treats it as a given, something the room provides and the camera records.
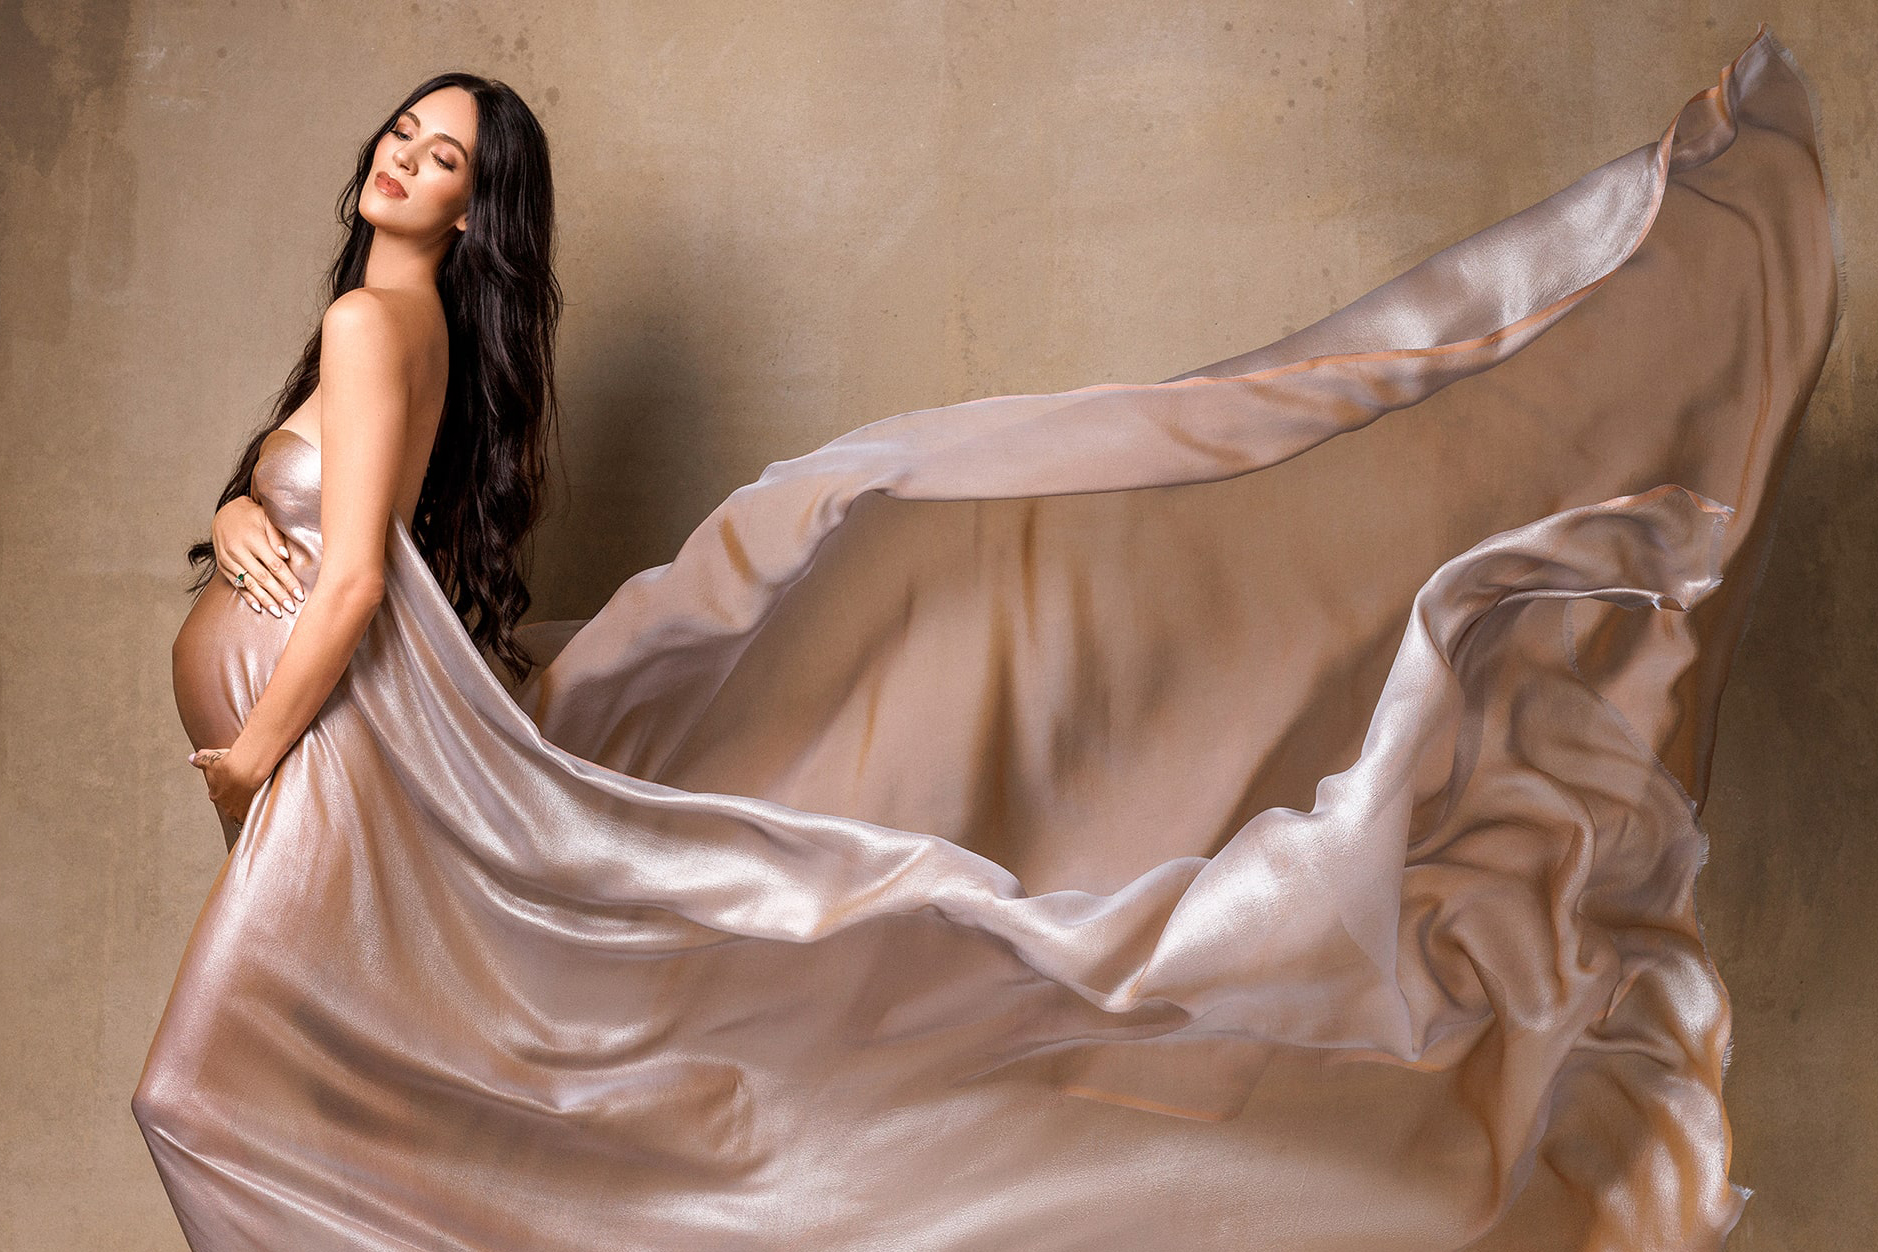
Maternity photography lighting is not about brightness. It is about direction, quality, and intention. A mother at thirty-two weeks is carrying one of the most remarkable physical forms the human body ever takes on. That form deserves light that honors the beauty of pregnancy. Light that carves the belly, lifts the cheekbones, deepens the shadows in all the right places, and tells the story of this season with clarity and grace.
This guide is for photographers who want to move beyond guessing. Whether you are building your first maternity photography studio setup or refining a system that already works, what follows is how I think about maternity photography lighting, and how that thinking translates into timeless portraits that clients love.
See all my maternity photography courses here.
Understanding Light Direction in Maternity Photography
Before you choose a modifier, a power setting, or a background, you need to understand direction. Direction is the most powerful variable in maternity photography lighting. It determines how the belly reads in frame, how shadows fall across the torso, and whether your subject looks sculpted or flat. Every lighting decision begins here.
Front Lighting
Front lighting places your light source directly in line with the camera, either just above or just to the side of the lens. It is the most forgiving option and the easiest to use. Shadows are minimal. Skin looks smooth. The client rarely needs to be repositioned dramatically.
The problem is that front lighting flattens. When direct light hits the subject from the front, it eliminates the shadows that reveal three-dimensional form. A belly that should curve dramatically into the frame instead reads as a gentle slope. The waist narrows but does not taper. The collarbone disappears. What you gain in softness, you lose in structure.
Front lighting works when used intentionally for boudoir-inspired portraits where softness is the goal, or as a fill light paired with a key from another direction. Used alone as your only source, it tends to produce maternity photos that look pleasant but not powerful.
Side Lighting
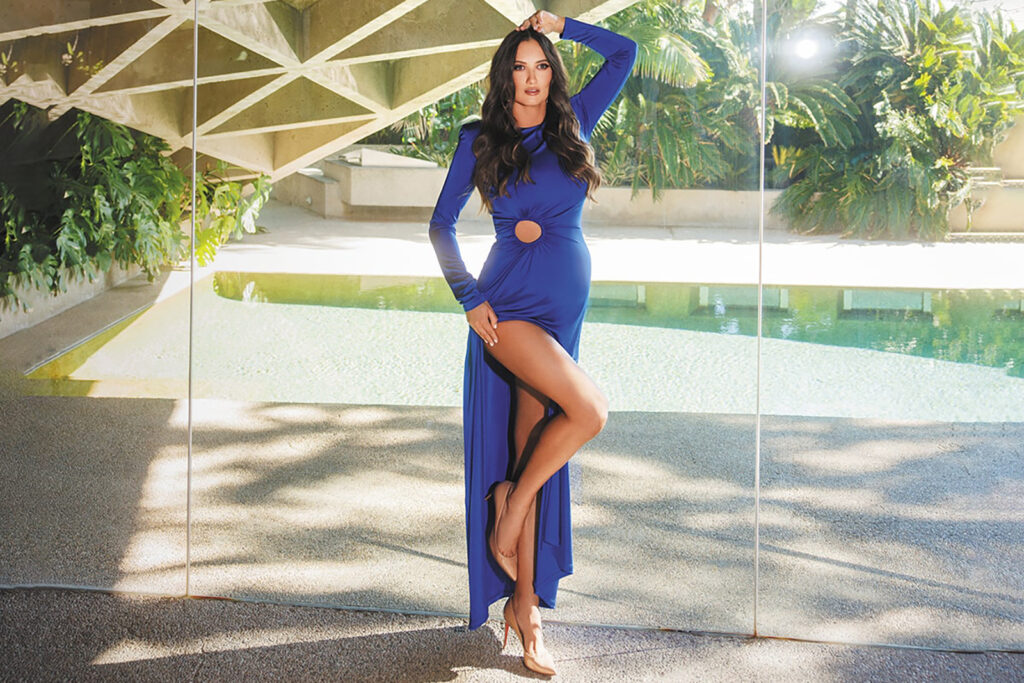
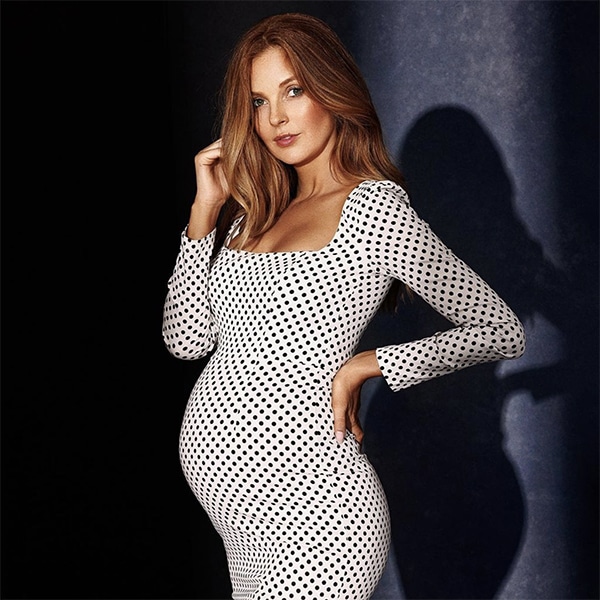
Side lighting is the sculptor’s default. When you move your light source to the side, anywhere from forty-five degrees off camera to a full ninety degrees, you begin to carve. Shadows form on the far side of the belly and the torso. The curve of the baby bump becomes three-dimensional. The waist and hip line creates depth. The ribs and collarbone emerge.
For maternity photography lighting, side light is where I spend most of my time. A large softbox placed at roughly forty-five degrees above eye level and feathered slightly forward will lift the face, sculpt the bump, and create a natural falloff across the body that reads as both elegant and dimensional. The key is feathering, angling the modifier so the hottest part of the light skims the subject rather than hitting dead center. This gives you a longer, softer gradient rather than a hot spot.
Side lighting does require more attention to shadow density. If the far side of the face or body goes too dark, you lose detail in a way that can feel unflattering rather than dramatic. A reflector, a V-flat bounce, or a second light at reduced power on the shadow side gives you control over how much depth you want to preserve.
Back Lighting
Back lighting is how you create a silhouette, and in maternity photography, the silhouette is one of the most powerful images you can make. When the light source moves behind the subject, placing light behind the subject allows the body to become an outline. The belly curve, which is the whole story, becomes graphic and unmistakable.
Back lighting also creates beautiful rim separation. Even when you are not shooting a full silhouette, a hair light or a rim light placed behind and slightly above the subject separates dark clothing or dark hair from a dark background. Without that separation, your subject can disappear into the frame.
The exposure decision is where back lighting gets technical. If you expose for the subject’s face, the background will blow out. If you expose for the background highlights, the subject will go dark. For a true silhouette, you expose for the brightest part of the background and let the figure fall into controlled shadow. The outline carries the image.
Top Lighting
Top lighting, a source positioned directly above the subject, is the most dramatic and the most dangerous in maternity photography. When used correctly, it creates a powerful sculptural effect with deep shadows under the cheekbones, along the collarbone, and beneath the belly. The effect reads as bold and editorial.
The danger is in the eyes. A top light that is too steep creates raccoon shadows, dark pools in the eye sockets that look unflattering in any portrait, and especially so in the intimate context of a maternity photoshoot. If you experiment with top lighting, raise your subject slightly (a stool or posing block helps), tilt the chin upward toward the light, and watch the eyes carefully in your live view or LCD. The moment the catchlight disappears from both eyes, the angle is too steep.
See top 10 benefits of a studio maternity photoshoot here.
Natural Lighting in Maternity Photography
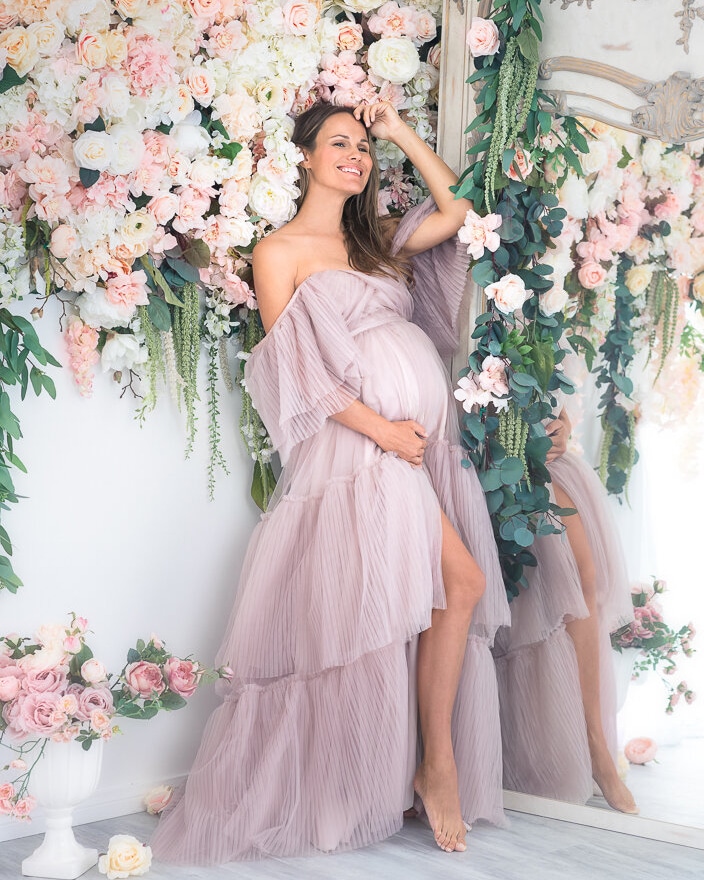
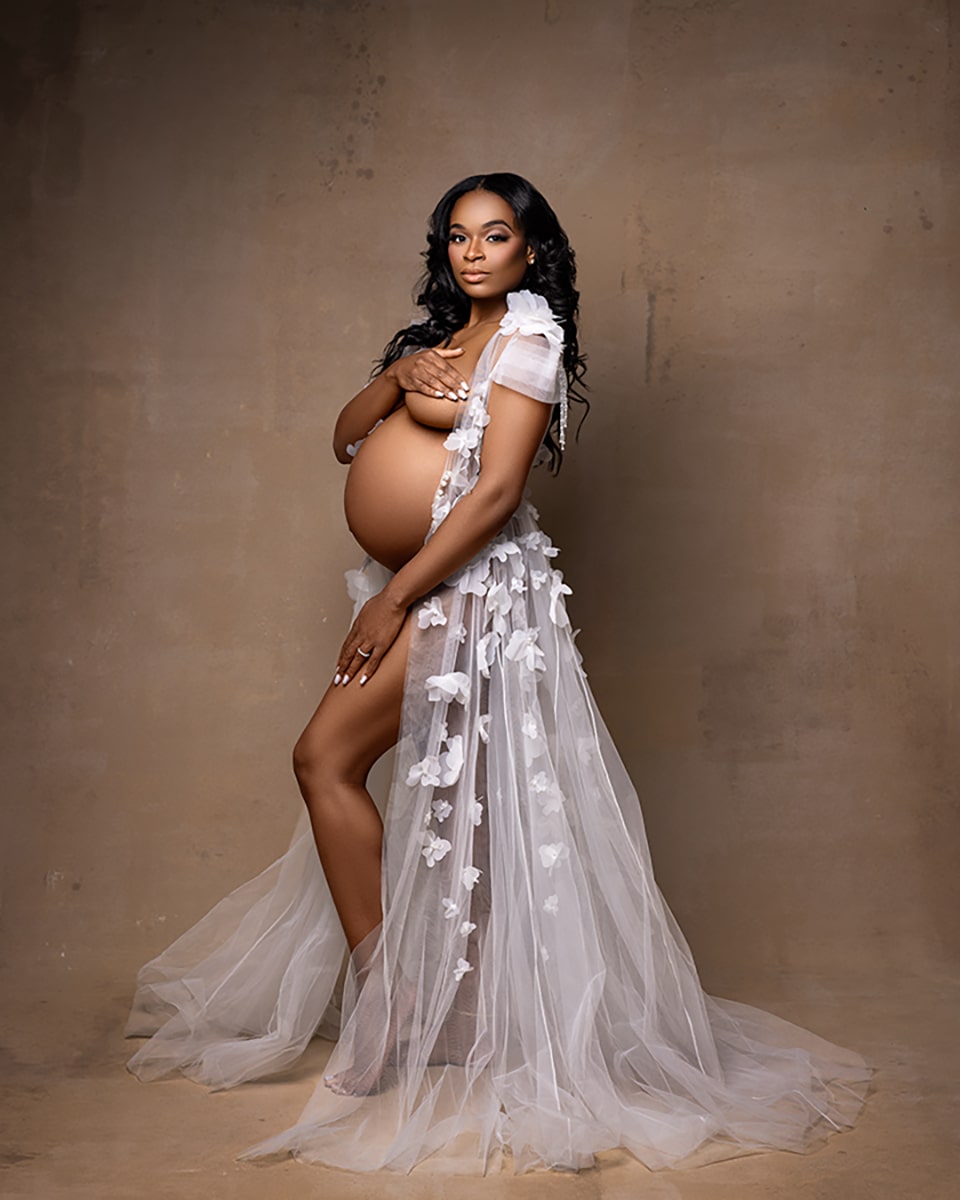
Natural light has a quality that no studio strobe fully replicates. It wraps, it breathes, and it shifts in a way that keeps portraits feeling organic and alive. For many photographers working across various types of photography, it is the primary tool, but in maternity work it offers especially lovely soft transitions and a soft glow that feel timeless and intimate. When used with intention, natural illumination creates the best results for portraits with depth, mood and tone, and emotional connection.
The single most important variable in natural light maternity photography is window placement. Not window size, not the time of day, placement. A client standing directly in front of a window gets flat, even light, similar in quality to front lighting from a softbox. Move her 45 degrees to the side and the window becomes a key light, carving the same shadows a softbox would create.
Window Direction and Diffusion
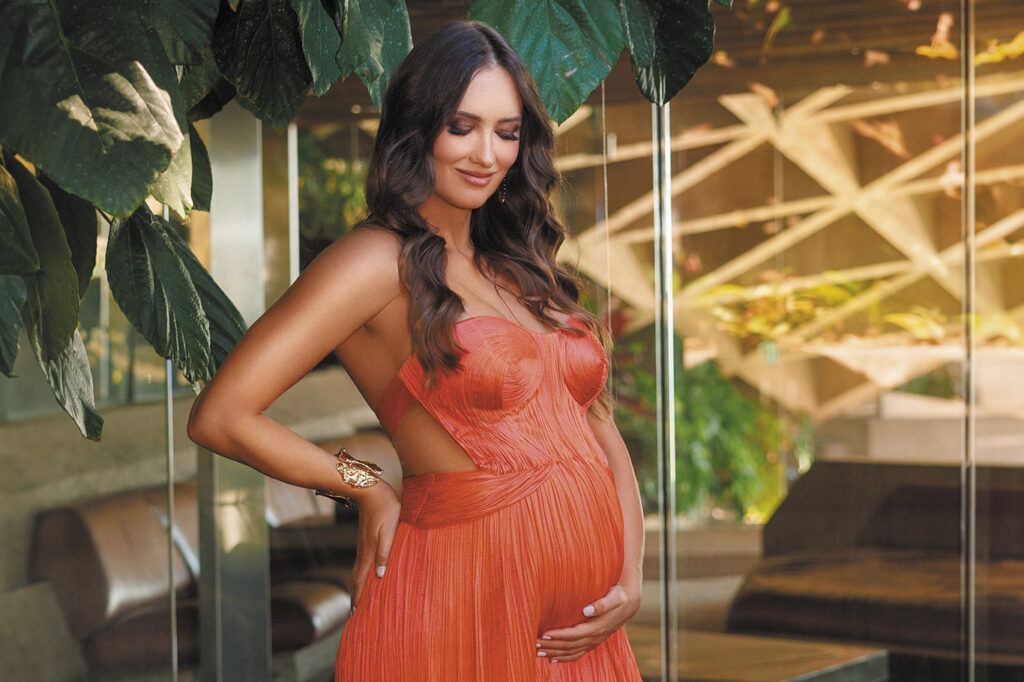
North-facing windows are the photographer’s preference for a reason. Because they never receive direct sun, the light they provide is consistent and diffused throughout the day. You can schedule a maternity photography session at 10 in the morning or 3 in the afternoon and the quality of soft light will be essentially the same. East and west windows are more dramatic. The morning and late afternoon sun create warmth, backlight, and contrast that can be beautiful, but that various light also shifts fast and can turn harsh.
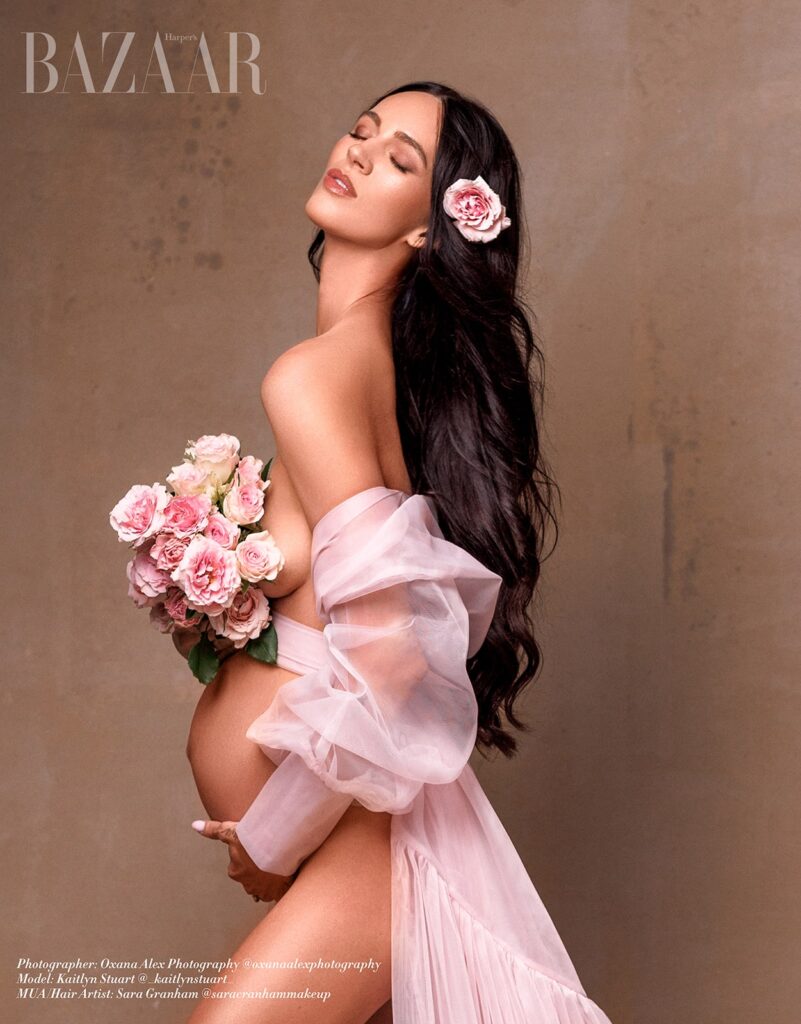
When direct sunlight enters a window, diffuse it. A sheer curtain, a panel of white diffusion fabric, or even a length of white muslin hung over the window turns hard sunlight into a soft and flattering wrapping source. The difference in the final image is significant. Harsh, undiffused sun creates specular highlights on the belly that read as unflattering sheen. Diffused light creates a creamy, natural glow that sculpts without burning, helps envelop the subject in light, and gives the expectant mother that radiant look the best maternity portraits are known for. In the right setup, a little backlight can also add a magical softness or even a subtle halo effect around the hair and shoulders.
Managing Contrast and Shaping Light
Contrast is where most photographers working in natural light run into trouble. The window side of the subject is bright, the far side falls into shadow quickly. Whether that contrast ratio is flattering or not depends on your intent. For a dramatic, editorial look, let the shadows fall. For a softer, more romantic portrait, use a reflector opposite the window to bounce light back into the shadow side and lower your contrast ratio. A white foam board works beautifully for this and costs almost nothing. These small creative lighting techniques open up more creative possibilities without requiring a full studio setup.
If you want to understand how I use natural light in my own studio, including how to position a client relative to a window, how to read and shape the falloff, and how to blend natural light with a single strobe for a more controlled editorial result, my Natural and Mixed Light course covers all of it in detail, with real client sessions and full behind-the-scenes breakdowns designed to enhance your maternity photography skills.
Flash and Studio Lighting for Maternity Photography
There is a version of photography where everything is left to the available light, and then there is the version where the photographer controls every variable. Flash maternity photography is the second version. It is not about making the image look artificial. Done well, flash is invisible. What the client sees is a portrait that looks somehow more like itself than a snapshot ever could. For photographers exploring creative lighting techniques, studio lighting offers even more control over illumination, mood and tone, and consistency.
Why Professional Photographers Use Strobe
The case for using flash in maternity sessions comes down to consistency. Natural light shifts. Window light in the morning looks different from window light at noon. Overcast days produce flat results. A dark studio becomes usable. When you bring a strobe into your workflow in a controlled studio environment, you are no longer at the mercy of the conditions.
You arrive at the studio, position your modifier, dial in your exposure, and your lighting looks the same on a Tuesday in January as it does on a Friday in July. That control is one reason professional photographers often use systems from brands like Elinchrom or Profoto, especially when they want reliable output, flexible modifiers, and a battery pack option for work beyond the studio.
Flash height is one of the most frequently misunderstood variables for photographers new to studio work. The instinct is to position the flash at eye level or near it, which feels natural and even but the result is almost always flat. Raising the key light, your main flash, above eye level, typically to a height that points the modifier down at roughly thirty to forty-five degrees, does something immediate and unmistakable to a maternity portrait. The cheekbones appear. The neck lengthens. The belly curves instead of bulges. It also helps create the best shape and dimension across the body.
See top reasons to consider an in studio pregnancy photoshoot here.
Lighting Equipment and Modifiers
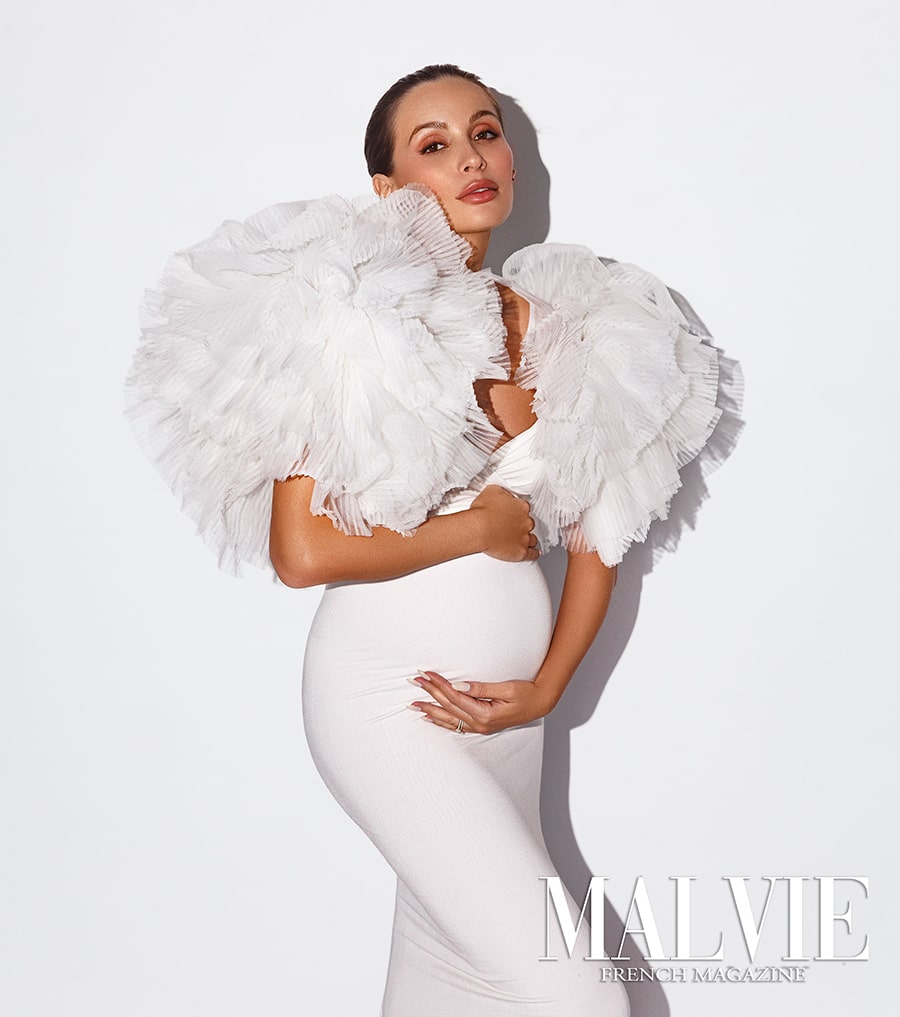
The lighting equipment you choose shapes the entire mood of a portrait. A large octa softbox, anything from four to six feet, produces soft light that wraps around curves and transitions smoothly from highlight to shadow. It is the default choice for flattering, timeless maternity portraits. Softboxes are especially useful when you want to create a soft glow that feels natural while still giving you control over the direction of light throughout the set.
A beauty dish, by contrast, produces a more specular quality of light, brighter highlights, deeper transitions, more contrast. The mother’s face catches the light differently. It is a glamour-forward choice that pairs well with stronger posing and editorial wardrobe.
Flash power control is where precision lives. Most professional strobes allow you to work in fractions of full power, half, quarter, eighth, and so on. Your key light and your fill light, if you use one, should operate at different powers. A classic starting ratio is 3 to 1, the key light three stops brighter than the fill.
This gives you visible shadow depth without losing all detail on the dark side of the subject. Adjust from there based on the look you are building and the skin tone you are working with. When used properly, lights around the set or subtle background lights can add separation and depth without distracting from the subject.
V-Flat Lighting for Maternity Photography
A V-flat is two large foam boards hinged together, one white side, one black side, and it is one of the most useful tools in a portrait studio. When the black side faces the subject, it absorbs light rather than reflecting it. This deepens the shadows on the near side of the subject without adding a second light source. Placed close to and opposite your key light, a black V-flat pulls the shadow side of the belly into a richer, more defined darkness. The belly arc becomes graphic. The torso takes on more dimension. This is called negative fill, and it is the technique behind many of the moody, fine art maternity portraits you see in high-end portfolios.
When you flip the V-flat to the white side, it becomes a reflector. Light from your key bounces off the white surface and wraps back into the shadow side, softening the falloff and reducing the contrast ratio. This is positive or bounce fill, and it is what gives you the softer, more evenly lit portraits that still have some dimension because the fill is dimmer than the key.
The V-flat is also an essential tool for silhouette work. Placed behind the subject and lit from behind, a white V-flat becomes your background. Lit from the front with the black side angled to block spill from reaching your subject, it deepens the separation between person and background without a seamless paper or a painted backdrop.
My Lighting Scene 1 course walks through exactly how I use V-flats in my studio, where I place them, how close to the subject, and what the modifier-to-flat relationship looks like at different distances. If you want to start building a more dimensional lighting style, this is often where that shift begins.
Stripbox Lighting for Sculpting the Body
A stripbox is a rectangular softbox with a narrow aspect ratio, typically something like twelve by fifty-five inches. Because of its shape, it throws a concentrated column of light rather than a broad, even spread. That narrow quality is precisely what makes it so useful in maternity photography lighting.
When used as a rim light, positioned behind and to the side of the subject, a stripbox creates a line of light that traces the edge of the shoulder, the arm, and the hip. That line separates the subject from the background and adds a three-dimensionality to the portrait that a single front key light cannot achieve alone. In full-length maternity portraits, a rim light from a stripbox elongates the body, defines the curve of the belly, and gives the image a fashion-forward, editorial quality that helps you create timeless work.
When used as a key light, placed to the side and slightly above eye level, a stripbox produces a quality of light that is more directional and more contrasty than a large round modifier. The light is still soft because it is a softbox, but the narrow width means it falls off faster from top to bottom. The face and upper torso receive the most light, giving your model a radiant glow, while the hips and thighs receive less. This gradual falloff from top to bottom naturally flatters by drawing the eye upward toward the face and the bump.
The pairing of a large octa key and a stripbox rim is the foundation of many high-end maternity looks. The octa wraps and flatters. The stripbox separates and defines. Together they produce portraits that look lit, unmistakably intentional, without feeling theatrical.
My Signature Maternity Lighting course goes deep into this two-modifier setup, including how to adjust the power ratio between the two sources and how to reposition each for different body types and wardrobe choices.
Silhouette Lighting in Maternity Photography
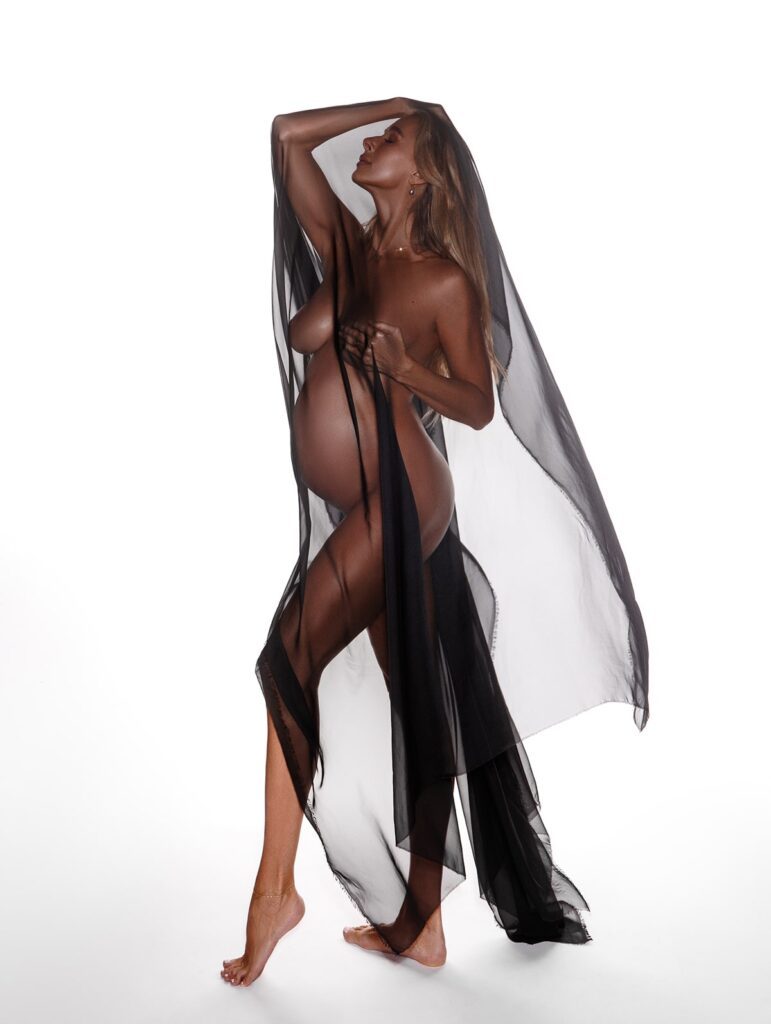
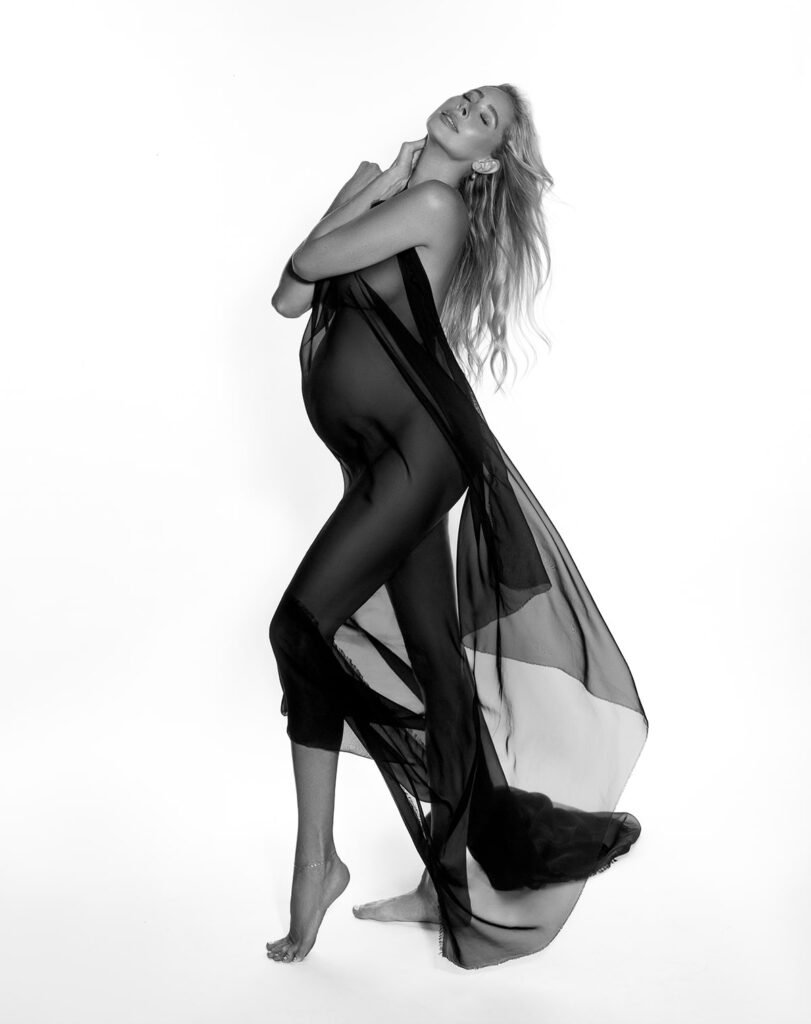
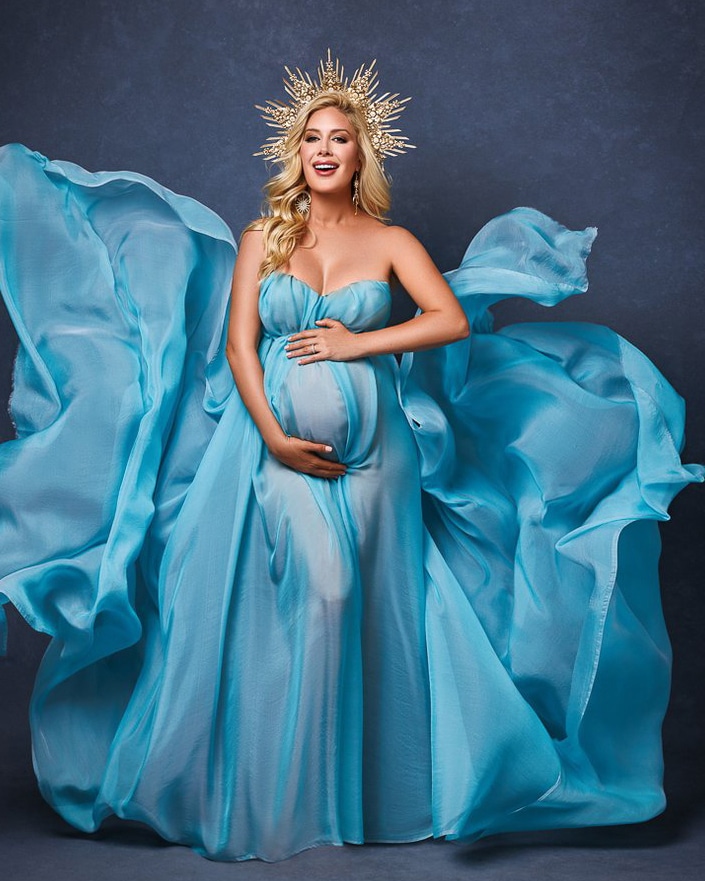
Of all the maternity photography lighting techniques, the silhouette is perhaps the most immediately understood by the viewer. There is no ambiguity in a silhouette. The arc of a pregnant belly, traced in light, reads as beautiful before the brain has finished processing the image. It is primal in its clarity, and it captures the ethereal beauty of pregnancy in a way that few other techniques can.
Creating a true silhouette is a matter of controlling where the light goes and where it does not. Your light source, whether a strobe, a continuous light, or a window, needs to illuminate the background, not the subject. Position the subject in front of that illuminated background, and because the background is brighter than the subject, the subject’s form reads as dark.

Exposure is where silhouettes either succeed or not. Meter for the bright part of the background. In camera terms, that usually means exposing one to two stops below your normal base exposure so that the highlights land where you want them and the figure is rendered as a deep, rich shadow. In post, resist the urge to lift the shadows. The silhouette gains its power from contrast. Lifting the blacks to see detail in the body defeats the entire purpose.
Wardrobe and hair deserve extra attention in silhouette portraits. Flyaway hairs read prominently against a bright background. Clothing with structural issues, a hem that breaks the outline awkwardly, sleeves that add visual noise, will be visible in a way they would not be in a normally exposed portrait. Keep the wardrobe simple and fitted for these types of shots.
If you want to see how I set up my studio for silhouette maternity portraits, including how I control the power ratio between my background light and any rim light I might use, my Lighting Scene 6 course walks through the full process in a real session environment, from the initial setup to the final exposures.
Mixed Lighting: Natural Light and Flash Together
Mixed lighting is the technique that separates photographers who have mastered natural light and photographers who have mastered flash from the photographers who can do both at once, and it produces some of the most compelling maternity portraits possible.
The idea is straightforward in concept, you use the window as a soft, ambient light source and introduce a strobe to supplement, shape, or balance it. In practice, the challenge is making the two sources feel cohesive. When they work together, the result is a portrait that has the organic quality of natural light and the control of studio lighting. When they fight each other, you get color casts, uneven skin tones, and a portrait that looks like it could not decide what it wanted to be.
Color temperature is the first variable to manage. Most daylight coming through a window during the middle of the day registers around 5,500 to 6,000 Kelvin, the same range as a well-calibrated strobe. This is your ideal scenario. If the maternity photography session happens near golden hour, the window light shifts warmer, into the 3,000 to 4,000 Kelvin range, and your strobe will read cooler by comparison. The fix is a warming gel on the strobe, or a decision to shoot in the cooler light of the window and use the flash purely as a fill that remains out of direct competition with the key.
Positioning the strobe in a mixed light setup usually means treating the window as the key and the strobe as the fill, or treating the strobe as the key and the window as a soft ambient. When the window is your key, place your strobe on the shadow side at one to two stops below the window exposure. It lifts the shadows without competing. When the strobe is your key, position it between the camera and the window, pointed slightly away from the window so the two sources do not cancel each other out.
Reflectors serve a bridging function in mixed light setups. A white reflector placed opposite the window and angled upward can bounce enough ambient light into the shadows to make a strobe unnecessary on some setups, or it can be used in conjunction with a strobe to create a three-point light environment from just two physical sources.
For more tips, see my Natural and Mixed Light course here.
How Professional Photographers Think About Light
The most significant shift in a photographer’s development does not happen when they buy a new modifier or learn a new setup. It happens when they stop thinking about lighting as a series of technical steps and start reading light the way a sculptor reads stone.
Professional maternity photographers choose light direction before they touch their camera settings. They walk into a room or set up a studio and ask themselves where is the light coming from, and what does it do to the portrait. They look at the shadow before they look at the highlight, because the shadow tells you more about the light’s character. A soft, gradual shadow means the source is large relative to the subject and close. A hard, abrupt shadow means the source is small or far.
The mood and ambiance of the portrait live in the transition zone between the two.


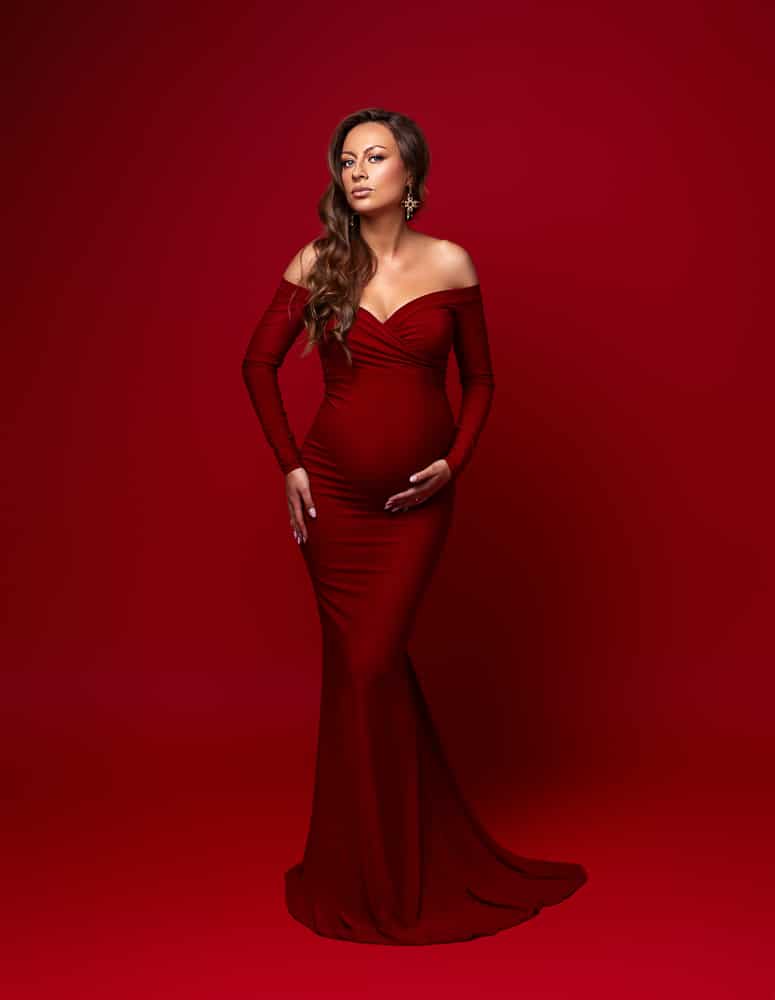
The second habit of professional lighting is designing emotion before designing exposure. Before a modifier is moved or a power is dialed, ask what this portrait should feel like. An expectant mother who wants to see herself powerful and strong needs different lighting than a mother-to-be who wants to feel soft and dreamy. Power comes from contrast, from side light and defined shadow. Softness and warmth come from a large, close, nearly front-light with a strong fill. These are not aesthetic preferences.
They are emotional translations. The light is the language.
The practical result of developing this mindset is that setups become intuitive. You stop memorizing diagrams and start seeing light. You look at a portrait and know immediately whether the key is too high, whether the fill is too strong, whether the rim is creating separation or creating noise. That intuition is what makes a maternity shoot flow, and that flow is what allows a client to relax, trust you, and give you the authentic expression that makes a portrait extraordinary.
See my all maternity photography courses here.
Can I use continuous LED lights for maternity photography?
Yes, continuous LED lights can work well, particularly in a home studio or for photographers who prefer to see the light in real time before shooting. Modern continuous LED panels are bright enough to shoot at low ISOs when placed close to the subject. The trade-off compared to strobe is lower peak output, which means you may need to shoot at a wider aperture or higher ISO in larger spaces. For a controlled studio environment, strobe typically gives you more power and more precise light shaping.
What is the difference between artificial lighting and natural light in maternity sessions?
Natural light is organic, shifting, and deeply flattering when positioned correctly, but it is also unpredictable. Artificial lighting, whether strobe or continuous LED, gives you full control over direction, intensity, and quality regardless of the time of day or weather. Many professional photographers use both: natural light as a base ambiance and artificial lighting to shape or supplement it. The best maternity photos often come from understanding both types of light and knowing when to use each.
How do I position my subject for the most flattering maternity photos?
Position and angle work together with lighting. As a general rule, never place the subject square to camera. A forty-five-degree turn accentuates the baby bump and narrows the overall silhouette. Then let your light source do the sculpting. When you position your subject with their body angled away from the key light and the belly turned toward it, the bump naturally catches the most light and becomes the focal point of the portrait.
What is the best lighting for maternity photography?
The best lighting for maternity photography depends on the mood you want to create. Side lighting from a large softbox is the most universally flattering because it sculpts the baby bump and adds dimension to the face and body. For a softer, more romantic feel, diffused natural light from a north-facing window is ideal. For bold, editorial maternity photos, a beauty dish or a stripbox as key light gives you more contrast and definition.
See my full maternity photography masterclass here.
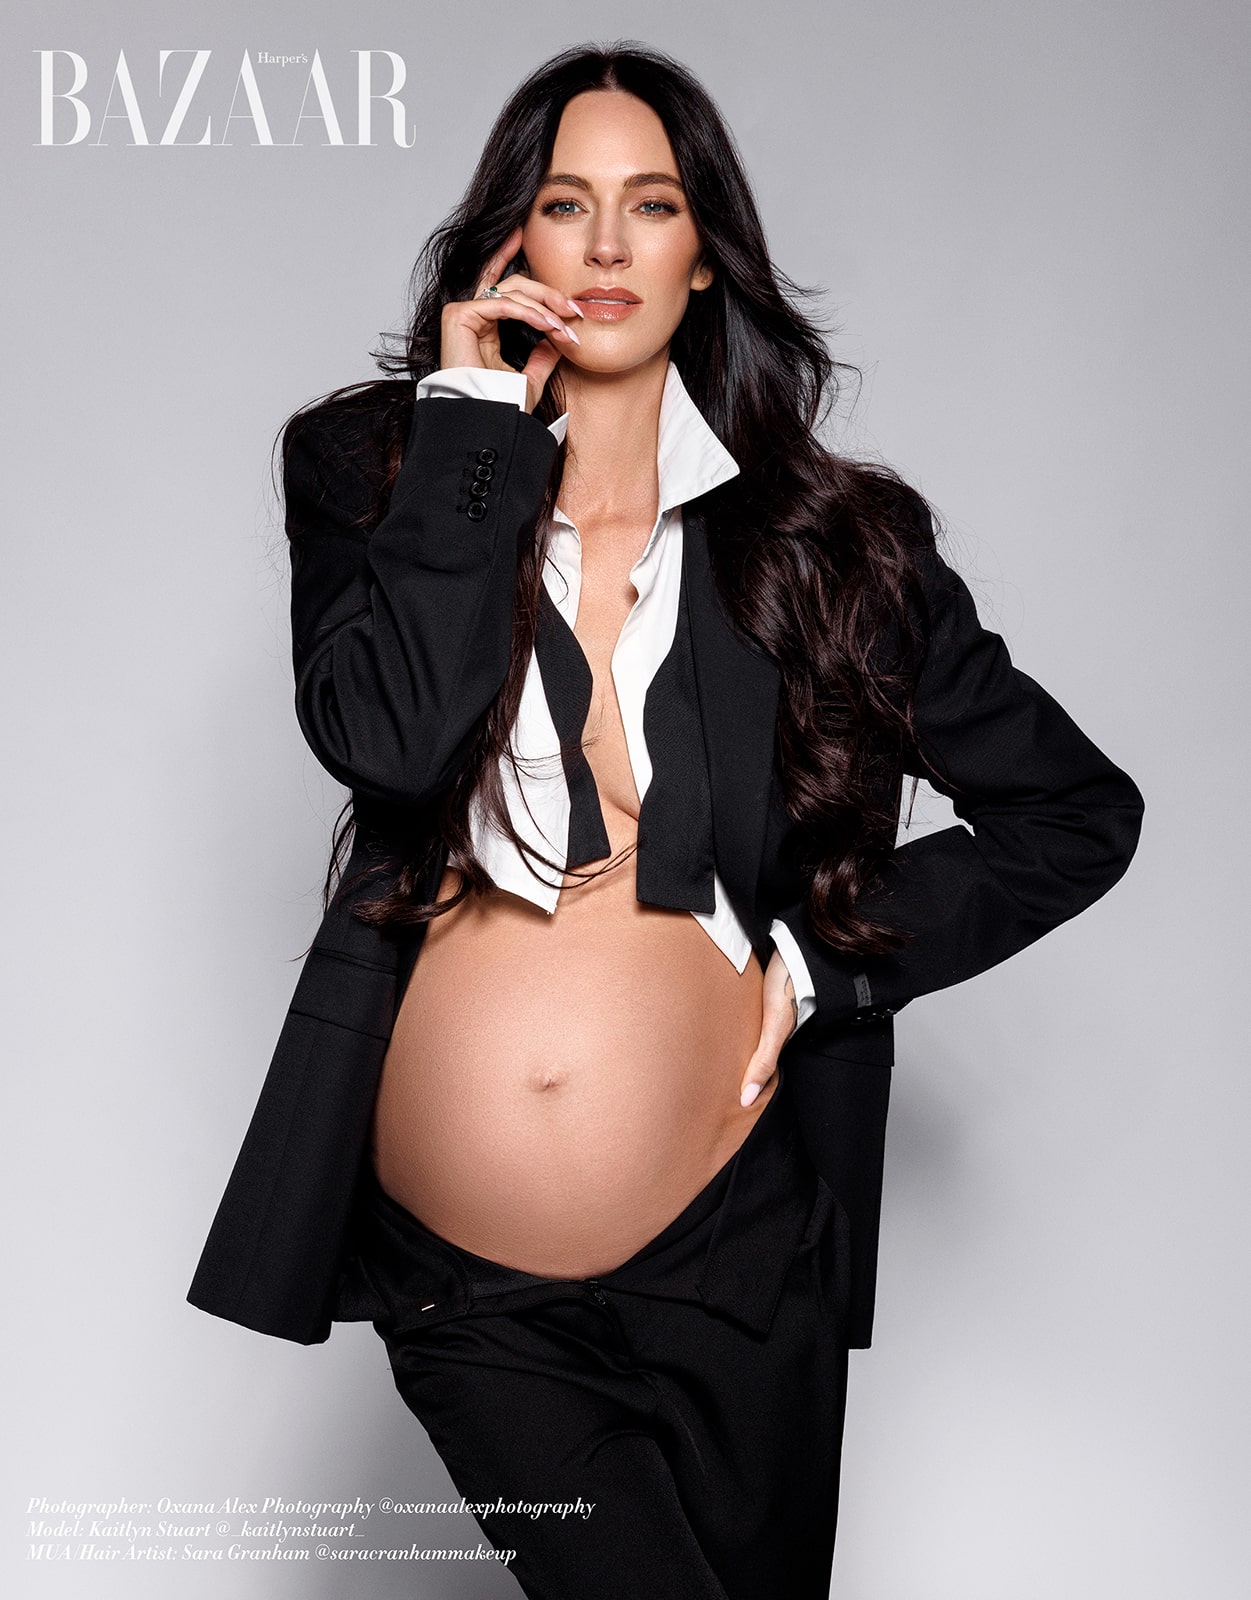
Oxana Alex – Maternity Photographer Los Angeles
At Oxana Alex Photography, we are open for booking in studio maternity photography, business portraits, fashion photography, family photography and mommy and me photography sessions. Our studio is located at 2100 Sawtelle Blvd UNIT 307 Los Angeles, CA 90025, USA. You can see our photoshoot pricing here & our photography reviews here.

Conclusion
Every maternity photograph you will ever take begins with light. Not with a pose, not with a backdrop, not with a wardrobe choice, but with a decision about where the light is coming from and what you want it to do. Everything else in the portrait follows from that decision.
What I hope this guide gives you is not a list of setups to memorize. It is a way of thinking about maternity photography lighting that you carry into every session, one that asks you to read the light before you pick up the camera, to choose direction before power, and to design emotion before you design exposure. When those habits become instinctive, you stop managing your lighting and start creating stunning maternity photographs with it.
If you want to see these principles applied step-by-step in a real studio environment, actual modifiers, actual clients, actual setups walked through from the first light placement to the final exposure, my maternity photography lighting courses are built exactly for that. You will see the before and the after, hear the reasoning behind each adjustment, and walk away with a repeatable system you can bring to your next session.
How do I schedule my session?
You can schedule your session by emailing [email protected] or by texting our studio at (310) 854-9695.
