How to Do a Maternity Shoot at Home
As a Los Angeles–based studio maternity photographer, I spend most of my time shaping light and guiding flattering, gentle poses. But maternity photography doesn’t have to happen in a studio to feel elevated. With the right awareness and a little intention, your home can become one of the most meaningful and cinematic settings for a maternity shoot.
Studio sessions are known for precision and control. Home sessions, on the other hand, carry a quiet intimacy, rooms filled with memories, soft corners of light, and the comfortable pace of being in your own space. The beauty of a home maternity shoot comes from leaning into that warmth.
The reason many DIY maternity photos feel off has less to do with equipment and more to do with guidance. Natural light still needs shaping. Everyday furniture still needs adjusting. Posing still needs a thoughtful hand. But once those pieces click into place, the images become tender, elegant, and deeply personal.
Home Environment for a Professional Maternity Photoshoot
Home is where the nursery is half-finished, where the tiny socks are folded, and where most of those first memories will take place. Photos at home offer a great level of comfort.
There’s also the magic of pregnancy that pulses through a home, a sonogram taped to the fridge, a stack of baby shoes waiting by the crib, a pet sniffing the nursery rug. When you photograph these details as close-up frames, they punctuate the gallery with emotion and context. A single maternity photo of a hand holding baby shoes near the growing baby tells a complete story in one breath.
Evaluating Lighting Conditions in Each Room
Great maternity photography at home starts with light literacy. Walk through the home without your camera first. Note the direction of the windows, north light is gentle and consistent, east light is crisp and gorgeous in the morning, south light can be intense and contrasty at midday, and west light turns warm and romantic near sunset. Watch for dappled shadows from trees (lovely on walls, not always kind on skin), shiny floors that kick up glare, and overhead can lights that carve raccoon shadows under the eyes.
Common mistakes include standing directly in harsh sun, letting mixed light sources fight (blue window light plus orange lamp light equals muddy skin tones), and placing your subject too close to a cluttered background. Fix these by turning the body at a gentle angle to the camera, backing away to lengthen the falloff, and using a light, neutral wall opposite the window as a reflector. If the room is dark, embrace it. Low-key maternity portraits can be stunning, especially when the baby bump is rim-lit and everything else recedes into velvet shadow.
Creating a Studio Feel Without a Studio
A professional studio gives me clean edges and control, at home, I’d recreate that feeling with subtraction. Strip the scene to its essentials. Pull furniture two feet from the wall to create separation. Remove busy frames, bright toys, and patterned throws that compete with skin and fabric. If you need a simple backdrop, a tautly clipped queen sheet in a matte, warm white works wonders, especially when you position your subject several feet forward and light from the side.
Manage clutter without erasing personality, leave the baby blanket draped in the crib, keep a favorite book on the nightstand, and let the room breathe. The rule is simple, if an object doesn’t support the story or flatter the subject, it exits. The result is an editorial, studio maternity aesthetic that still feels like home.
Ideal Time for a Maternity Photoshoot at Home
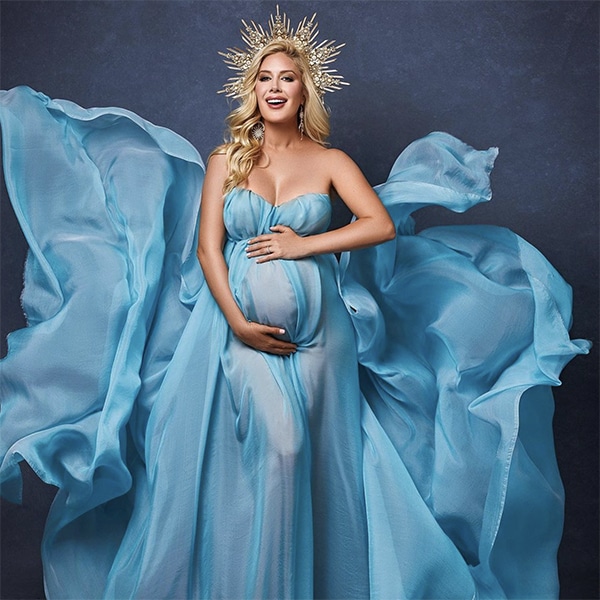
From a professional maternity standpoint, the best time for a maternity photo shoot is typically the week of pregnancy range of 28–34. The baby bump is beautifully pronounced, round, high, and photogenic, while mobility and comfort are usually still in a good place.
Earlier than 28 weeks, the bump can photograph smaller than it feels, after 34 weeks, swelling and fatigue sometimes limit different poses. There are exceptions, of course. I’ve created elegant bump photos at 36 weeks by focusing on seated and leaning poses that respect the body’s changing center of gravity. The goal is to highlight the baby bump and capture the glow without asking the body to do acrobatics.
Planning Around Energy Levels and Daily Light
I schedule home photography sessions when the client naturally has more energy, late morning or mid-afternoon are safe bets. Pair that with the home’s best window exposure. If the living room drinks in soft east light at 9 am, start there. If the bedroom fills with sunset gold, save it for last. A quick peek at a weather app helps you time cloud cover, but don’t fear overcast days, clouds are nature’s diffuser, and they’re kind to skin. Build in gentle pacing, water breaks, a snack, a laugh, so the maternity photo session feels like a memory being made, not a marathon.
Preparing the Space for a Cinematic Home Maternity Photo Shoot
Bedrooms are the heartbeat of photoshoots at home, soft textiles, fewer competing colors, and an instant invitation to relax. I’ll pull a bedspread smooth, fluff pillows for structure, and position the subject near the window edge so light wraps the face and torso. Living rooms are great for open shots and maternity and newborn storytelling later, a clean wall with a window at 45 degrees creates the kind of shape I usually build in the studio. Nurseries are sentiment-rich, perfect for pregnancy photos and detail frames. I avoid kitchens for primary portraits unless they’re minimal and bright, because counters and appliances love to photobomb.
Styling the Room for Minimal, Clean, Editorial Composition
Keep the color palette to three tones, a base neutral (warm white, oatmeal, taupe), a skin-flattering accent (soft blush, muted sage), and a grounding tone (charcoal, wood). Texture is your friend, linen sheets, knit throws, gauzy curtains. They photograph with depth and look expensive without being fussy. Household items are stage pieces if used intentionally, a dining chair becomes a sculptural prop, a curtain becomes diffusion, and a duvet becomes a spill of texture that frames the beautiful maternity form.
When to Bring in Basic Equipment
If I could only bring two things to a home maternity photography session, it would be a 5-in-1 reflector and a single continuous light with a medium softbox. The reflector bounces natural light back into the shadow side of the face, softening the jaw and filling under the eyes. The single light gives you reliability when clouds roll in or rooms face the wrong direction. Place the light about 45 degrees off-camera and slightly above eye level, feathered across the face for gentle falloff. Aim for soft, flattering shadows that flatter the cheekbones and carve the bump.
Wardrobe That Flatters and Moves
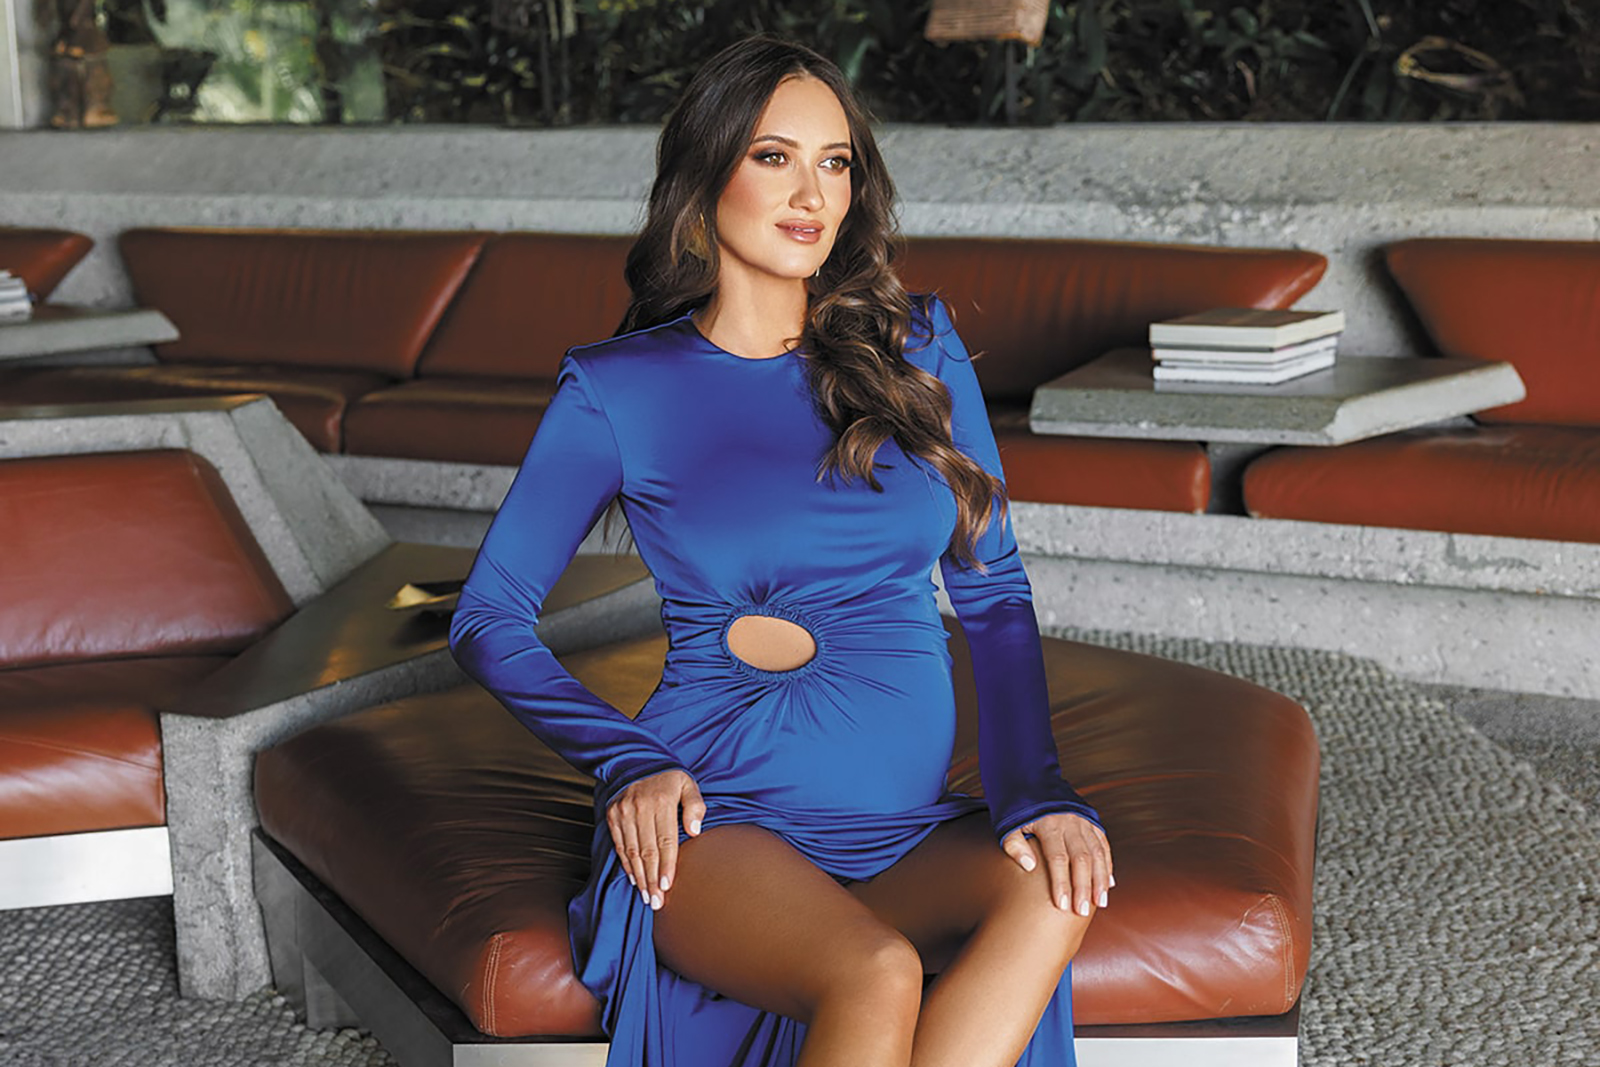
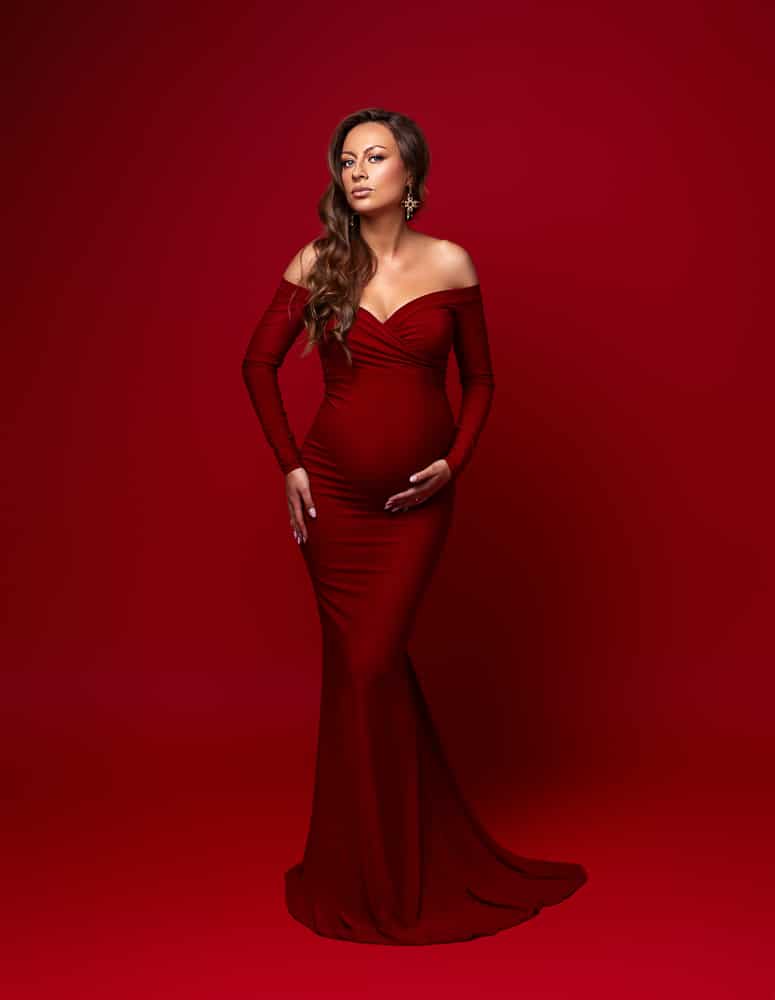
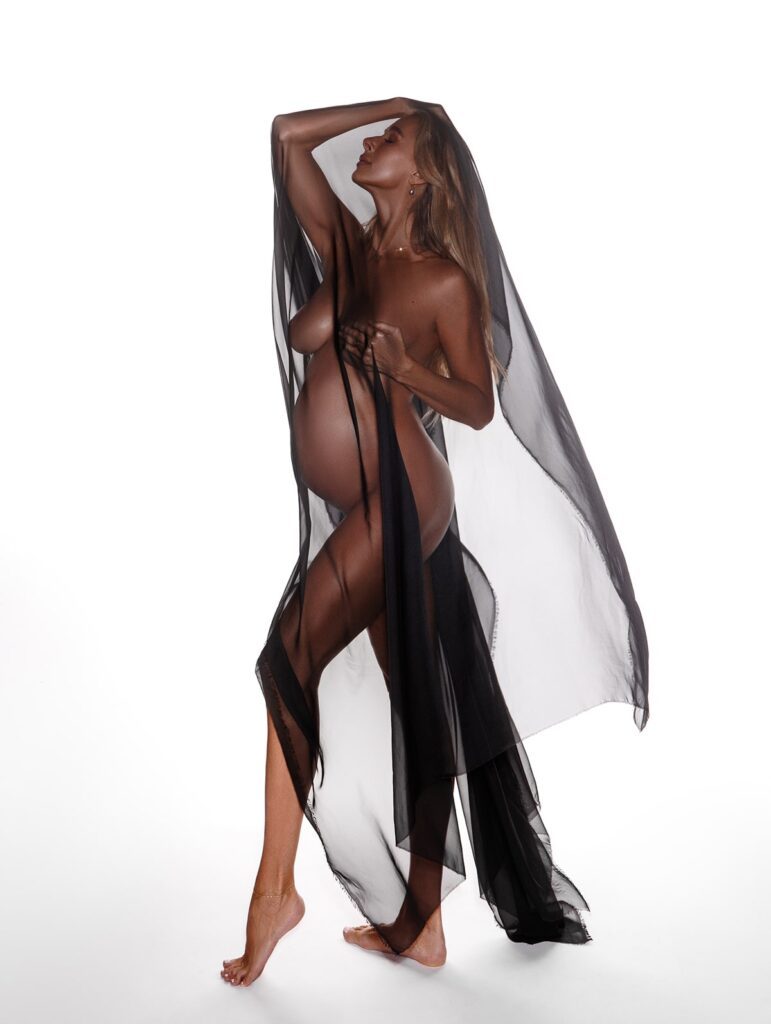
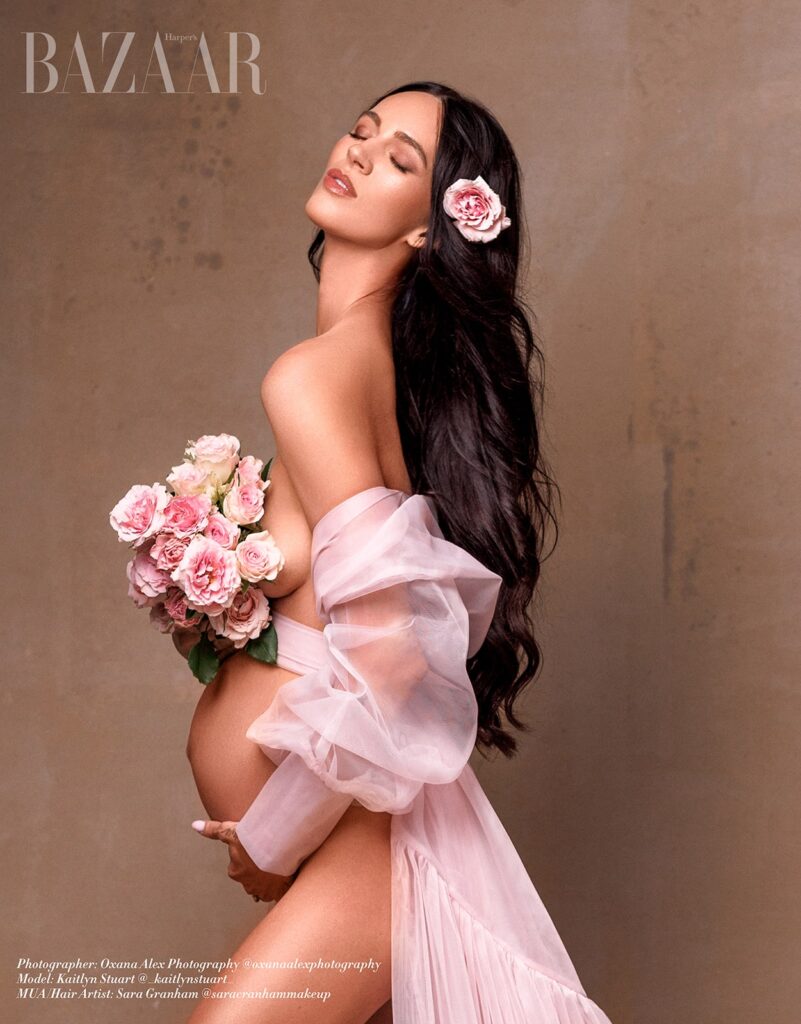
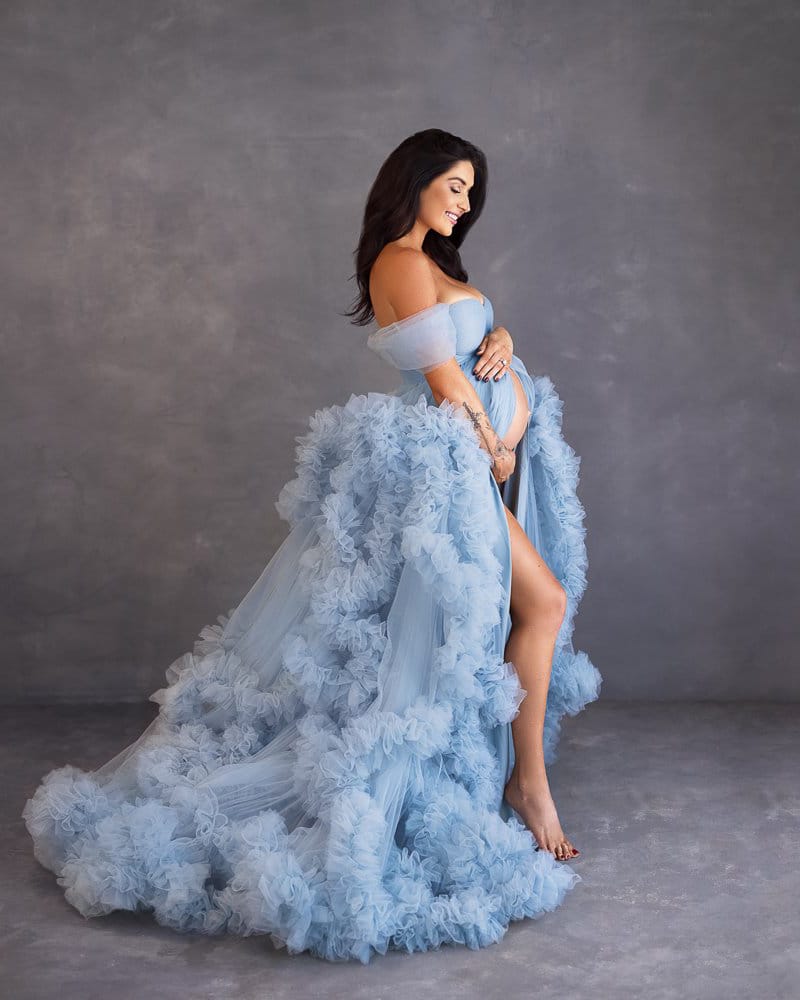
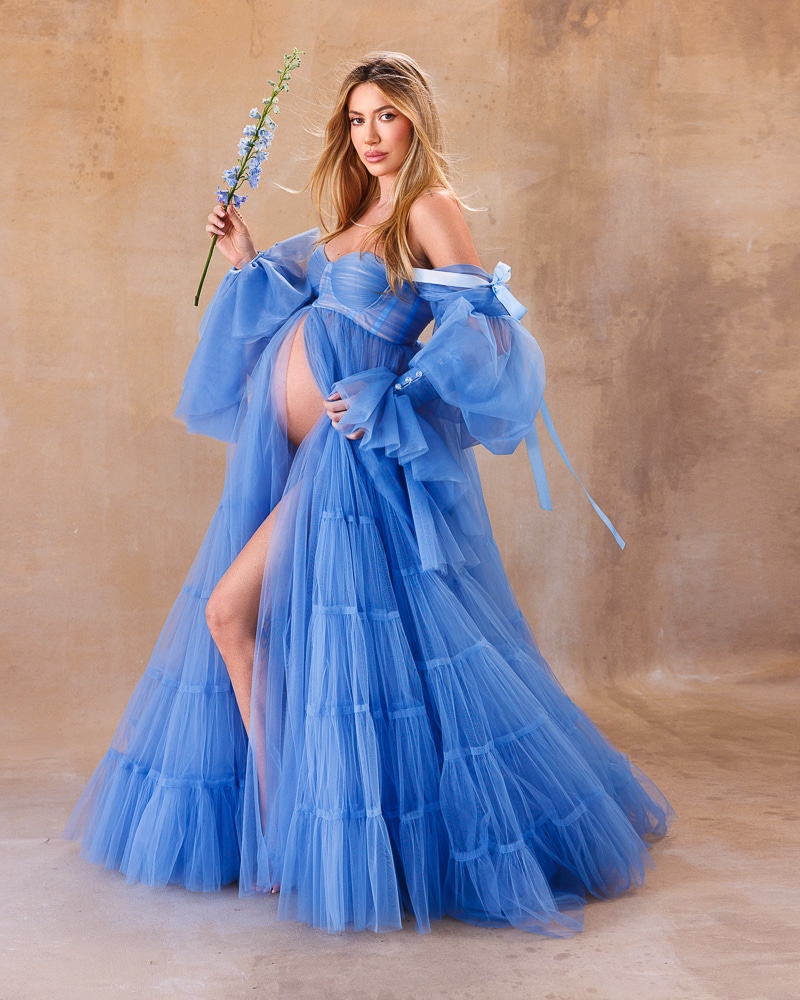
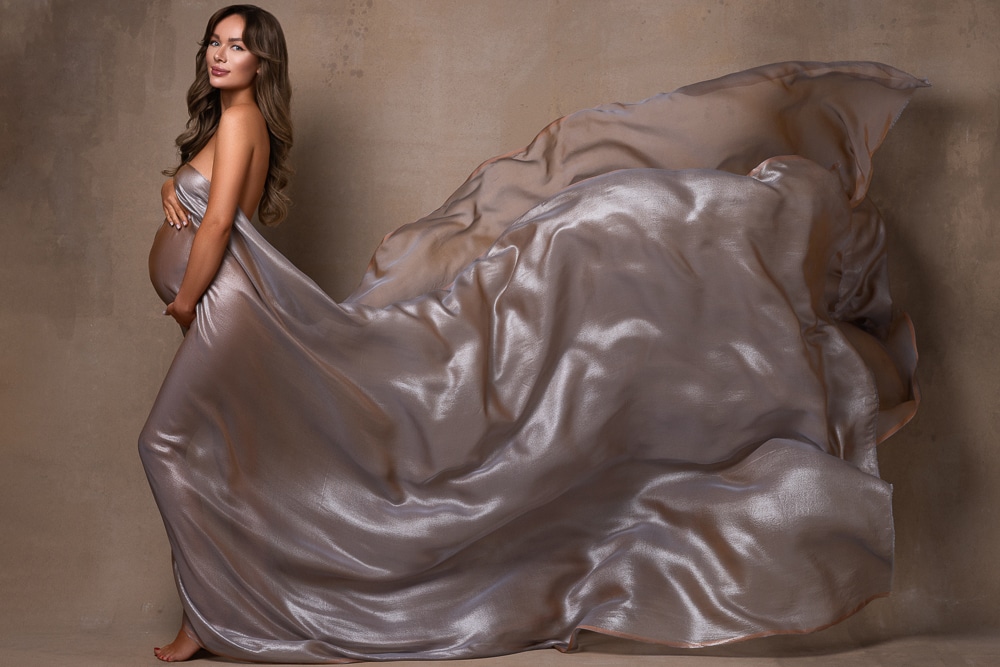
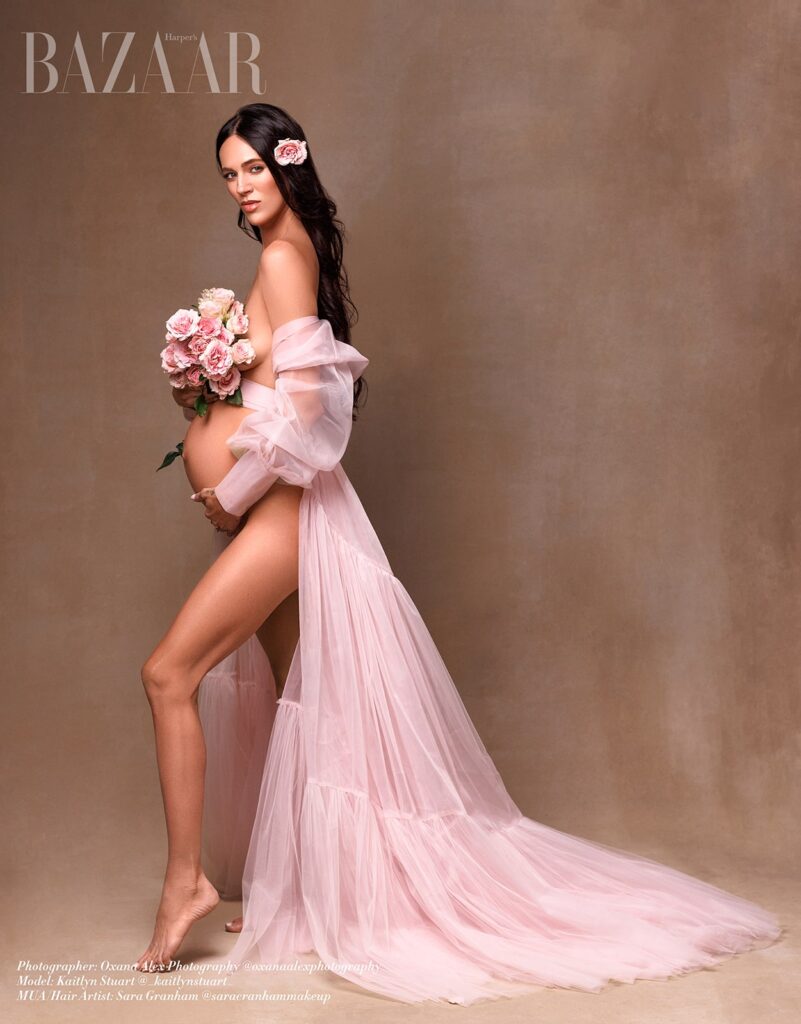
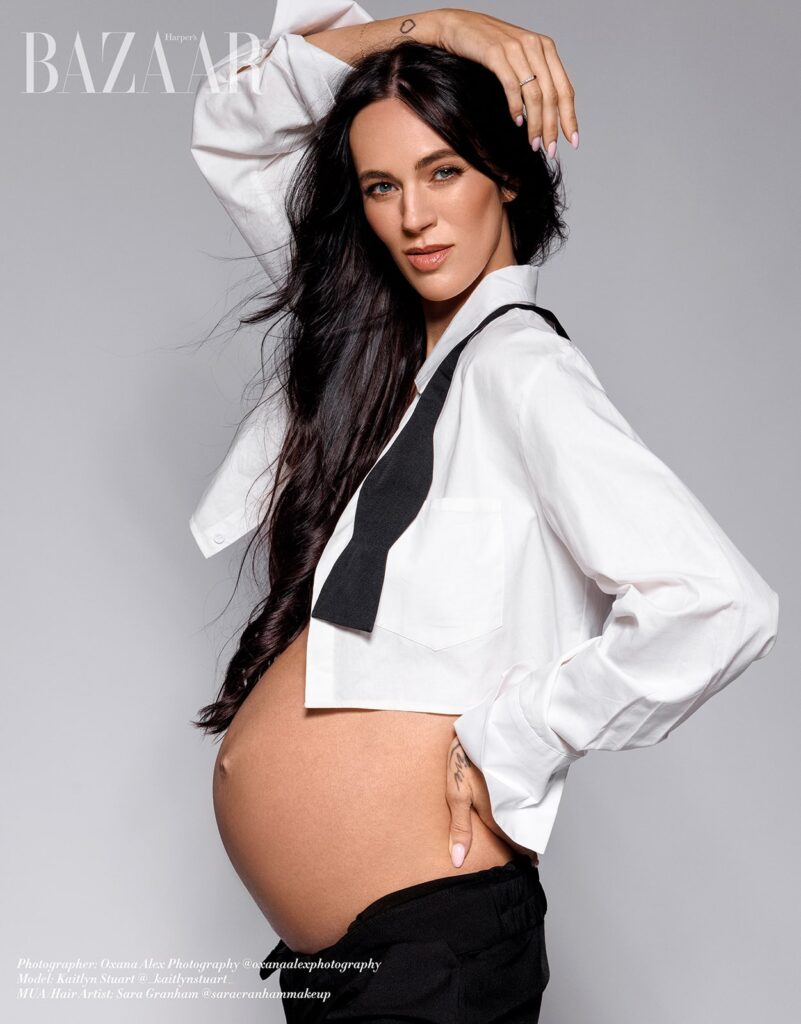
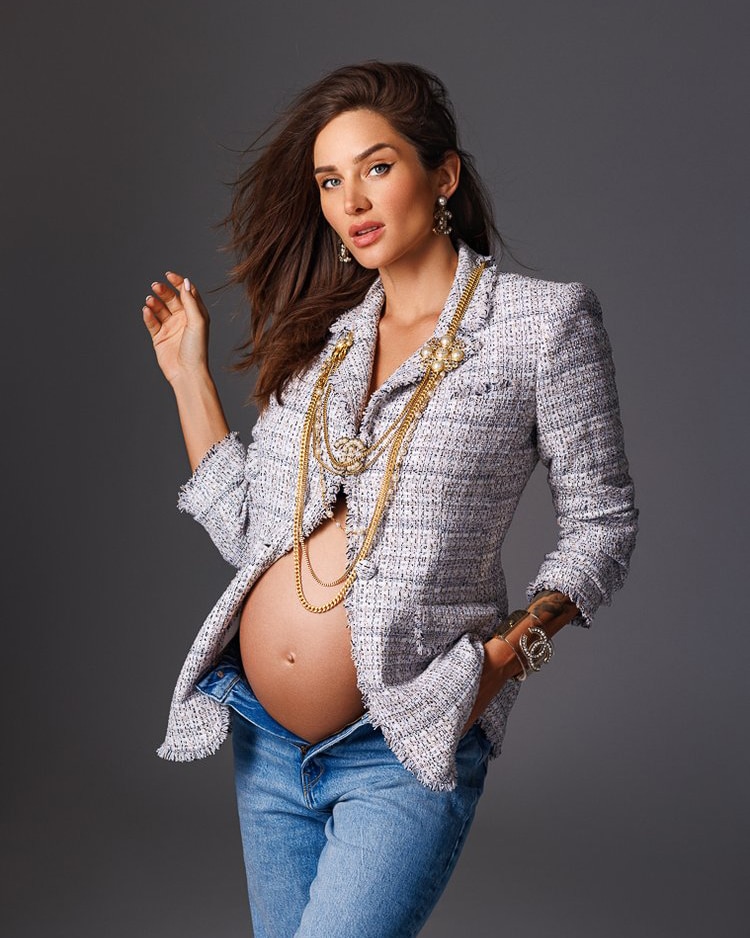
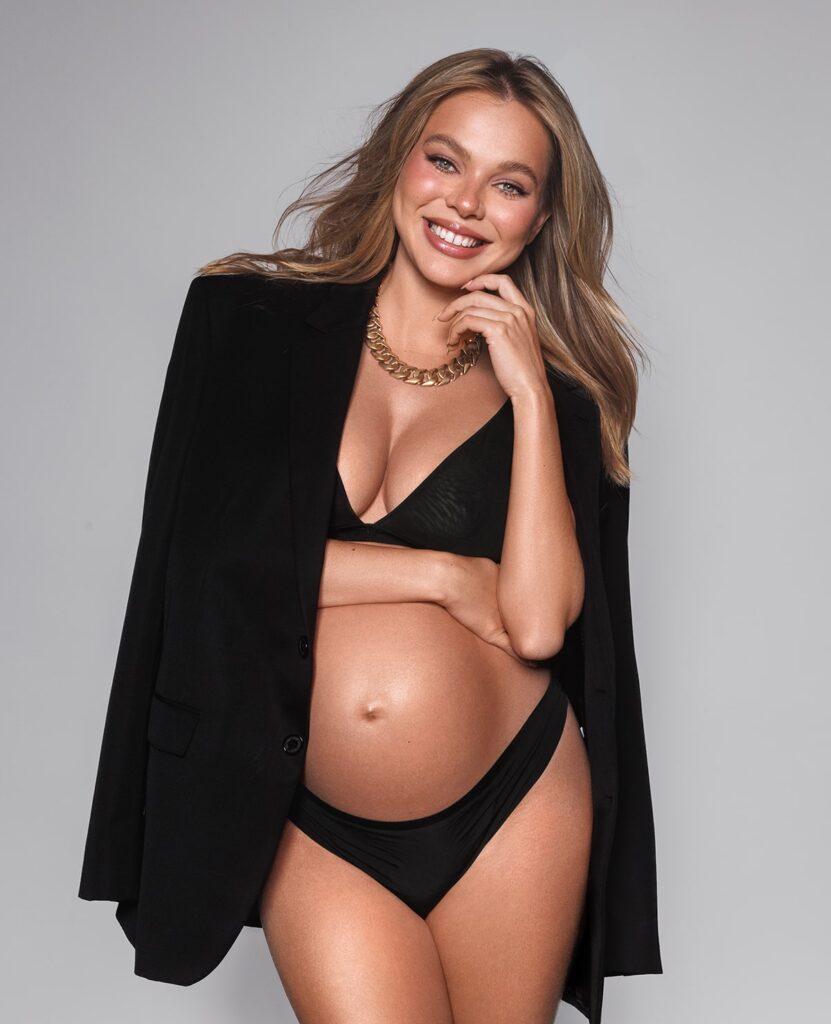
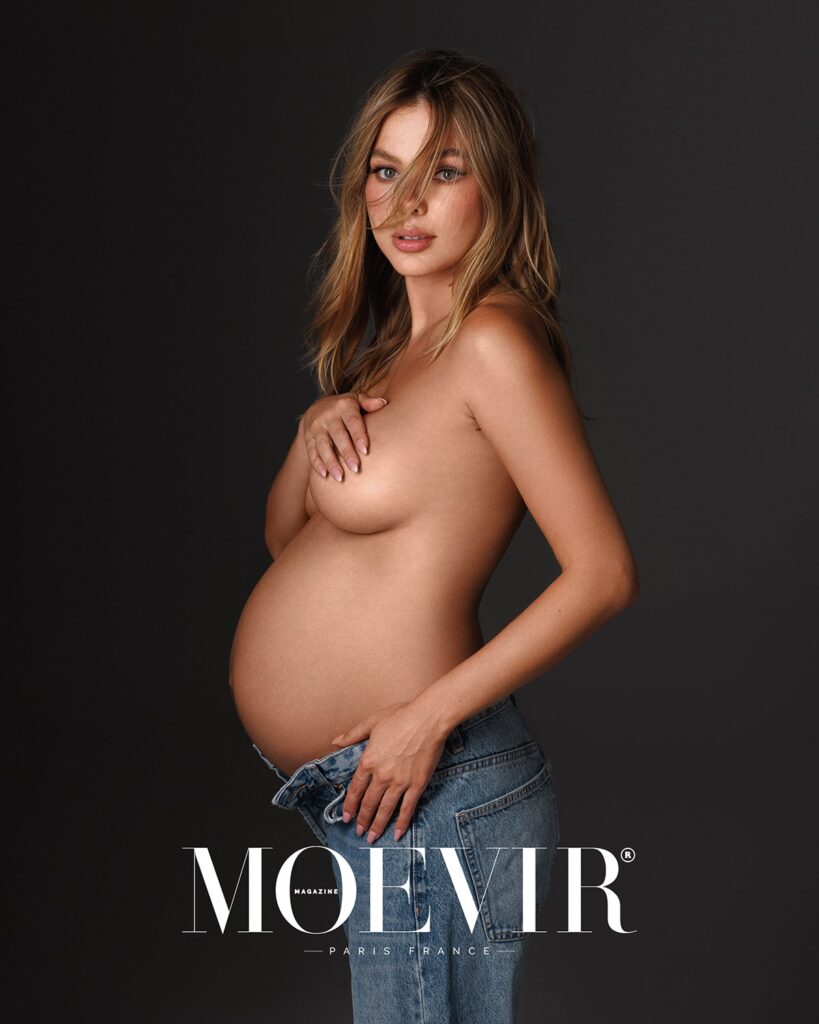
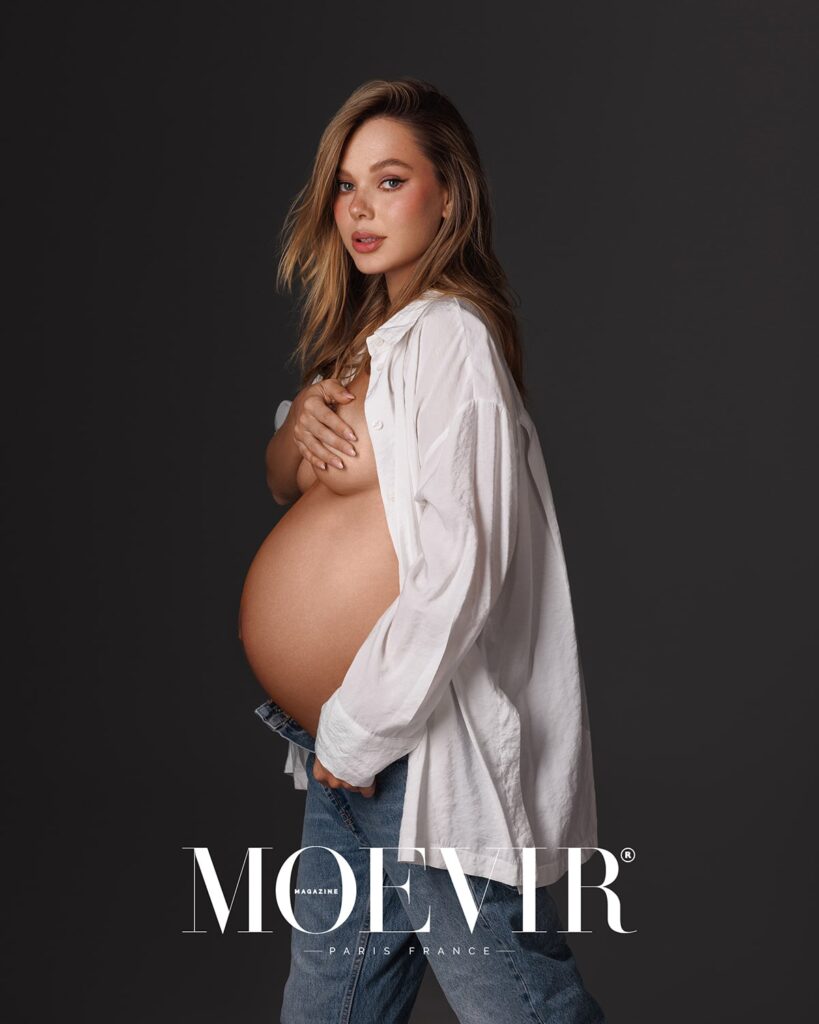
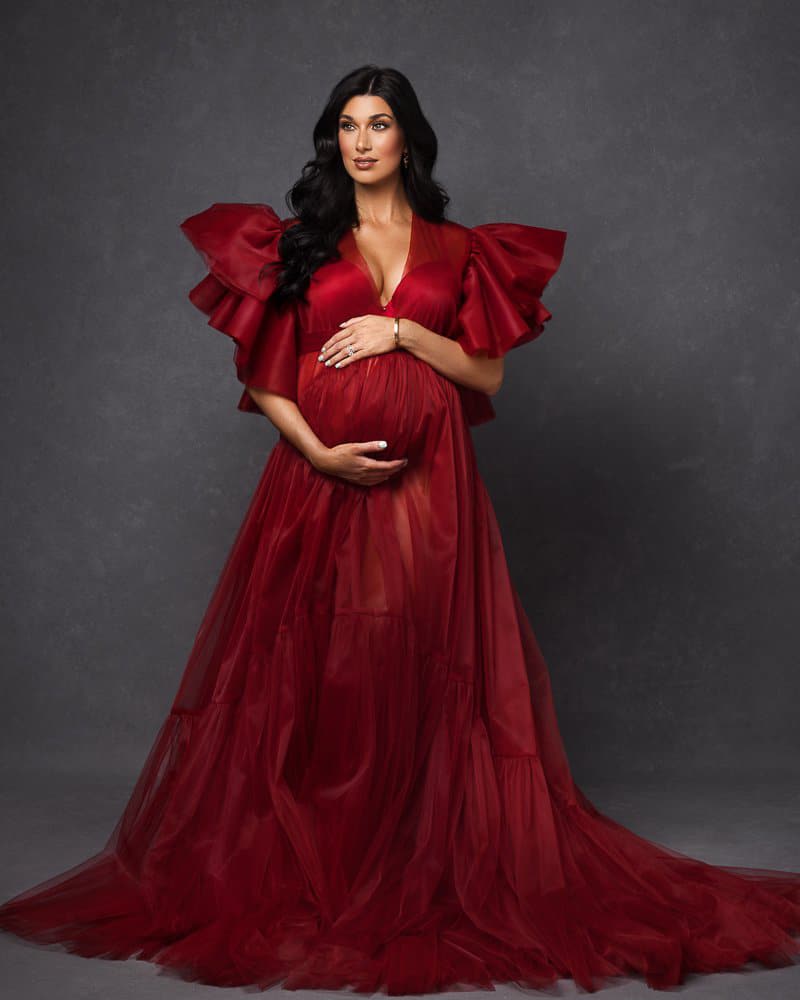
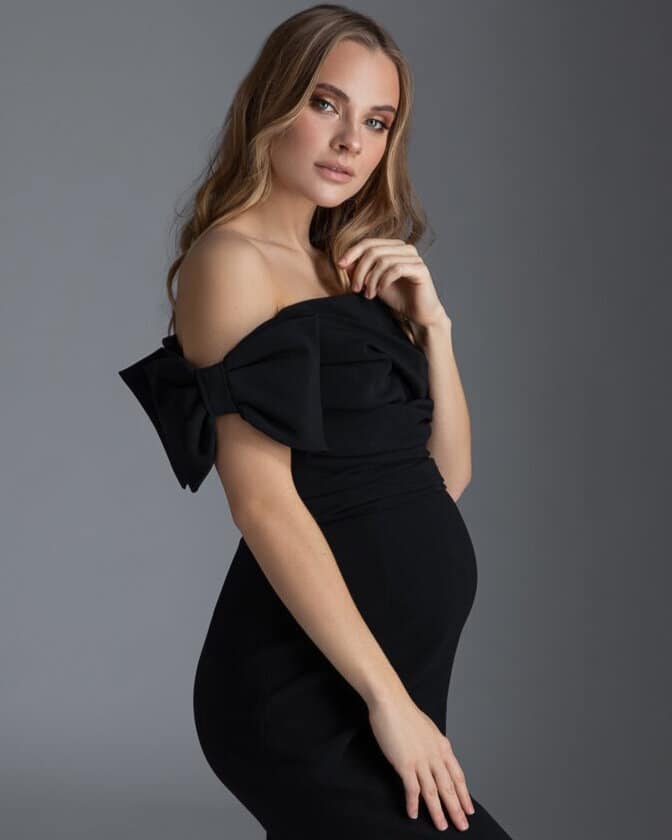
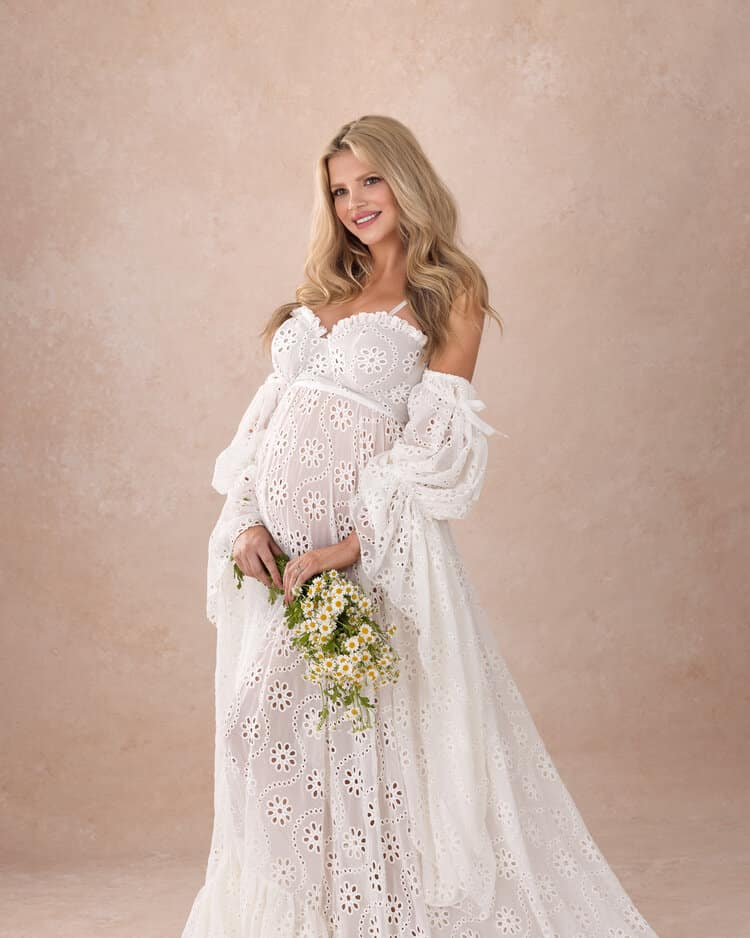
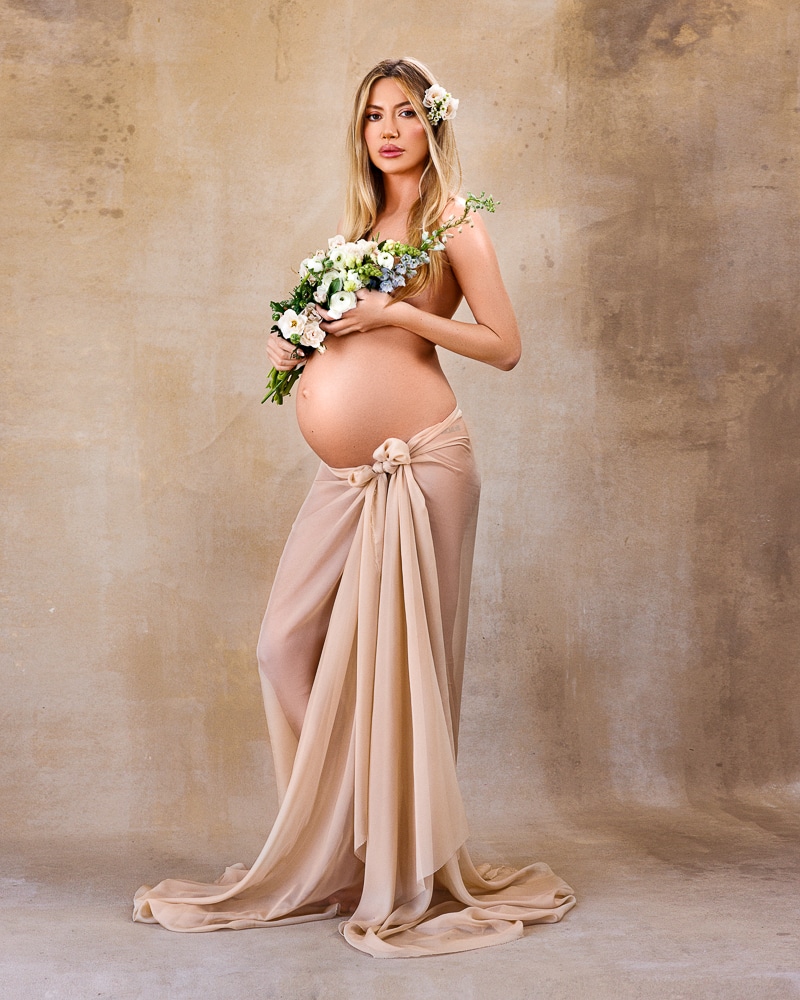
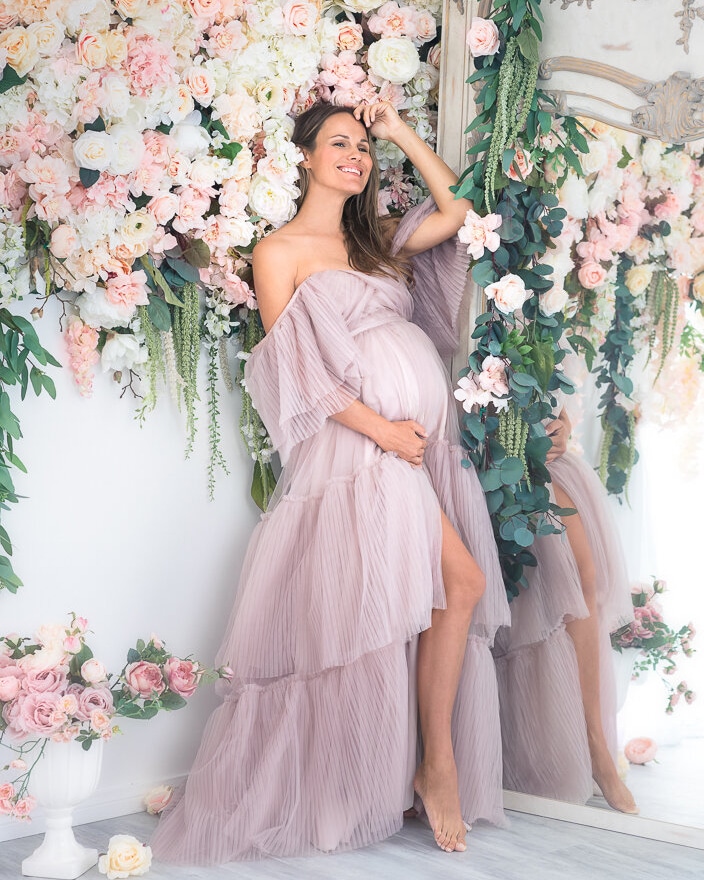
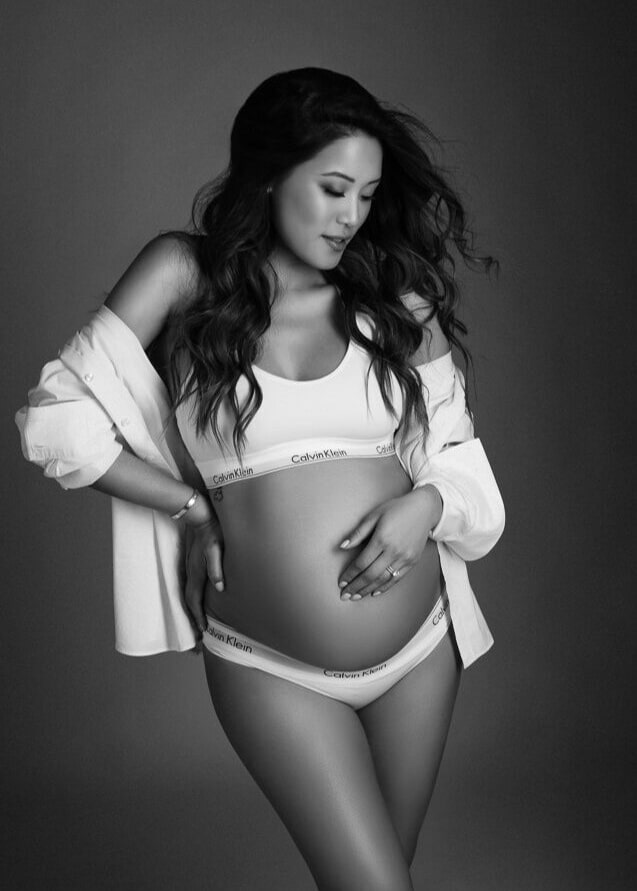
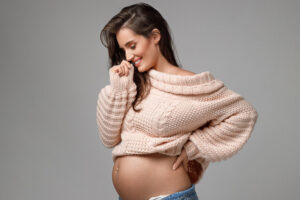
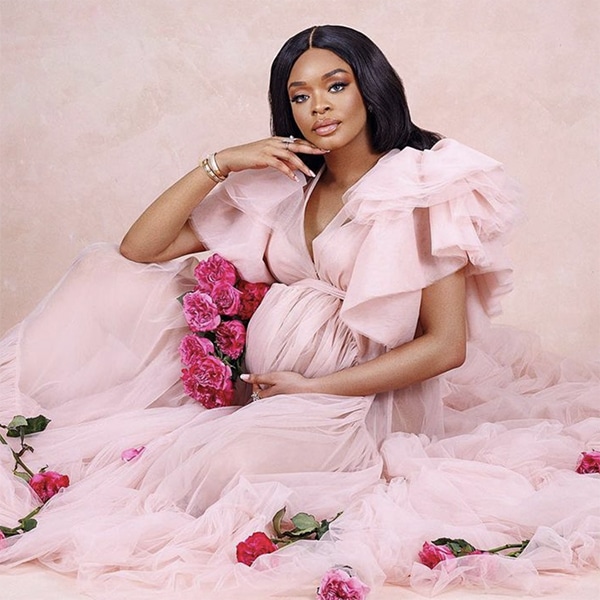
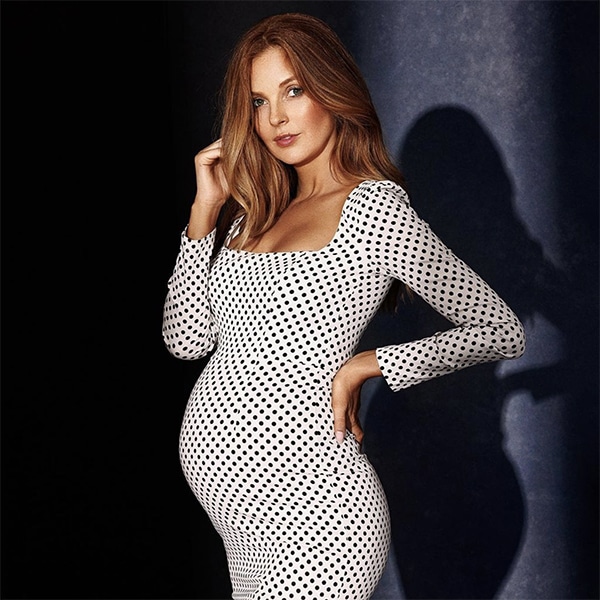
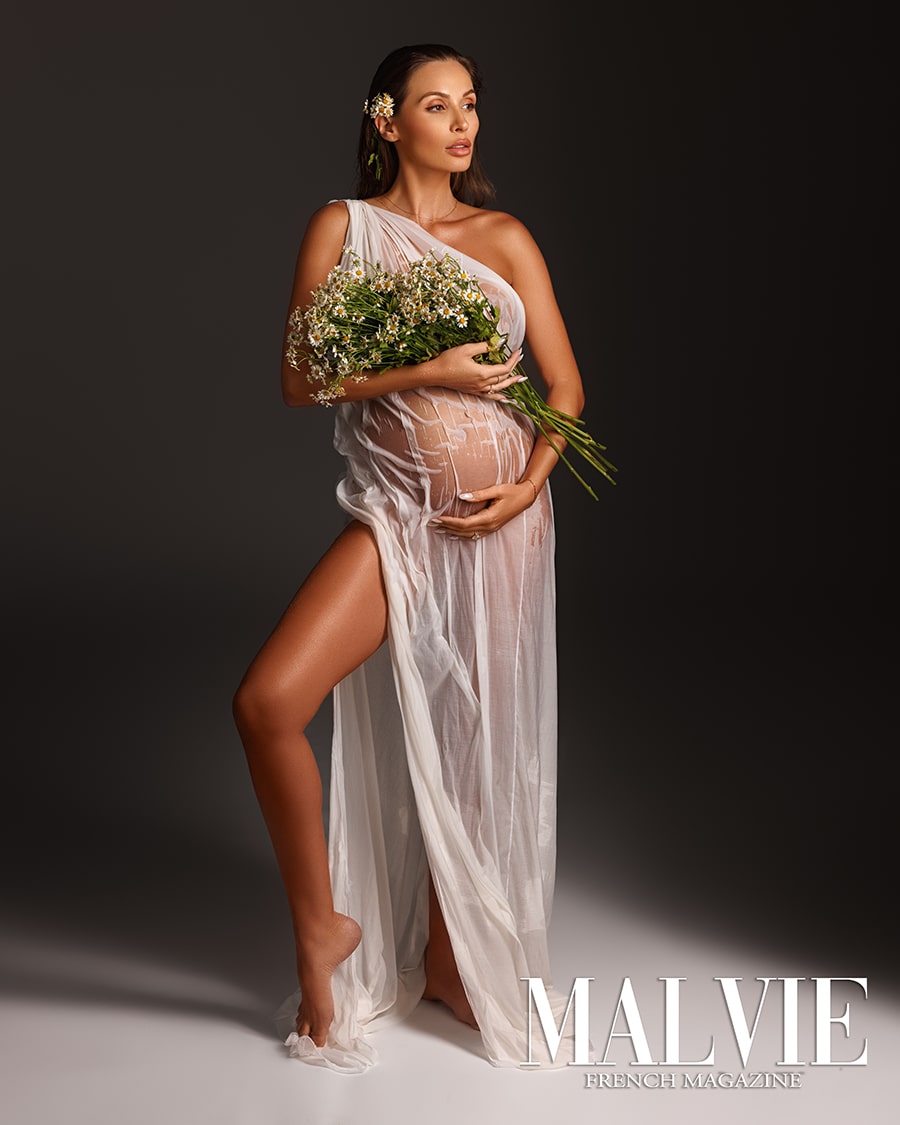
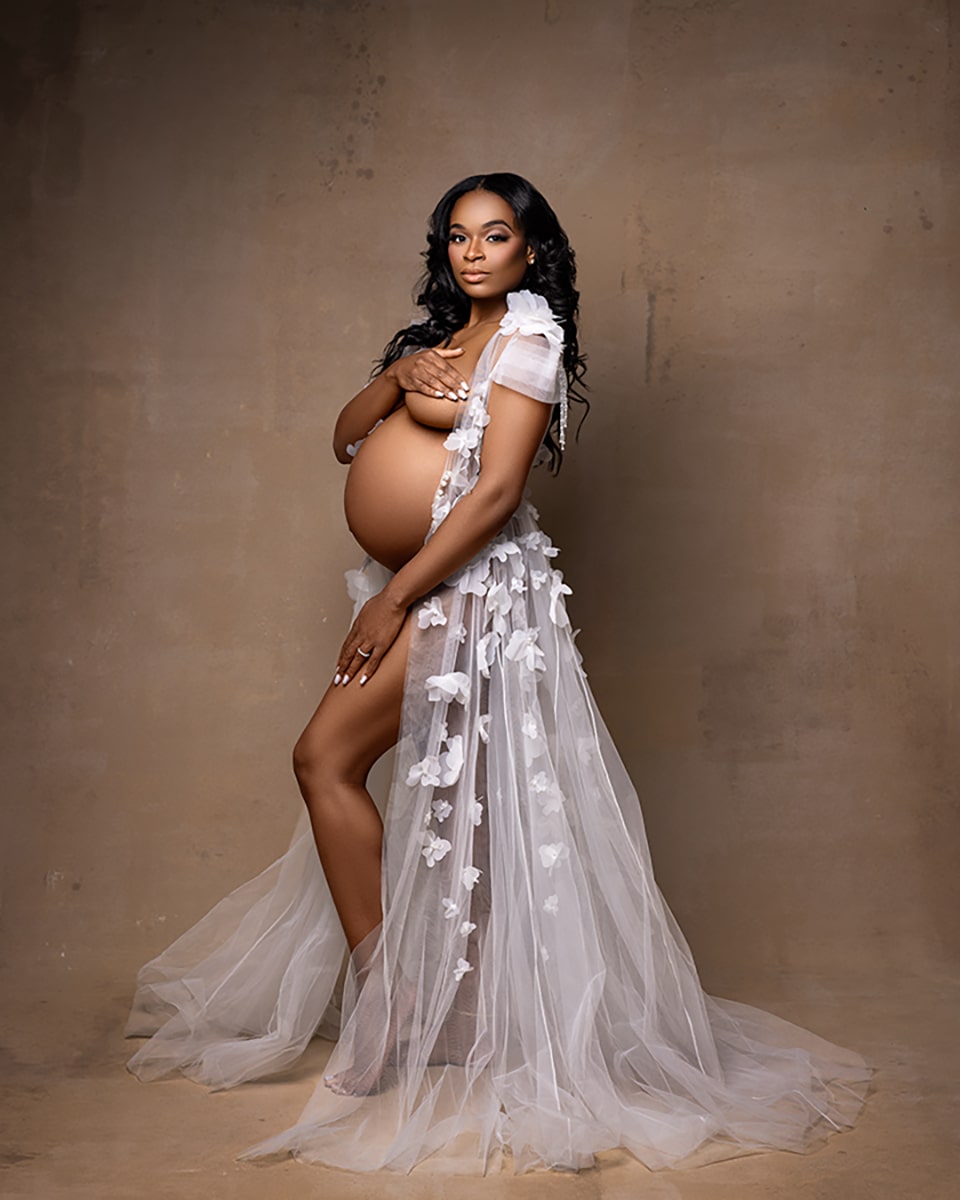
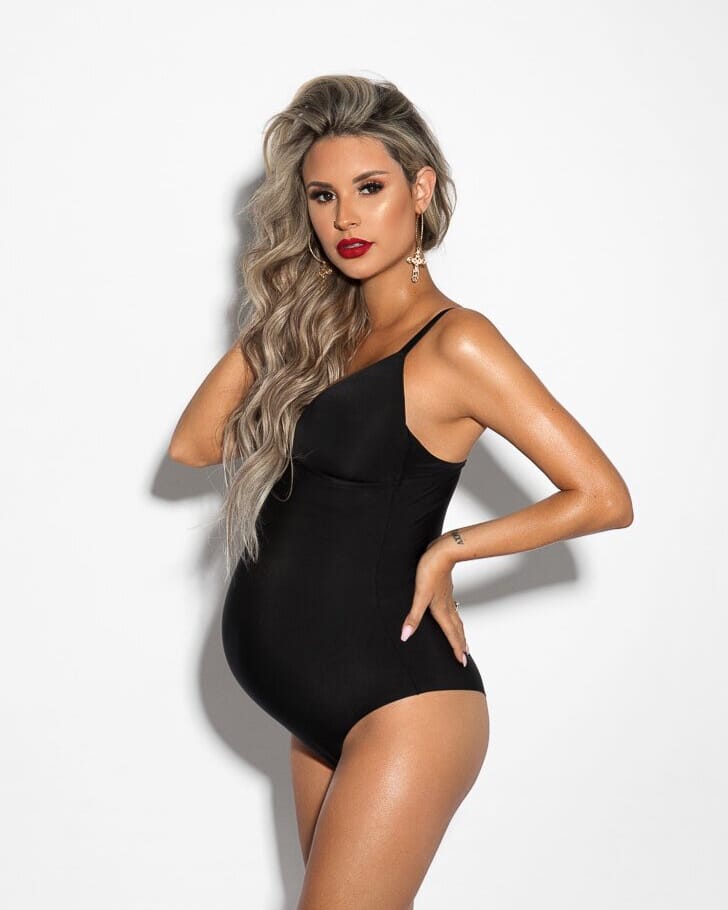
Wardrobe is the quiet architect of maternity portraits. Fitted maternity dresses in ribbed knit or jersey trace the baby bump without squeezing. A draped silk slip skims elegantly, and an oversized button-down, half-tucked above the bump, creates editorial lines with zero effort. Neutrals photograph timelessly, but an earthy color, a rust slip, a deep emerald robe, can make skin tones sing. If the client wants bare-belly maternity pictures, suggest moisturizer ahead of time and keep hands relaxed and loose on the skin, not pressing.
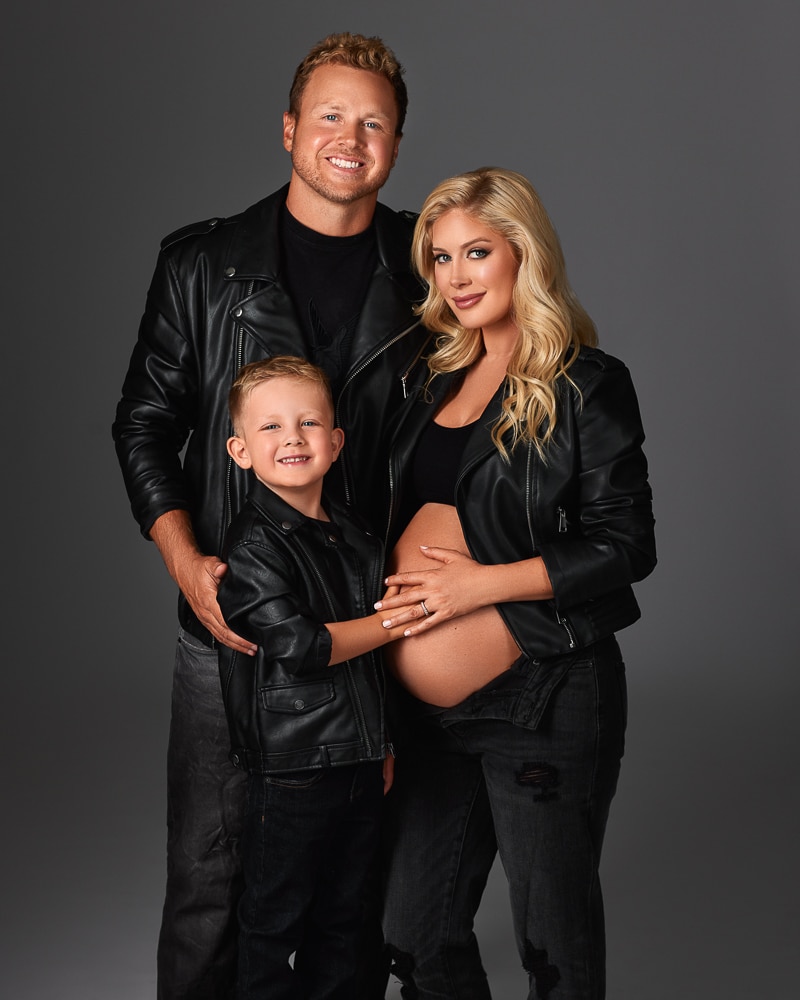
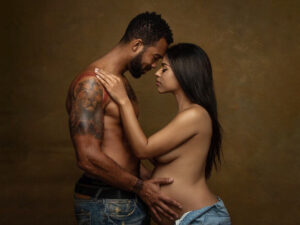
Partner and Family: Cohesive Without Matching
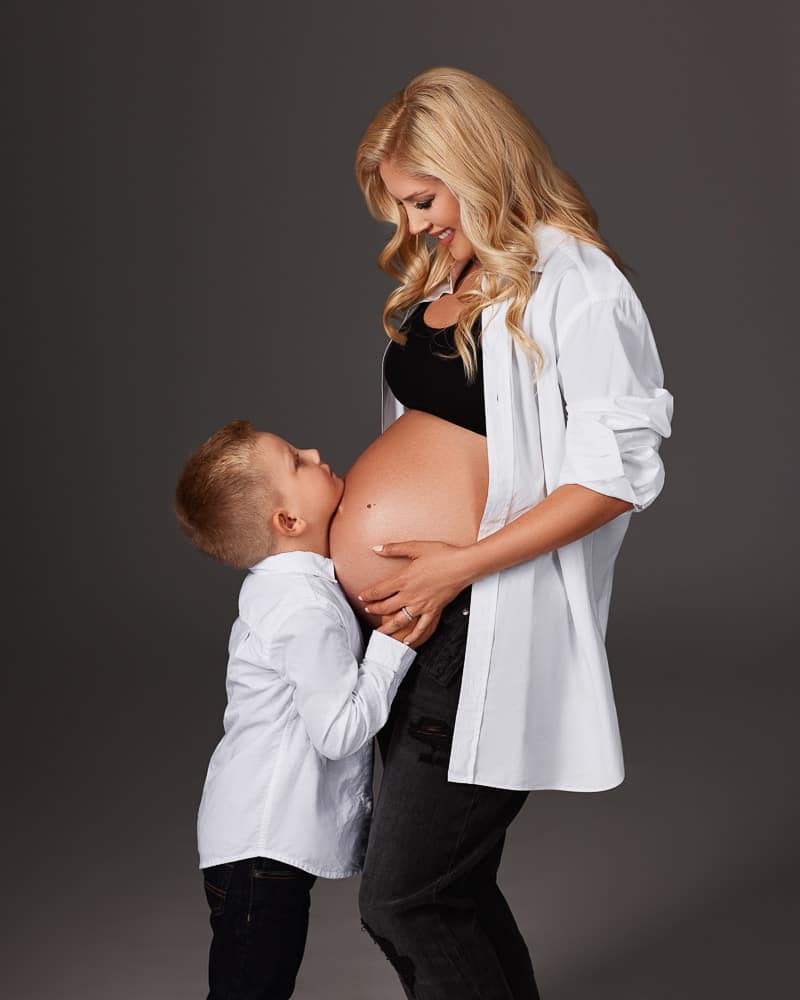
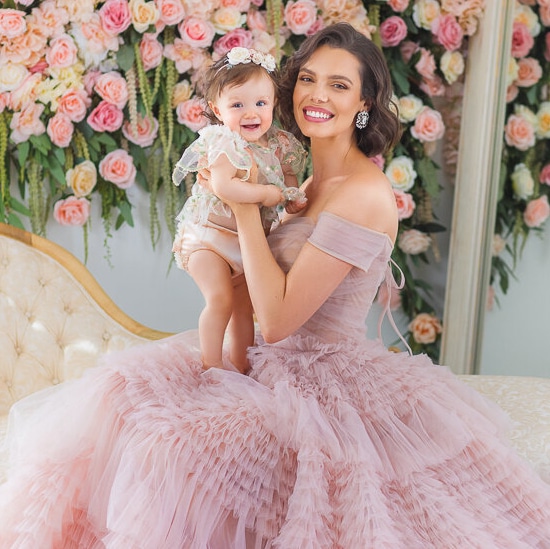
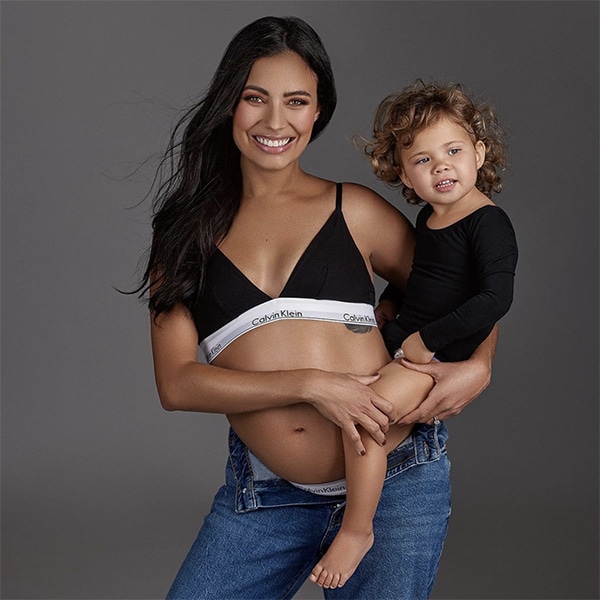
For family photography, coordinate tones rather than matching outfits. If she’s in cream, ask the partner to wear charcoal, khaki, or a soft blue so they frame rather than compete. Keep logos and micro-patterns out of frame, they moiré on camera and distract from the story. For types of photos with siblings, let them hold the baby shoes or read in the nursery corner while you shoot wider frames, children are natural scene-setters when you follow their play.
See my family photography course here.

Posing That Feels Natural
The secret to maternity poses is micro-adjustment. Start with feet, offset stance, weight on the back leg, front knee soft, and hips angled about 30 degrees to lens. That small rotation slims the torso and lengthens the line from ribs to hips.
Ask for a gentle tilt of the pelvis so the baby bump reads as a curve, not a shelf. Hands matter, one hand light under the belly, one just above, fingertips soft, wrists long, shoulders dropped. For seated poses, perch on the edge of the bed or chair so posture stays tall, for reclined, prop with pillows so the chest is slightly elevated and the neck stays graceful.
Face, Hands, and Close-Up Storytelling
The face should never work alone, connect expression to touch. I’ll ask for a slow, full exhale, a tiny smile that creases only at the corner, or eyes closed for two beats while the hand moves. For close-up frames, I shoot the hands on the bump, a necklace that’s been passed down, or a page in the baby journal. These become chapter markers in the gallery and elevate a photo session from pretty to personal.
See my full course on posing couples here.
Natural Light, One Light, and Simple Shaping
Treat the window like gear. Place your subject near the edge of its beam, not center, so you get direction, not flatness. Turn the face slightly into the light for open, glowing skin, or away for a moody profile that highlight the baby bump with a rim. Use a sheer curtain as diffusion when sun is harsh, a white wall or reflector opposite the window will kiss the shadows and keep color clean.
For more see my course on Natural and Mixed light.
Taming Overhead and Mixed Light
Overhead lights carve dark crescents under the eyes and nose. Turn them off. Work with window + lamp or window alone. If a lamp adds warmth you love, keep it, but match color temperatures in photo editing by cooling the tungsten spill or warming the window side slightly. Mixed light can be a look, as long as it’s intentional.
One-Light Mastery in Tight Spaces
A single continuous light with a soft modifier is the at-home cheat code. Aim it across the face at about 45 degrees. Feather the edge toward the subject so the core of the beam isn’t blasting skin. If the background falls too dark, bounce that same light off the wall to lift ambience. This is how you can mimic studio maternity polish in a tiny room without a grip truck.
Composition That Feels Editorial
Resist the urge to fill every inch. Pull back to include a doorway edge or a sweep of curtain, shoot through plants for a soft foreground haze, let a sliver of window frame create an elegant line that points back to the subject. These are simple photography ideas that elevate the most ordinary room.
Edit the Frame, Not Just the File
Before you think about photo editing, edit inside the rectangle. Watch for lamp cords, rogue hair ties, and busy pillow seams. Step left two inches, crouch six inches lower, and suddenly the visual math clicks. Composition corrections on location always beat Photoshop triage later.


Camera Setup and Settings for Clean, Consistent Digital Photos
For maternity photography, I love 35mm and 50mm indoors. The 35mm tells the story of the room, the 50mm flatters faces and shapes without compression. In small spaces, 85mm can be tight, but it’s dreamy for maternity portraits in a larger bedroom. Start around f/2 to f/2.8 for singles, enough separation to make skin creamy while keeping the bump crisp. If the room is dark, don’t fear ISO 1600–3200 on modern sensors, grain is better than blur. Keep shutter at 1/200 for motion safety if hands are moving, lower to 1/125 for quiet different poses.
White Balance and Color Consistency
Homes mix color temperatures. Set a custom Kelvin if your camera allows, around 5200K for clean daylight, 4000–4500K if a lamp is in play. If you’re jumping rooms, grab a reference shot with a gray card, it makes photo editing faster and keeps skin tones true across the gallery of digital photos.

Editing for Timeless Warmth: Skin, Color, and Cohesion
Photo editing for professional maternity images is like good makeup, you notice the beauty, not the product. I keep skin texture real, even out transient redness, and soften under-eye shadows just enough. Stretch marks can be celebrated or softened based on the client’s preference, ask, don’t assume. Preserve the downy highlights on the bump, that sheen is the glow everyone talks about.
Color Harmony Across Rooms
I aim for warm-neutral color with a subtle filmic curve. If the living room is cooler and the bedroom warmer, I nudge them toward the same middle ground so the set hangs together. A touch of split-toning can unify mixed light. Keep whites creamy, not blue, keep blacks soft, not crushed. The goal is coherence.
From Maternity to Newborn Photography at Home
The sweetest galleries pair maternity photoshoots along with newborn photography. Use the same color palette, similar light direction, and a few repeated props (the shawl she wore pregnant becomes the baby’s wrap later). This maternity and newborn continuity turns two sessions into a single narrative arc, the journey of pregnancy into the first newborn photos.
Simple, Safe Newborn Photoshoot Foundations
Keep rooms warm, lower your voice, and follow the baby’s tempo. The best newborn photoshoot at home uses safe, simple positions, on the back in a shallow basket, in a caregiver’s arms, on the bed with a spotter just out of frame. Pair a wide frame of the room with a close-up of the fingers around a parent’s thumb. These are the special moments families cling to years later.
If you’re excited to learn my full home-to-home flow from late pregnancy to the first weeks of life, see my DIY Maternity & Newborn Photography Course Bundle here.
Outdoor vs. Home Maternity Photography
Outdoor locations can be breathtaking, and outdoor maternity at golden hour has its charm. But wind, traffic, and crowds can derail a pregnancy shoot. At home, just like in the studio, the pace is calm, the wardrobe changes are easy, and the bathroom is five steps away. More importantly, the surroundings carry your real life. When you look back at these maternity pictures, you’ll remember the squeaky floorboard and the way the evening light hit the nursery wall. That’s priceless.
Serving Clients While You Schedule Your Maternity Sessions
If you’re a photographer, be proactive. Schedule your maternity clients early, talk through the ideal time for a maternity session, and send a simple prep guide with wardrobe and room suggestions. If you’re expecting and planning a DIY maternity photo shoot in the comfort of your own home, give yourself permission to keep it simple, one room, one window, one outfit that makes you feel like yourself.
If you’re looking for the right maternity photographer in Los Angeles and prefer a studio session, I shoot exclusively studio maternity and would love to create something timeless with you in my space.
Photography Ideas You Can Trust at Home
Start in the room where light feels kindest and the subject feels safest. Begin with easy standing shapes and progress to seated and reclined. Work from wider environmental frames to mid-length to close-up details, then loop back. If energy dips, pivot to quiet hands-on-bump frames and a few family photo interactions. Save your boldest photo ideas for the end when trust is high.
See my full DIY Maternity Photography Course here.
FAQ’s
Do I need to be a professional photographer to do a maternity photoshoot at home?
Not at all. You don’t need a photography studio or expensive gear to capture beautiful pregnancy photos. With thoughtful natural light, simple camera settings, and poses that flatter the baby bump, anyone can create meaningful images during this special time, even if it’s your first maternity shoot.
How do I find the best light for maternity photography?
Turn off overhead lights and walk slowly through your space at different times of day. Look for soft, indirect window light, the kind that gently wraps the body instead of creating harsh shadows. This is the foundation of studio maternity style, without needing the studio.
What should I wear for a maternity photoshoot?
Choose clothing that moves with the body and highlights your shape, simple dresses, silk robes, fitted knitwear, or even a favorite oversized shirt. Neutral tones photograph beautifully and keep the focus on you and your baby bump, not the outfit.
How do I pose if I feel awkward in front of the camera?
Keep it simple, soften the shoulders, lengthen the neck, and place one hand under the bump and one above. These classic maternity photography poses naturally flatter the silhouette. Think gentle movement, not holding still. Small shifts look more real and more elegant.
Can I include my partner or family in the maternity session?
Absolutely. Some of the most meaningful pregnancy photos capture intimate moments between a mother and her baby and the people supporting her. Keep posing simple, touching the bump together, leaning foreheads, or gentle hugs from behind.
How do I make photos at home look professional?
Slow down. Clear distractions from the frame. Notice hands and posture. Shape the light softly. The magic comes from presence, not props. Even professional maternity photographers return to these fundamentals again and again.
What if I want more guidance or a step-by-step approach?
If you’d like deeper support with lighting, posing, and creating a photo session that feels natural and artful, Roxamina Academy offers courses designed to help you capture the best possible photos, whether you’re a parent taking DIY maternity photos or a photographer refining your craft. See our maternity photography courses here.
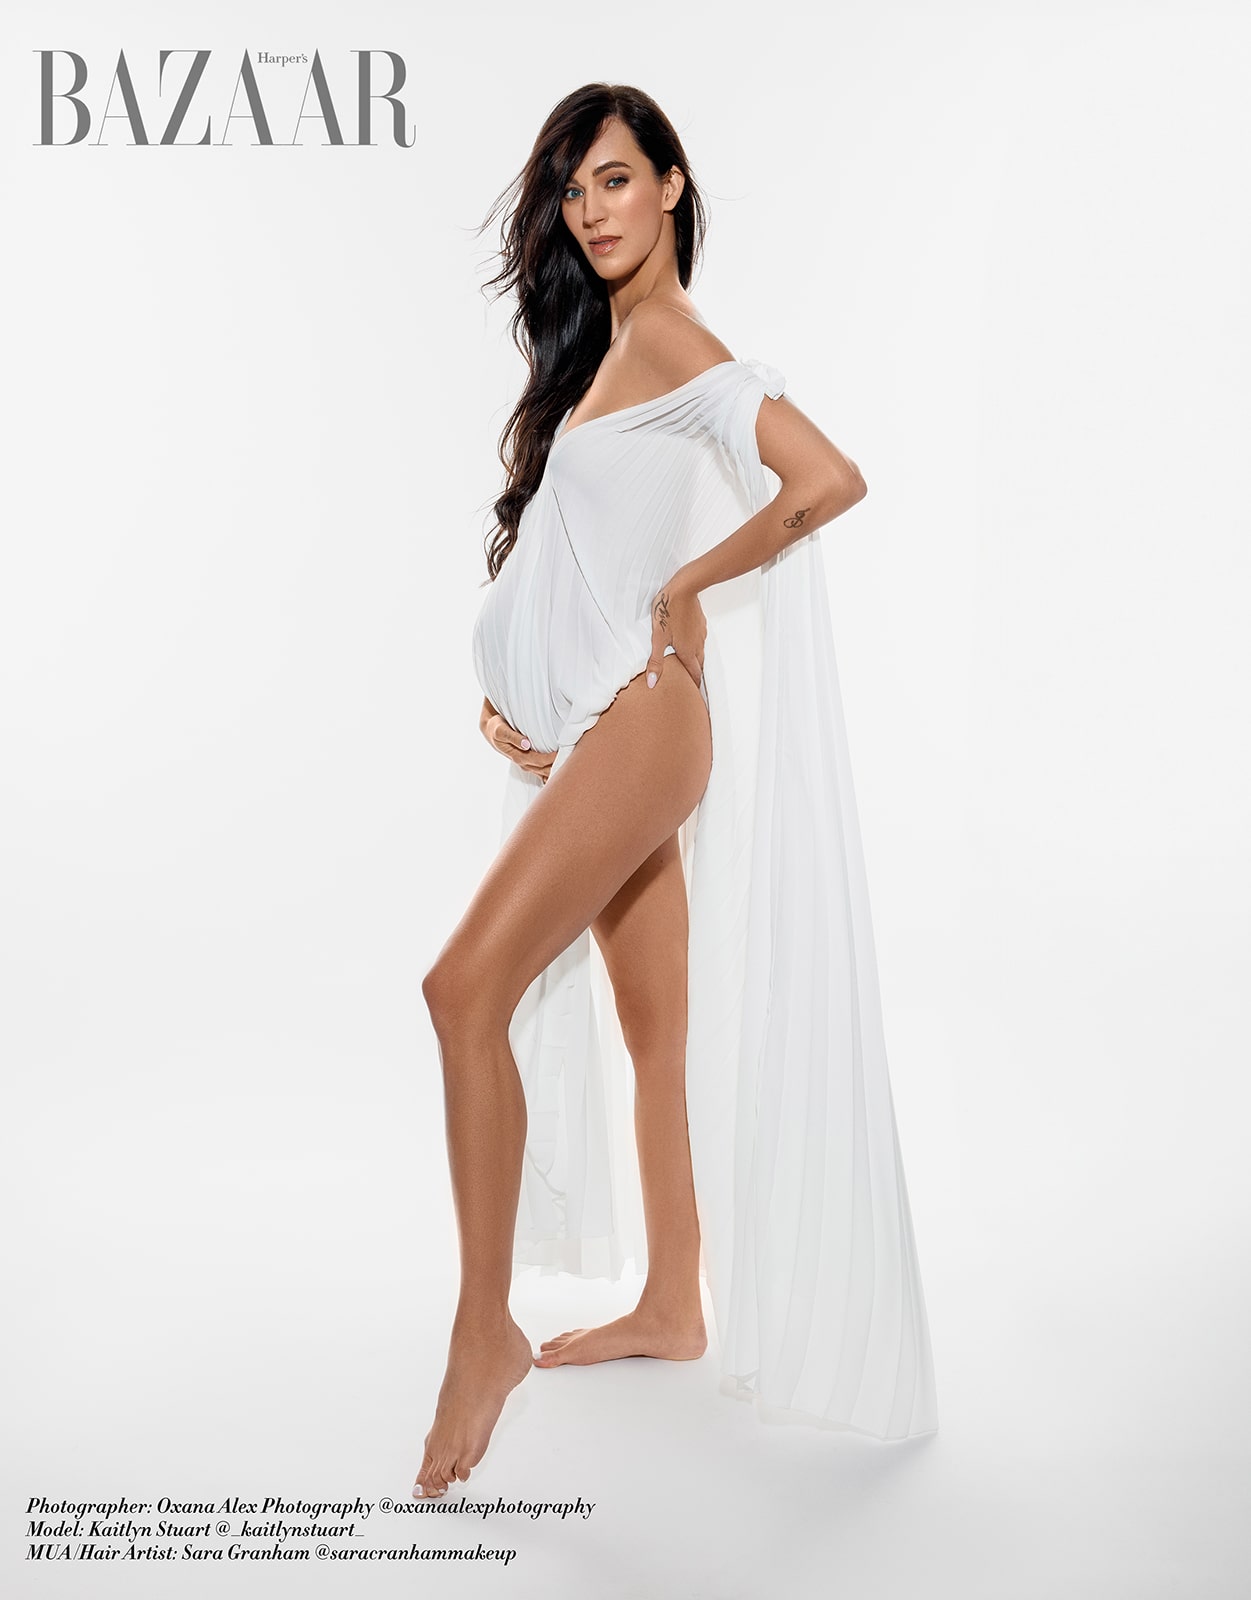
Oxana Alex – Fashion Photographer Los Angeles
At Oxana Alex Photography, we are open for booking in studio maternity photography, business portraits, fashion photography, family photography and mommy and me photography sessions. Our studio is located at 2100 Sawtelle Blvd UNIT 307 Los Angeles, CA 90025, USA. You can see our photoshoot pricing here & our photography reviews here.

Conclusion
With thoughtful room selection, gentle shaping of natural light, simple and intentional wardrobe, and poses that feel natural to the body, a maternity session at home can hold just as much grace and emotional depth as a studio portrait. The gear is secondary to your eye, the room is secondary to your presence. What matters most is slowing down, paying attention, and letting the moment unfold.
If you’re ready to refine your work even further, whether in your own home or studio, I created Roxamina Photography Academy with newborn photographer Ramina Magid to support that growth. Our courses are designed to help both parents and photographers develop a confident approach to lighting and posing.
When you’re ready to take your work to the next level, you’ll find everything you need at Roxamina Photography Academy.
How do I schedule my session?
You can schedule your session by emailing [email protected] or by texting our studio at (310) 854-9695.

